
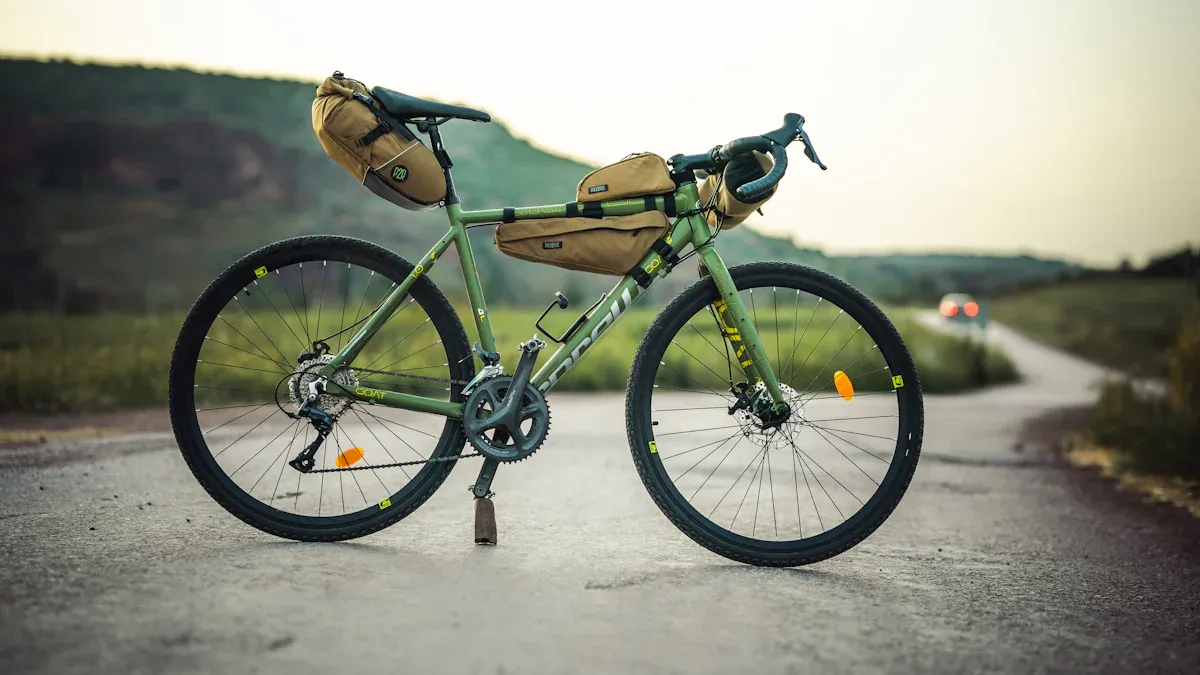
Building a gravel bike from an MTB frame for a gravel bike is a smart choice. It saves you money and lets you customize your bike. You can make it fit your needs without spending too much. Think about having more gear choices for steep hills. You can also have an easy shifting system to change gears quickly. Plus, suspension forks can make riding on bumpy ground more comfortable. Doing this DIY project will improve your cycling fun. It also gives you pride in what you made. Are you ready to start and create your dream bike?
Key Takeaways
Making a gravel bike from an MTB frame helps you save money. It also lets you change things to match your riding style.
Clean and check your MTB frame well before you start building. This makes sure it is in good shape.
Pick the right tires for gravel riding. Look at the width and tread patterns for the best grip and comfort.
Changing to disc brakes gives you better stopping power and control. This makes your rides safer on different types of ground.
Change your gearing for better performance on various surfaces. Aim for a gear ratio that fits your riding needs.
Preparation
Cleaning the Frame
Before diving into your bike project, you need to clean your MTB frame thoroughly. A clean frame not only looks better but also helps you spot any potential issues. Here’s how to get started:
Pre-Rinse: Begin with a gentle rinse to remove loose dirt. This step prevents scratches on the finish.
Soap Application: Use a high-quality bike-specific soap. Apply it generously and let it sit for a few minutes to break down grime.
Scrubbing: Grab a soft bristle brush and scrub the frame, paying special attention to hard-to-reach areas.
Rinse Again: Rinse off all soap and dirt, ensuring no residue remains.
Inspect: After cleaning, check for cracks or rust spots. This inspection is crucial for assessing your frame donor’s condition.
Using the right tools makes a difference. Stock up on bike-specific degreasers, frame cleaners, and microfiber cloths. These items will help you maintain your bike in top shape.
Sorting Components
Once your frame is clean, it’s time to sort through your components. This step is vital for ensuring everything fits together smoothly. Here’s how to approach it:
Gather All Parts: Collect all components you plan to use. This includes wheels, brakes, and drivetrain parts.
Check Compatibility: Make sure each part is compatible with your frame. For example, if you’re upgrading brakes, ensure they fit the mounting points on your MTB frame.
Assess Condition: Inspect each component for wear and tear. Replace any damaged parts to avoid issues down the road.
By taking the time to clean and sort your components, you set a solid foundation for your gravel bike build. This preparation phase is essential for a successful conversion from an MTB frame to a gravel bike.
Upgrades for Gravel Riding
When you want to change your old MTB into a gravel bike, upgrading important parts is very important. This helps improve how well your bike works and how comfortable it is. Let’s look at the upgrades you should think about for a great gravel riding experience.
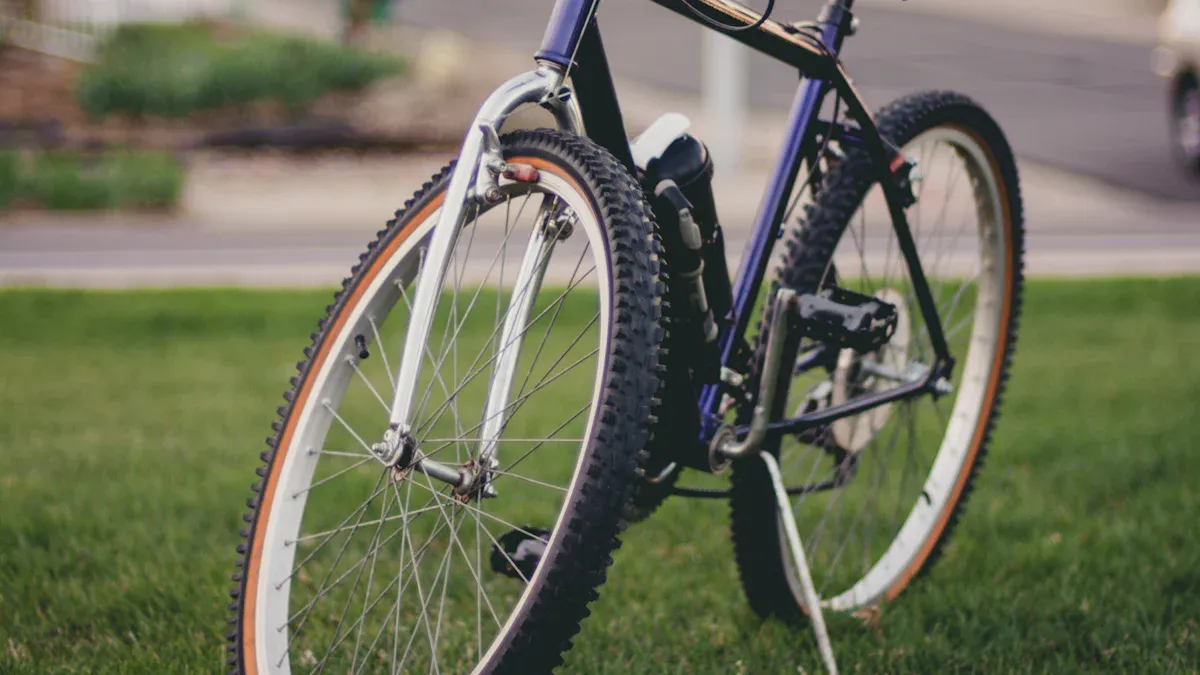
Choosing Tires
Picking the right tires can really change your gravel riding experience. You need tires that give you a good mix of grip, comfort, and speed. Here are some tips for picking the best tires:
Width Matters: For gravel riding, look for tires that are 40-50mm wide. Most stock tires are in this range, giving you a mix of performance and comfort. If you want more grip, try tires wider than 50mm. These will give you great traction on loose ground.
Tread Patterns: The tread pattern on your tires is very important. Aggressive tread patterns help you get better traction off-road, which makes you feel more confident on bumpy paths. Smoother patterns help with speed and efficiency on hard surfaces. Some tires even have a hybrid pattern, which balances grip and speed for different types of riding.
Clearance Check: Before you buy, make sure your MTB frame has enough tire clearance. This stops the tires from rubbing against the frame and helps you have a smoother ride. A common size for gravel riding is 700x45mm, which fits well on many MTB frames.
Upgrading Brakes
Next, let’s talk about brakes. Upgrading to disc brakes is one of the best choices you can make for your gravel bike. Here’s why:
Superior Stopping Power: Disc brakes give you better stopping power, which is very important for safety on gravel roads. They work well in all weather, giving you more control, especially on slippery ground.
Better Modulation: With disc brakes, you get better modulation. This means you can control how hard you brake, making it easier to handle tricky hills or tight turns.
Compatibility: Make sure your MTB frame can fit disc brakes. The mounting style can be different, so check that your frame works with the brake system you pick.
Adjusting Gearing
Finally, let’s look at gearing. Changing your gearing is important for handling different terrains well. Here’s what to think about:
Optimal Ratios: Aim for a gear ratio around 1:1 for low gears (like 42:42 or 34:34). This helps keep traction on steep climbs while giving you a comfortable pace on flat areas.
Drivetrain Options: You can choose between a 1x or 2x drivetrain. A 1x system is simpler and lighter, which is great for mountain biking. A 2x system gives smaller steps between gears, which is helpful for road cycling fans.
Cadence Considerations: The best RPM for gravel riding is usually between 80 and 90. Change your gearing to help you keep this cadence, especially on different terrains.
By focusing on these upgrades, you’ll greatly improve your gravel bike’s performance. Each part is important for making sure you have a comfortable and fun ride on gravel paths.
Final Assembly
Assembling Components
Now that your MTB frame is ready and you have upgraded the parts, it’s time for the fun part: putting it all together! Follow these steps to assemble everything:
Install the Wheels: First, attach your DT Swiss ER 1600 wheels with 350 hubs. Make sure the quick-release lever is tight. Hold the bike straight to center the wheel.
Attach the Brakes: If you have disc brakes, connect the brake calipers to the frame. Make sure the brake wire is attached if it isn’t already.
Fit the Shifters and Derailleurs: Attach the shifters to the PRO Discover medium flare handlebar. Then, mount the derailleurs to the frame and connect the shift cables.
Install the Crankset and Chain: If you’re using a Shimano GRX groupset, install the crankset and chain. Make sure everything is lined up for smooth shifting.
Add the Seatpost and Saddle: Insert your FSA carbon seat post into the seat tube. Adjust the height for your legs, then attach your Fizik Antares saddle.
Attach the Pedals: Install the Shimano PD-540 pedals, making sure they are threaded correctly and tightened well.
Secure the Handlebar: Clamp and center the handlebar into the stem. Tighten all bolts evenly for stability.
Add Accessories: Don’t forget to attach your Elite bottle cages, Camelbak Podium bottles, and Garmin mount. You can also add handlebar gel pads for comfort on long rides.
Final Touches: Use Oracal Oraguard 280 film to protect your frame and keep it looking nice.
Fine-Tuning Setup
After you finish assembling, it’s time to adjust your setup for the best performance. Here are some changes to think about:
Adjustment Type | Description |
|---|---|
Riding Position | Lower your handlebars and tuck in your elbows to reduce wind resistance and improve aerodynamics. |
Tire Choice | Switch to slick or semi-slick tires to reduce rolling resistance and improve speed on pavement. |
Weight Reduction | Remove unnecessary items and consider lighter parts to decrease drag and improve efficiency. |
Gearing Optimization | Adjust gearing for better performance on pavement, like using a larger chainring. |
To make sure everything works well, follow these steps:
Test Ride and Fine-Tune: Take your bike for a test ride. Notice how it feels and make any needed changes.
Adjust the Gearing and Brakes: Fine-tune the derailleur settings for smooth shifting. Adjust the brake calipers for the best braking performance.
Check All Connections: Make sure all nuts and bolts are tight, especially those that may have loosened during shipping.
Troubleshoot Common Issues: If you have problems, here are some troubleshooting steps:
Attach the brake wire if it is not already connected.
Insert the seatpost and adjust the height for proper leg positioning.
By following these steps, you’ll have a well-assembled gravel bike ready for your next adventure. Enjoy the ride and feel proud of turning an old MTB into a gravel bike that fits your style!
Making your own gravel bike can be a fun adventure! You will feel proud of what you built and enjoy riding even more. Plus, sharing your experience with others can make it better. Here are some ways to meet other cyclists:
Find out about important changes and gear suggestions for gravel biking.
Enjoy friendship and shared interests that keep you excited.
So, why not jump in? Join online groups, take part in local events, or go to workshops. Your gravel bike is waiting, and the journey is just as fun as the ride! 🚴♂️
FAQ
What tools do I need to build my gravel bike?
You’ll need basic tools like a multi-tool, tire levers, a pump, and a torque wrench. A bike stand can help, too. Having these tools ready makes the assembly process smoother and more enjoyable. 🛠️
Can I use my existing MTB components?
Yes, you can! Many MTB components work well for gravel bikes. Just ensure they fit your frame and meet your riding needs. Upgrading specific parts, like tires and brakes, will enhance your gravel riding experience.
How do I know if my MTB frame is suitable for gravel riding?
Check your frame’s geometry and clearance. A frame with a relaxed geometry and enough space for wider tires (40-50mm) is ideal for gravel riding. Inspect for any damage, too, as a sturdy frame is crucial for safety.
What’s the best way to maintain my gravel bike?
Regularly clean your bike after rides, especially after muddy or wet conditions. Check tire pressure, lubricate the chain, and inspect brakes and gears. Keeping your bike in good shape ensures a smooth and safe ride. 🚴♀️
How can I customize my gravel bike?
You can customize your bike by choosing different handlebars, saddles, and grips. Adding accessories like fenders, racks, or lights can enhance your riding experience. Personalizing your bike makes it uniquely yours!
See Also
Essential Tips For Building Your Dirt Bike Frame
How To Choose The Perfect Surly Bike Frame
Key Tips For Constructing A Gas Bike Frame
Understanding Large Sizing And Geometry For Mountain Bike Frames