
Swapping bike frames can make your cycling better. You might want a lighter model, fix a broken frame, or change your bike’s look. The benefits are easy to see. For example, changing a road bike frame can help you ride better and feel more comfortable. Also, if you want new mountain bike parts, swapping frames could save you money. This guide will help you through the frame swapping process. It will make sure you feel ready and confident to change your bike.
Key Takeaways
Check if the new frame will fit your bike. Make sure wheels, brakes, and contact points match to avoid problems later.
Measure important parts like saddle height and handlebar reach. Good measurements keep you comfortable and in the right position.
Use the right tools for the job. Basic tools like a torque wrench and gloves, plus special tools, make the swap easier.
Do safety checks after you swap frames. Look at tires, brakes, and the frame for any problems before your first ride.
Take your time when swapping frames. Rushing can cause mistakes that hurt your bike’s performance and safety.
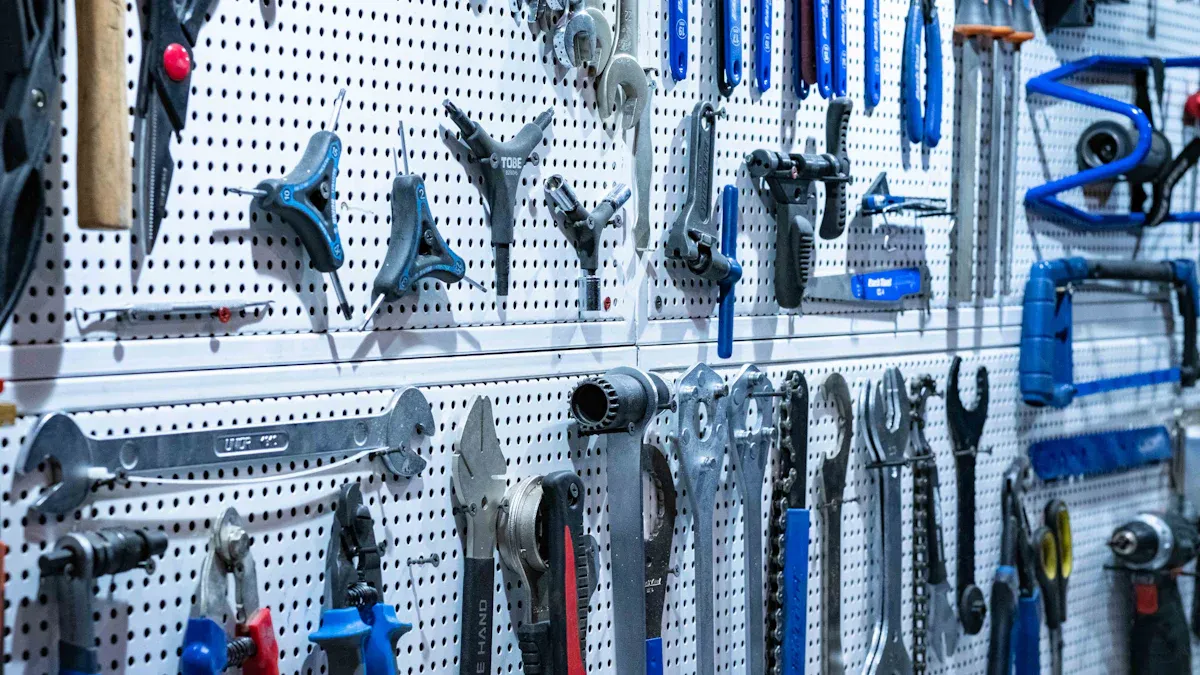
Tools for Swapping
Swapping bike frames requires the right tools to make the process smooth and efficient. Let’s break down the essential tools you’ll need.
Basic Tools
You can’t start without some basic tools. Here’s a handy list to get you going:
Tool | Description |
|---|---|
Torque Wrench | This tool helps you tighten bolts to specific torque settings, which is crucial for safety. |
Gloves | Wearing gloves protects your hands from injury and keeps them clean during the swap. |
Chain Cutting Tool | This tool breaks the chain by pressing against a chain link rivet, allowing for easy removal. |
Having these tools on hand will make your frame swap much easier.
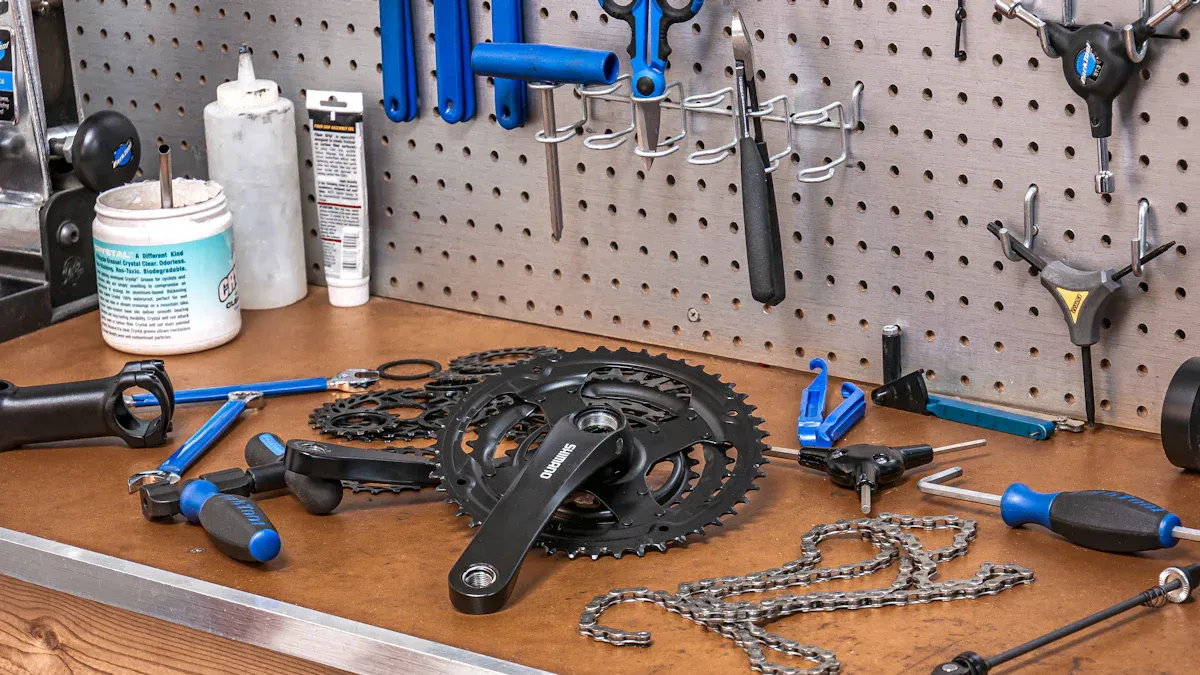
Specialized Tools
For modern bike frames, you might need some specialized tools. Here’s what you should consider:
Soft-sided mallet (for headset installation)
Torque wrench set
Cable cutters and crimping tool
Allen key set
Bottom bracket tools
Shock pump
These tools help you handle specific tasks that come up during the swap. If you’re buying new mountain bike components, having the right tools can save you time and frustration.
Remember, investing in quality tools can make a big difference. While the cost for swapping a bike frame can range from $200 to $300, having your own tools can help you save money in the long run. Plus, you’ll feel more confident tackling future bike projects!
Preparing for Frame Swap
Before you start swapping bike frames, you need to check if your new frame fits with your current parts. This step can save you time, money, and trouble later. Let’s look at what to check.
Compatibility Check
When you think about changing a road bike frameset or getting a lighter frame, compatibility is very important. Here are some key things to check:
Wheels: Check the size, tire width, and how they attach (quick-release vs. through axle).
Brakes: Find out what type of brake mounts you have (rim vs. disc) and make sure they match your new frame.
Contact Points: Make sure the stem attachment, handlebar size, steerer tube size, seatpost size, and pedal threading all fit.
Drivetrain: Check that your drivetrain parts will work with the new frame.
If you ignore these compatibility checks, you might have problems or safety issues. For example, if you get a frame that can’t handle your e-bike’s motor, it could wear out parts too soon or even break.
Tip: Always check compatibility before buying. It’s better to spend some time researching than to deal with the hassle of parts that don’t fit later.
Measuring Components
After you confirm compatibility, it’s time to measure. Accurate measurements make sure your new frame fits well and works with your current parts. Here are some important measurements to take:
Measurement | Description |
|---|---|
Saddle Height | Measure from the center of the bottom bracket spindle to the lowest part of the saddle. |
Saddle Setback | Find the distance between the center of the bottom bracket and the nose of the saddle. |
Handlebar Reach | Measure the distance from the saddle to the handlebars. |
Handlebar Drop | Measure the distance from the saddle to the handlebars. |
Taking these measurements helps keep your riding position and comfort. If you skip this, your bike might feel strange or hard to ride.
Also, check head-tube sizes and dropout spacing. Here’s a quick guide for standard sizes:
Position | Standard Spacing | Description |
|---|---|---|
Front | 100 mm | Modern front hubs with 12 and some with 15mm thru axle |
Rear | 130 mm | Rear 7-speed (MTB) and 8-9-10-11-speed (road) except disc brake |
By making sure your new frame meets these sizes, you can avoid problems that could hurt your bike’s performance and safety.
Note: Proper preparation, like measuring and checking compatibility, greatly increases the chances of a successful frame swap. It helps ensure your bike rides straight and true, improving your overall cycling experience.
Taking time to prepare will give you confidence as you swap bike frames. You’ll feel better knowing your new frame will fit well with your current parts.
Steps for Swapping Bike Frames
Swapping bike frames might look hard, but you can make it easier. Just break it down into two main steps. First, you will take off the old frame. Then, you will put on the new one. Let’s look at each step.
Removing Old Frame
Start by getting your tools ready and cleaning your workspace. A tidy area helps you stay focused. Here’s how to take off the old frame:
Detach Components: First, remove the wheels, brakes, and drivetrain parts. Use a tray to keep small parts organized. Label them so you can put everything back easily later. This way, you won’t lose anything important!
Take Photos: While you take things apart, snap lots of photos. These will help you remember how to put everything back together.
Use the Right Tools: For parts like crank arms, use a crank-puller tool. If you don’t know how to use it, watch some tutorial videos for help.
Tip: Be gentle when taking off parts. Forcing them can cause damage.
Attaching New Frame
Now that you’ve taken off the old frame, it’s time to put on the new one. This step needs careful adjustments, especially with hydraulic or cable systems. Here’s how to do it:
Install the Bottom Bracket: Start by putting the bottom bracket into the new frame. Make sure it’s lined up correctly.
Attach Cranks and Pedals: Next, put on the cranks and pedals. Make sure they are tight and lined up right.
Set Up the Headset: Install the headset and fit the fork into the head tube. Adjust the headset to remove any play.
Install Handlebars: Attach the handlebars to the stem. Tighten the bolts but save final adjustments for later.
Connect the Drivetrain: Put on the rear and front derailleurs. Set their height and rotation, but check the settings after you add the cables.
Install Brakes and Cables: Attach the brake and shift levers, then put in the brake housing and cables. Make sure everything works smoothly.
Check Alignment: After everything is on, check the frame alignment. This is very important for a safe ride.
Note: Adjustments may change based on frame shape. If you’re changing a road bike frameset, make sure the new frame fits your riding style and comfort.
Here’s a quick overview of the adjustments you might need to make after putting on the new frame:
Adjustment Step | Description |
|---|---|
Check frame alignment | Make sure everything is straight and true. |
Install rear cassette or freewheel | Ensure it fits well with the new setup. |
Adjust hub bearings | If they can be adjusted, set them right. |
Install saddle and seat post | Adjust for your favorite riding position. |
Swapping frames can take time, especially if you’re new. Experienced mechanics often spend 2 to 5 hours on this job, depending on how complex the bike and parts are.
Reminder: Take your time during this process. Rushing can lead to mistakes that might hurt your bike’s performance.
By following these steps, you will feel more sure about swapping bike frames. Remember, preparation and patience are very important!
Final Adjustments and Testing
After you’ve swapped your bike frame, it’s crucial to perform some final adjustments and safety checks. This step ensures that your bike is safe to ride and functions properly. Let’s dive into what you need to do.
Safety Checks
Before hitting the road, take a moment to inspect your bike. Here’s a handy checklist of safety checks to perform:
Safety Check | Description |
|---|---|
Tires and tubes | Replace if necessary. |
Wheels | Check bearings, rims for wear, spokes for tightness, and ensure wheels are true. |
Brakes | Adjust for tightness, check pads for wear, and lube cables. |
Seat | Ensure the seat post is tight and the seat is bolted securely. |
Handlebars | Check all attachments for tightness and ensure handlebars turn freely. |
Bottom bracket/Pedals | Ensure they spin freely without play and check for cracks. |
Frame | Inspect for visible cracks and listen for unusual noises during a test ride. |
Rear derailleur | Ensure the chain stays on the cogs and tune if necessary. |
These checks are especially important for carbon frames, as they can be more susceptible to damage. Taking the time to inspect your bike can prevent accidents and ensure a smooth ride.
Test Ride
Once you’ve completed your safety checks, it’s time for a test ride. This step is essential to ensure everything is functioning properly. Here’s how to conduct an effective test ride:
Start with a few pedal strokes to gauge the bike’s feel.
Make sure the bike fits you well by checking the frame size, seat height, and handlebar height.
Wear your usual riding attire and bring your own helmet for comfort.
Take a longer test ride, ideally around 20 minutes, on varied terrain to assess performance.
Evaluate how the bike handles, shifts gears, and feels overall.
During the ride, pay attention to how the bike responds. If something feels off, don’t hesitate to make adjustments or consult a professional. Remember, your comfort and safety are paramount.
Tip: If you’re buying new mountain bike components, consider taking your bike back to the shop for a quick check-up after your first ride. This can help catch any issues early on.
By following these steps, you’ll feel more confident in your newly swapped bike frame. Enjoy the ride!
Swapping bike frames might look hard, but you can do it! Keep these important steps in mind: check if parts fit, measure your pieces, and carefully take off and put on parts. Always focus on safety—look over everything before your first ride.
Taking your time is worth it. If you feel confused, ask someone for help. Enjoy riding your new frame! You will probably see long-term benefits like:
Improved Efficiency: Lighter frames help you climb faster.
Enhanced Comfort: Carbon fiber frames smooth out vibrations.
Aerodynamic Design: Better wind resistance means higher speeds with less effort.
Welcome the changes and enjoy the upgrades your new bike gives you! 🚴♂️
FAQ
What tools do I need to swap my bike frame?
You’ll need basic tools like a torque wrench, gloves, and a chain cutting tool. Specialized tools may include a bottom bracket tool and cable cutters. Having the right tools makes the process smoother.
How do I know if my new frame is compatible?
Check the wheel size, brake type, and contact points like the stem and seatpost. Measure head-tube sizes and dropout spacing to ensure everything fits together properly.
Can I swap frames by myself?
Yes, you can swap frames on your own! Just follow the steps carefully and take your time. If you feel unsure, don’t hesitate to ask a friend or a professional for help.
How long does it take to swap a bike frame?
Swapping a bike frame can take anywhere from 2 to 5 hours, depending on your experience and the complexity of your bike. Patience is key!
What should I do if something feels off after the swap?
If something doesn’t feel right during your test ride, stop and check your adjustments. Look for loose parts or misalignments. If needed, consult a professional mechanic for assistance.
See Also
A Comprehensive Approach to Selecting Your Ideal Surly Frame
Exploring The Benefits And Features Of Step-Through Bikes
Selecting The Right Step-Through Bike For Your Requirements