
Wrapping your road bike frame isn’t just about looks; it’s a smart way to protect your investment. A good wrap can shield your frame from scratches, dirt, and UV damage, extending its lifespan. Plus, DIY wrapping lets you customize your ride in a way that reflects your style. Whether you choose bold colors or subtle designs, you can make your bike stand out. Don’t worry if you’re new to this! With the right materials and techniques, wrapping your road bike frame is totally manageable.
Key Takeaways
Cleaning your bike frame well is important for a good wrap. Use mild soap and rubbing alcohol for a smooth finish.
Get the right tools before you start. Good materials and clear steps make wrapping easier and more fun.
Pick between vinyl wraps or inner tubes for your bike frame. Both choices have special benefits, like being strong and customizable.
Seal and secure the edges of your wrap. This stops lifting and helps it last longer. Use a heat gun and adhesive promoter for the best results.
Regular care, like cleaning and checking for damage, keeps your wrapped bike frame looking nice and makes it last longer.
Prep Work

Cleaning the Frame
Before you start wrapping your bike frame, clean it well. A clean surface is very important for the wrap to stick. If you don’t clean it, dirt and grease can cause bubbles or make the wrap come off later. So, let’s make sure your bike is really clean!
First, wash your bike with mild dish soap or a special bike cleaner for carbon. These cleaners get rid of dirt and grease without hurting the frame. Here’s a quick list for cleaning:
Mild dish soap: Good for general cleaning.
Carbon-specific bike cleaner: Best for carbon frames, leaves no residue.
After washing, dry the frame completely. Then, use some isopropyl alcohol and cleaning wipes for a final clean. This step is very important because it removes any leftover grease or dirt. A clean surface helps the wrap stick well, giving you a smooth finish.
Tip: Using rubbing alcohol helps the wrap stick better. It dries fast and leaves no residue, which is great for a strong bond.
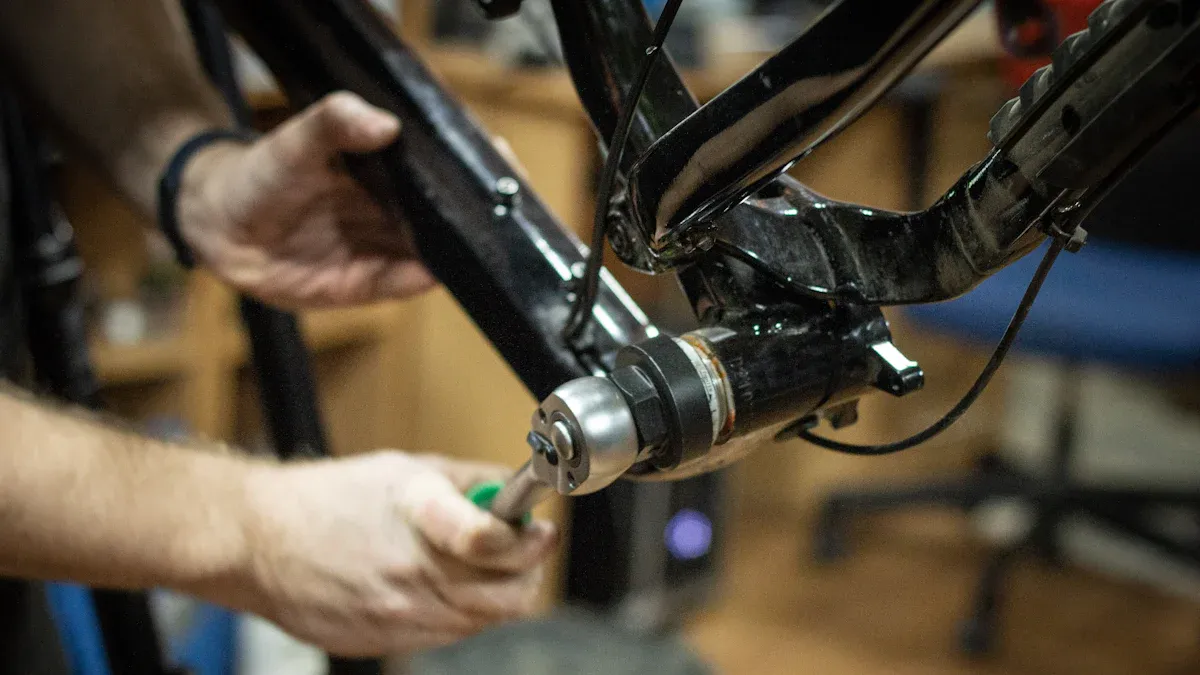
Gathering Tools
Now that your frame is clean, it’s time to get the tools you need for wrapping. Having the right tools makes everything easier and more fun. Here’s a helpful table of important tools for your wrapping project:
Feature/Model | Description |
|---|---|
High-quality materials | Easy to use and very durable. |
Essential Kits Coverage | |
Install Tools Included | Tools needed for installation are included. |
Comprehensive Instructions | Clear instructions for installation are provided. |
Matte or Gloss Finishes Available | Choices for different looks. |
Fits all MTB, protects downtube, toptube, seatstays, and chainstays. May need trimming. | |
Toptube Protection | Fits all types (MTB, Road, & Gravel), protects from knee pad and cleat scrapes. May need trimming. |
Chainstay Armor | Fits all types (MTB, Road, & Gravel), protects chainstay from chainslap. |
Having these tools ready will help you succeed. Remember, taking time to prepare will make wrapping much easier and more fun.
Safety Note: When using vinyl wraps and glues, pick low-VOC products to reduce harmful fumes. Always make sure there is good airflow during installation to limit exposure to fumes.
With your frame clean and tools ready, you’re set to move on to the next step in wrapping your road bike frame!
Wrap Road Bike Frame
Using Vinyl
Wrapping your road bike frame with good vinyl is a great choice. This method makes your bike look better and keeps it safe. Good vinyl wraps can handle daily use, small crashes, and scratches. They keep their bright design for years, so they last long and look nice. Here are some benefits of using good vinyl:
Durability: Good vinyl wraps can handle tough weather and rough use.
Aesthetic Appeal: They come in many colors and styles, so you can make your bike match your taste.
Easy Application: With the right tools, you can put the wrap on yourself. It’s a fun DIY project.
On the other hand, regular vinyl wraps might not protect as well. They can wear out quickly and may not look good over time. If you love cycling, spending money on good vinyl is a smart idea.
Tip: Always overlap the vinyl when you apply it. This helps cover everything and stops any open spots that could get damaged.
Using Inner Tubes
Another cool way to wrap your bike frame is by using inner tubes. This method is eco-friendly and gives a unique style. Here’s how to do it:
Gather Old Inner Tubes: Find old inner tubes from your bike or ask friends for theirs.
Cut the Tubes: Cut the tubes into strips. The strips can be 1-2 inches wide, depending on what you like.
Wrap the Frame: Start wrapping the strips around the frame, overlapping them a bit. This gives a tough look and adds extra padding to your frame.
Using inner tubes is a fun way to make your bike special while being smart. Plus, it’s a great topic to talk about!
Type of Wrap | Average Lifespan |
|---|---|
Gloss | |
Satin | 3 to 5 years |
Matte | 3 to 5 years |
Fluorescent | 1 year or less |
As you can see, good vinyl wraps can last for years, making them a smart choice for protecting your bike frame. Whether you pick vinyl or inner tubes, both ways have great benefits and can improve your bike’s look and strength.
Finishing Touches
Sealing the Wrap
After wrapping your bike frame, sealing it is very important. A good seal keeps water out and protects your frame. Here’s how to seal your wrap well:
Check the Temperature and Humidity: Before sealing, think about the weather. Changes in temperature can let air out and bring in moisture. This can hurt your seals. Try to work on a dry day. A perfect seal is best but hard to get. If it’s humid, water might form inside sealed areas. Let some air in to help.
Use a Heat Gun: Carefully heat the vinyl with a heat gun. This helps the wrap fit better on the frame and makes a tighter seal. Be careful not to overheat it, or you could damage the vinyl.
Press Firmly: After heating, press down hard on the wrap to make sure it sticks well. Use a squeegee to smooth out any bubbles or wrinkles.
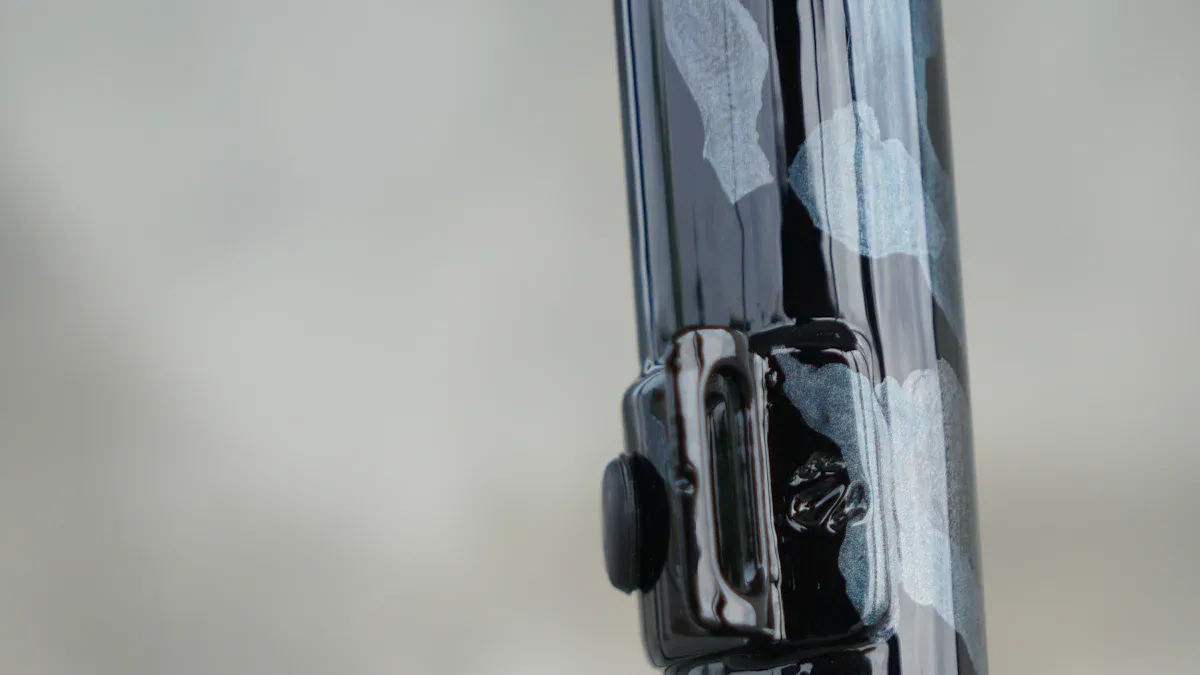
Securing the Edges
Keeping the edges of your wrap secure is just as important as sealing it. This stops lifting over time, which can spoil your bike’s look. Follow these steps to keep those edges safe:
Clean the Surface: Start by cleaning the area where the vinyl is lifting. Use a mild cleaner to make it sticky again without hurting the glue.
Apply Adhesive Promoter: After cleaning, put a thin layer of adhesive promoter on the surface, not on the wrap. This helps the vinyl stick better.
Reapply the Vinyl: Once the surface is dry, carefully put back the lifting part of the vinyl wrap. Use a squeegee to press it down firmly.
Tip: Be patient when wrapping around bends and corners. Use a lever and measuring tool to apply pressure and check for evenness. Support the frame with a crate or something similar to help keep its shape while you work.
By paying attention to these finishing touches, your bike frame wrap will look great and last longer. Enjoy the feeling of a job well done!
Maintenance Tips
Cleaning the Wrapped Frame
Keeping your wrapped bike frame clean is very important. It helps keep it looking good and lasting longer. Cleaning often stops dirt from getting stuck in the vinyl. This can cause damage later. Here’s an easy cleaning routine you can follow:
Start at the top and go down over the frame and parts.
Clean under the seat, in the fork arch, and between the fork and downtube.
Remove all visible dirt.
Mix warm water with soap in a bucket.
Use a brush or sponge to apply soap from the handlebars to the rear triangle.
Scrub both wheels and tires.
Rinse the bike with clean, non-soapy water.
Check the frame, fork, and wheels for cleanliness.
Take off the wheels to clean between them and the frame.
Use a scrub brush for tough dirt.
Reapply soap if needed and make sure all dirt is scrubbed off.
Rinse the frame and fork well to remove all soap.
Wipe down the wet frame with a clean rag to avoid water marks.
Tip: Try to wash your wrapped bike frame at least once every two weeks. This helps keep the wrap lasting longer by stopping dirt buildup.
Inspecting for Damage
Checking your wrapped frame regularly can help you find any damage early. Look for signs like deep scratches or places where the wrap might be lifting. Here are some good inspection routines:
Tap Test: Gently tap the frame and listen for different sounds. A dull sound may mean damage.
Flex Test: Apply gentle pressure to see if cracks are small or serious.
Acetone Wipe Test: Wipe the surface with acetone. If it dries fast, you might have cracks.
Dye Penetrant Testing: Use dyes to show any surface-breaking defects.
Vinyl wrapping has many benefits compared to regular paint. It gives a protective layer against scratches and UV rays, but it can fade more easily over time. Here’s a quick comparison:
Feature | Traditional Paint | |
|---|---|---|
UV Protection | More likely to fade from UV damage over time. | Made with UV blockers for better protection. |
Environmental Factors | Can tear and get deep scratches from impacts. | Provides better long-term protection against weather. |
Durability | Less strong in tough conditions. | More durable and easier to fix if damaged. |
By following these maintenance tips, you can keep your bike looking great and make sure your investment lasts for years!
Wrapping your road bike frame is a fun project. It gives you both protection and style. Here’s a quick summary of the main steps:
Clean the Frame: Start by cleaning it well so the wrap sticks.
Gather Your Tools: Get everything ready for an easy application.
Choose Your Wrapping Method: You can use vinyl or inner tubes. Both have great benefits.
Finish Strong: Seal and secure the edges to make it last longer.
The benefits of wrapping your bike frame are clear:
Benefit | Description |
|---|---|
Protection from wear and tear | Using protective tape helps stop damage from crashes and makes the frame last longer. |
Maintaining resale value | A bike that looks good with no scratches is easier to sell for a better price. |
Satisfaction of personal care | People feel proud and happy when they take care of their bike by wrapping it. |
You’ll protect your bike and enjoy making it look like your own. So, why not try it? Share your thoughts or ask questions below. Happy wrapping!
FAQ
How strong is a vinyl wrap on my bike frame?
Vinyl wraps are very strong. They can handle daily use, scratches, and sun damage. If you take care of it, a good wrap can last 3 to 7 years.
Is it safe to wrap my carbon frame?
Yes! Wrapping your carbon frame is safe. The vinyl protects it from scratches and hits without harming the frame. Just make sure to follow the instructions carefully.
How much will it cost to wrap a bike frame?
The cost depends on the materials and tools you choose. You should expect to pay between $50 to $200 for good vinyl and supplies. Doing it yourself can save money compared to hiring someone.
Can I take off the wrap later?
Yes, you can remove the wrap easily without hurting the frame. Just peel it off slowly. If any sticky stuff is left, use a gentle remover to clean it up.
Will wrapping change my bike’s resale value?
Wrapping can help keep or even raise your bike’s resale value. A nicely wrapped frame looks better and shows buyers that you care for your bike.
See Also
Effective Strategies for Safeguarding Your Bicycle Frame
Comprehensive Guide to Mountain Bike Frame Wrapping Techniques
Essential Tips for Building a Dirt Bike Frame Kit