
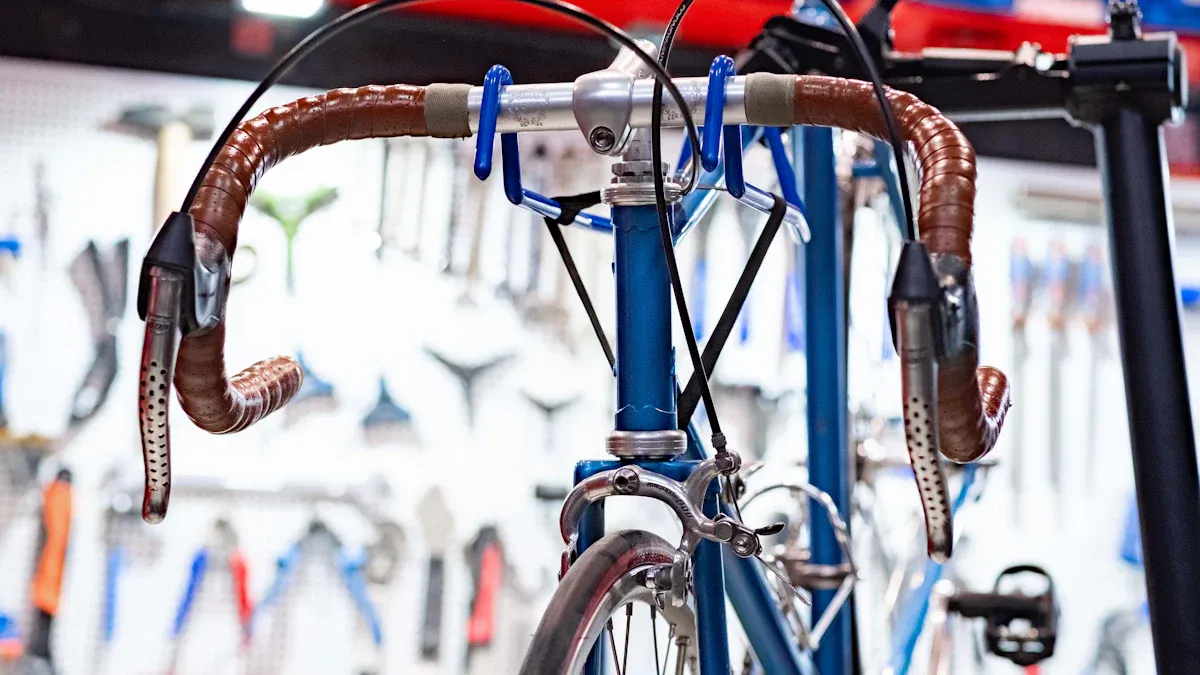
Building carbon bike frames is an exciting chance to make something special. Carbon fiber is important in cycling because of its amazing features. This material is light and very strong. This makes it a great choice for performance bikes. You will have a smoother ride because of its great dampening abilities. Also, you can learn useful skills while you build. The joy of making a custom bike frame just for you is incredible.
Here are some key benefits of carbon fiber frames:
Much stronger for each pound than aluminum.
Lighter, which improves overall performance.
Better ride quality with great dampening.
With each step, you will feel more confident and skilled in building carbon bike frames.
Key Takeaways
Carbon fiber is light and strong. This makes it great for fast bike frames. – Picking the right carbon fiber type affects how your bike rides. Think about how you ride and how much money you have. – Be careful when working with carbon fiber and epoxy. This helps avoid injuries and keeps your workspace safe. – Every step in making the frame is important. This includes weaving and curing. They help create a strong and lasting bike frame. – Making your own bike frame lets you customize it. It also helps you get better at building things.
Materials for Building Carbon Bike Frame

When you start building a carbon bike frame, knowing the materials is very important. The kind of carbon fiber you pick can change how your bike performs and feels. Here are the main types of carbon fiber used in bike frames:
Types of Carbon Fiber
Type of Carbon Fiber | Mechanical Properties | Applications in Bike Frames |
|---|---|---|
Intermediate-modulus | Balances stiffness and flexibility; has a good weight-to-strength ratio; helps with vibration | Often used in endurance and all-around road bikes for comfort and performance. |
Standard-modulus | Provides good stiffness; is budget-friendly; gives a comfortable ride quality | Commonly found in entry-level road bikes, commuter bikes, and casual mountain bikes. |
High-modulus | Offers the most stiffness; ensures great power transfer; stays lightweight | Best for racing and aggressive riding styles because of its strength and quick response. |
Choosing the right carbon fiber type depends on how you ride and your budget. For example, high-modulus carbon fiber is great for racing but costs more. On the other hand, standard-modulus carbon fiber gives a good mix of performance and price.
Additional Materials and Tools
Besides carbon fiber, you will need other materials and tools to finish your bike frame. Here’s a list of important items:
Metal parts: These include aluminum pieces like the bottom bracket shell, head tube, and rear dropouts.
Foam core: Use polystyrene or polyurethane foam to make the frame stronger.
Laminating materials: Bi-directional woven carbon cloth and epoxy resin are key for strong connections.
Supplies: Get plastic kitchen foil, latex gloves, and paint brushes for different tasks during the build.
These materials work together to make a strong and light frame. Knowing their features and how they work with carbon fiber will help you get the best results.
As you collect your materials, keep in mind that carbon fiber prices can differ. Entry-level carbon fiber bikes are cheaper and good for daily riding. In contrast, high-end carbon fiber bikes cost much more because of advanced technology and better parts. Usually, carbon fiber bikes are pricier than aluminum bikes, showing the complex engineering involved.
By picking the right materials, you lay the groundwork for a successful bike frame build.
Process of Making Carbon Fibre Bicycle Frames

Making a carbon bike frame has several important steps. Each step needs careful attention and accuracy. Here’s how the process works:
Weaving the Carbon Fiber
The first step to make a carbon bike frame is weaving the carbon fiber. This process has several parts:
Weave yarn into carbon fiber materials.
Soak the woven material in resin and let it dry.
Cut and mark pieces of carbon cloth for the frame.
Lay cut carbon fiber on core material in order.
Shape the rolled product in a die at high heat.
Glue parts together and cure them in an oven.
Hand-sand, fix, and prepare for painting.
The weaving pattern you choose changes the bike frame’s strength and flexibility. For example, unidirectional weave gives maximum strength in one direction but less strength across fibers. On the other hand, a quasi-isotropic weave gives even stiffness and strength in all directions, improving overall performance.
Weave Type | Strength Characteristics | Flexibility Characteristics |
|---|---|---|
Unidirectional | Maximum strength in one direction | Minimal strength across fibers |
Cross-ply | Balanced strength between two directions | Moderate flexibility |
Quasi-isotropic | Uniform stiffness and strength in all directions | Good flexibility |
Plain | High stability and rigidity | Slightly reduced flexibility due to crimp |
Twill | Good mix of flexibility and strength | Intermediate flexibility |
Satin | Stiffest and heaviest option | Limited flexibility |
Spread Tow | Excellent strength with lightweight fabric | High flexibility due to minimal crimp |
Cutting the Carbon Sheets
After weaving, you must cut the carbon sheets carefully. Use these tools for cutting:
Hacksaw
Dremel Cutting Wheel
Junior Rodsaw
Angle Grinder
Jigsaw
When cutting, use rotational cutting methods with power and hand tools. Seal the cut edges with epoxy resin for protection. Get a nice finish using sanding blocks, files, and wet and dry sandpaper.
Safety Measures:
Wear safety gear, including a respirator and gloves.
Make sure there is good airflow while cutting.
Lay-Up Process
The lay-up process is very important in making the frame. It involves arranging carbon fiber and resin to create a strong and light frame. Changes in the lay-up method can affect the frame’s weight and stiffness.
The Asian method often uses a hand layup process with carbon fiber-reinforced epoxy prepreg. Each frame may have 400 or more patterns that are hand laid on bladders and mandrels. The finished layup goes into a mold, then debulked and cured.
Molding the Frame
Molding shapes the carbon fiber into the right frame design. Expanded Polystyrene (EPS) molding is the standard for making carbon frames. This method compresses layers of carbon weave and epoxy resin into a mold to get the desired shape.
The polystyrene form expands with heat, tightly fitting the prepreg layers to the mold. This makes a stronger, lighter frame with even thickness and fewer flaws compared to bladder molding. Proper cleaning and preparation of molds are very important before applying the carbon fiber.
Curing and Finishing Touches
Curing makes the frame structure solid. The curing process wraps the frame with more layers of carbon, epoxy, and hardener. Mix epoxy and hardener in a 2:1 ratio. Let the area cure for 24 hours after applying the layers.
For finishing touches, do these steps:
Take apart components that might get in the way of painting.
Clean the surface well with a degreaser.
Lightly sand the surface to help paint stick.
Remove dust with a damp cloth and then a dry one.
Use masking tape to cover areas not to be painted.
Use strong polyurethane or epoxy paints for the final coat.
Testing the Carbon Bike Frame
Testing checks the strength and safety of your carbon bike frame. There are different industry standards for testing, including:
Region | Standard | Description |
|---|---|---|
USA | Rules for Bicycle Safety | |
Europe | ISO 4210 | Safety requirements for bicycles |
Common failure points during testing include resin microcracking, stiffness loss, and damage from wear and impact. Fixing these problems during manufacturing can improve the durability and performance of your bike frame.
By following these steps, you can successfully build carbon bike frames and ensure a high-quality final product.
Best Practices for Building the Carbon Frame
Safety Precautions
When you work with carbon fiber and epoxy resin, safety is very important. Follow these tips to keep yourself safe:
Handle carbon fiber gently to avoid breaking it.
Use the right cleaning methods to manage dust.
Don’t rub carbon fiber off your skin; wash with soap and water instead.
Wear safety glasses and masks while working.
Store carbon fiber away from sunlight and wet places.
For epoxy resin, do these extra things:
Don’t touch it directly to avoid skin problems.
Wear goggles, masks, gloves, and protective clothes.
Keep electrical tools away from dust that can conduct electricity.
Throw away carbon fiber waste properly; don’t burn it.
Common Mistakes to Avoid
Building the carbon frame can be hard. Here are some mistakes to be careful of:
Check thoroughly, not just with your eyes. Internal damage might not show.
Listen for strange sounds like creaks or ticks that could mean hidden problems.
Use the tap test correctly to find delamination and check important joints and parts.
Ask a professional to check for internal damage, especially after hits.
To avoid damaging the frame, don’t hit it with sharp things. Use the right torque values when tightening parts to prevent too much pressure. Clean your bike often to look for damage or scratches.
Maintenance of Tools and Materials
Taking care of your tools and materials is key for making a good frame. Here are some tips:
Clean your tools after each use to stop resin from building up.
Keep tools in a dry place to prevent rust and damage.
Check your carbon fiber and epoxy supplies regularly for expiration dates.
Keep your workspace tidy to reduce accidents and work better.
By following these best practices, you can make building the carbon frame easier and safer.
Making carbon bike frames has a few important steps. First, you choose the right materials, like different types of carbon fiber. Then, you weave, cut, and lay out the carbon sheets. After that, you mold and cure the frame to make it strong. Each step is important for strength and performance.
Working on this project gives you long-term benefits. You get a bike that fits you perfectly. You can also show your style with unique designs. The skills you learn in making composites improve your craftsmanship.
Take on the challenge of building your own frame. The joy of creating something just for you is amazing.
FAQ
What tools do I need to build a carbon bike frame?
You need some basic tools like a hacksaw, Dremel cutting wheel, and jigsaw. Also, have sanding blocks, files, and safety gear ready. These tools help you cut, shape, and finish the carbon fiber well.
How long does it take to build a carbon bike frame?
Building a carbon bike frame usually takes several days to weeks. This time includes weaving, cutting, laying up, molding, curing, and finishing. Each step needs careful attention to detail for the best results.
Can I customize the design of my carbon bike frame?
Yes, you can change your carbon bike frame design. You can pick frame shape, colors, and finishes. Personalizing your bike improves its performance and shows your style.
Is building a carbon bike frame safe?
Building a carbon bike frame can be safe if you follow safety rules. Always wear protective gear, work in a well-ventilated area, and handle materials carefully to avoid injuries.
What are the common mistakes to avoid when building a carbon bike frame?
Common mistakes include missing internal damage, using wrong torque values, and not taking care of tools. Always check your work carefully and follow guidelines to ensure a good build.
See Also
Key Supplies Needed to Construct Your Own Bike Frame
Simple Methods for Creating a Bamboo Bike Frame
Exploring the Innovations in Carbon Fiber Bike Frames