
Building your own bike frame is a fun adventure! Think about how exciting it is to make something just for you. It lets you add your personal touch. This also helps you feel closer to cycling. Many bike riders say custom frames make them happier over time. You will get a fit and look that regular bikes can’t give you. Knowing the steps and having the right tools and materials is important. So, are you ready to start? Let’s look at how to design a bike frame step-by-step!
Key Takeaways
Choose strong and light materials for your bike frame. This will make it last longer and work better.
Think about how you want your bike to fit and look. This helps you make a bike that is right for you.
Make sure all parts are lined up correctly when putting it together. This will help you have a smooth and safe ride.
Use CAD software to see your design. This helps you find problems before you start building.
Enjoy learning; making your own bike frame is fun and helps you get better at skills.
Tools and Materials
When you want to build your own bike frame, having the right tools and materials is very important. Let’s look at what you need to start.
Essential Tools
You will need some key tools to make things easier. Here’s a list of the tools you should collect:
Tube Cutter: This tool cuts the frame tubes to the right size.
Miter Saw: Use this for making precise angle cuts on your tubes.
Welding Equipment: A MIG or TIG welder is needed to join the frame parts.
File and Sandpaper: These help smooth out any rough edges.
Measuring Tools: A tape measure and calipers help you measure accurately.
Safety Gear: Don’t forget gloves, goggles, and a mask to keep safe while working.
Frame Materials
Choosing the right frame material affects your bike’s weight, strength, and ride comfort. Here are some popular choices:
Carbon Fiber: This material is light and stiff, great for racing. But, it can be costly and break easily under pressure.
Steel: Known for being strong, steel gives a comfy ride. However, it is heavier and can rust if not taken care of.
Titanium: This material is tough and doesn’t rust. It gives a smooth ride but is very expensive.
Aluminum: Cheap and light, aluminum is a common choice. But, it might not be as comfy as other materials.
Chromoly: A strong type of steel, chromoly is good for performance and price.
Here’s a quick comparison of these materials:
Frame Material | Weight Ranking | Durability | Ride Quality |
|---|---|---|---|
Carbon Fiber | Lightest | High | Responsive, absorbs bumps |
Aluminum Alloy | Heavier | Moderate | Less responsive, more flexible |
Steel | Heaviest | Very High | Strong but heavier, less responsive |
Titanium | Moderate | High | Firm, not easily bent |
Choosing the right tools and materials for your bike frame will help you succeed. With good preparation, you’ll be ready to start your bike-building project!
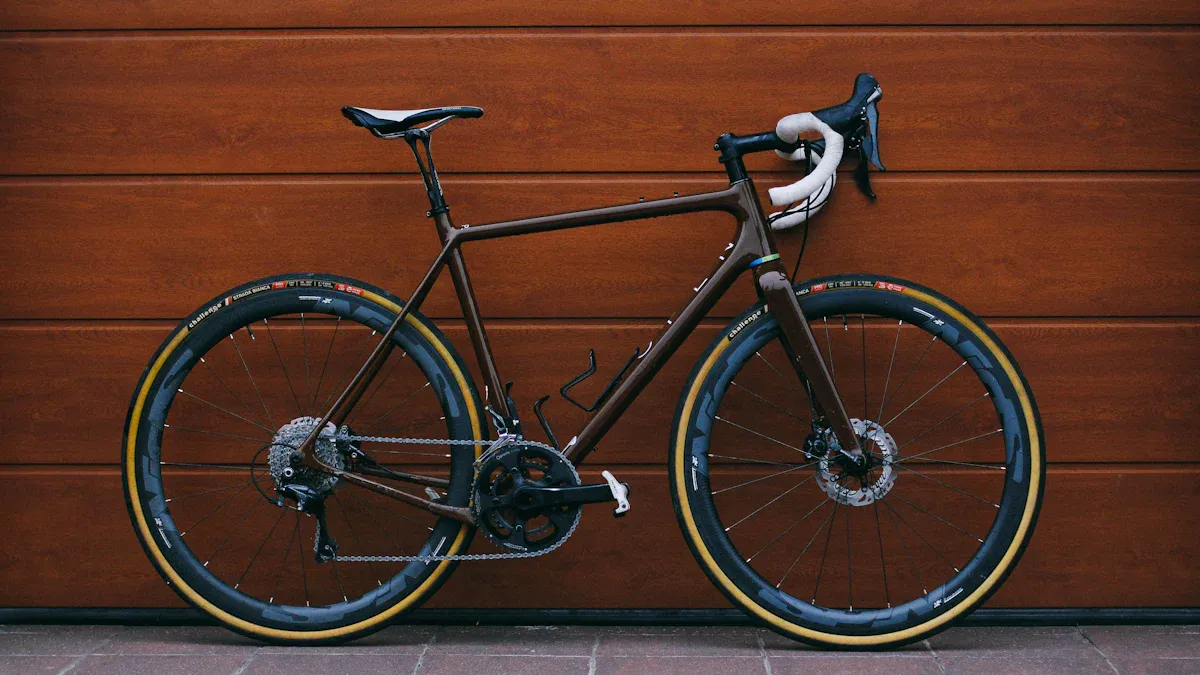
Design a Bike Frame
Designing a bike frame is one of the most fun parts of building your own bike. A custom design lets you make a frame that fits you just right. This helps you meet your needs, like comfort and performance. A good frame can help with problems like back pain or discomfort on long rides. Here are some key benefits of custom bike frame design compared to regular frames:
Perfect Fit: Custom frames give a fit that boosts comfort and performance, helping with issues like back pain or handlebar reach.
Personalization: You can change every part of the bike, from shape to parts, making a design that shows your style.
High-Quality Craftsmanship: Skilled builders make custom bikes, ensuring better quality than regular options.
Unique Aesthetic: Custom designs allow for special finishes and paint jobs, making each bike unique.
To make your design process easier, think about using CAD (Computer-Aided Design) software. This tool helps you see your frame before you start building. With CAD, you can easily change things and see how they affect the design.
Using CAD software helps find design problems early, cuts down on the need for physical models, and allows for design changes. This makes the design process faster and lowers the risks of bad parts.
Also, CAD software can show how your frame will work in different situations. This means you can test designs with structural analysis tools, which saves money because it cuts out the need for many physical models and long testing times.
When designing your bike frame, pay attention to important measurements that affect fit and performance. Here’s a quick overview of some key measurements to think about:
Measurement | Description |
|---|---|
Seat Tube Length | Distance from the center of the bottom bracket to the top of the seat tube. |
Standover Height | Distance between the ground and the top tube, affecting getting on and clearance. |
Saddle Height | Affects power output and comfort; should allow for a slight bend in the knee at the lowest pedal position. |
Foot Position | Proper foot placement on pedals to ensure good power transfer and lower injury risk. |
Stem Length | Affects rider reach and bike handling; adjustments can cater to flexibility and riding style. |
Handlebar Width | Affects aerodynamics and comfort; narrower bars improve aerodynamics, while wider bars enhance stability. |
Handlebar Reach | Distance the handlebar extends forward; related to stem length and affects riding position. |
Crank Length | Affects seat height and overall bike fit; usually ranges from 170mm to 175mm. |
Knowing these measurements is key for a good fit. For a bike to fit well, just knowing your standover height isn’t enough. You also need to think about the effective top tube (ETT) length, which is the horizontal distance between the head tube and the seat tube.
As you start this journey to design a bike frame, remember to avoid common mistakes. Here are a few tips to keep in mind:
Ignoring damage and defects: Check the frame and parts for any damage before starting the build.
Rear wheel/dropout alignment: Make sure everything is lined up by measuring and using a wheel to check the fit.
Glue mixing: Mix epoxy resin well for at least 2 minutes to make sure it sets right.
Poorly installed pedals: Use waterproof grease and install pedals by hand to avoid cross-threading.
By focusing on custom design and using tools like CAD software, you can create a bike frame that looks great and works really well.
Build a Bike Frame Step-by-Step
Building a bike frame can feel overwhelming, but breaking it down into manageable steps makes it easier. Let’s dive into the essential tasks you need to tackle.
Tube Mitering
First, you need to miter the tubes. This step is crucial because it ensures that the tubes fit together snugly at the joints. A good fit strengthens the frame and improves alignment. Here’s how to do it:
Order Tubing: Start by ordering the right tubing based on your design dimensions. Make sure you have enough butt length for the joints.
Miter Tubes: Use tools like tin snips or a milling machine to cut the tubes at the correct angles. This step is vital for creating consistent tube joints, which enhances strength and reduces the risk of frame failure.
Tip: Proper tube mitering minimizes the need for manual grinding or gap filling, leading to a cleaner fit and stronger welds.
Creating Chain Stays
Next, you’ll create the chain stays. These are the tubes that connect the rear dropouts to the bottom bracket. Follow these steps:
Fit Dropouts: Start by fitting the dropouts to the chain stays. Ensure they fit snugly and maintain the correct angles.
Miter and Attach: Miter the ends of the chain stays to match the frame’s geometry. Then, attach them securely to the frame.
Welding the Front Triangle
Now it’s time to weld the front triangle. This part of the frame includes the head tube, top tube, and down tube. Here’s how to do it effectively:
Align the Tubes: Before welding, double-check that all tubes are aligned correctly. Misalignment can lead to handling issues later.
Weld/Braze: Use TIG welding for the best results. This method provides strong joints. Remember to choose the right filler metals and set your machine correctly. Recommended amperage settings are about 1 amp per thousandth of material thickness.
Note: Pulsing techniques can help control heat input, improving weld consistency, especially for thin tubing.
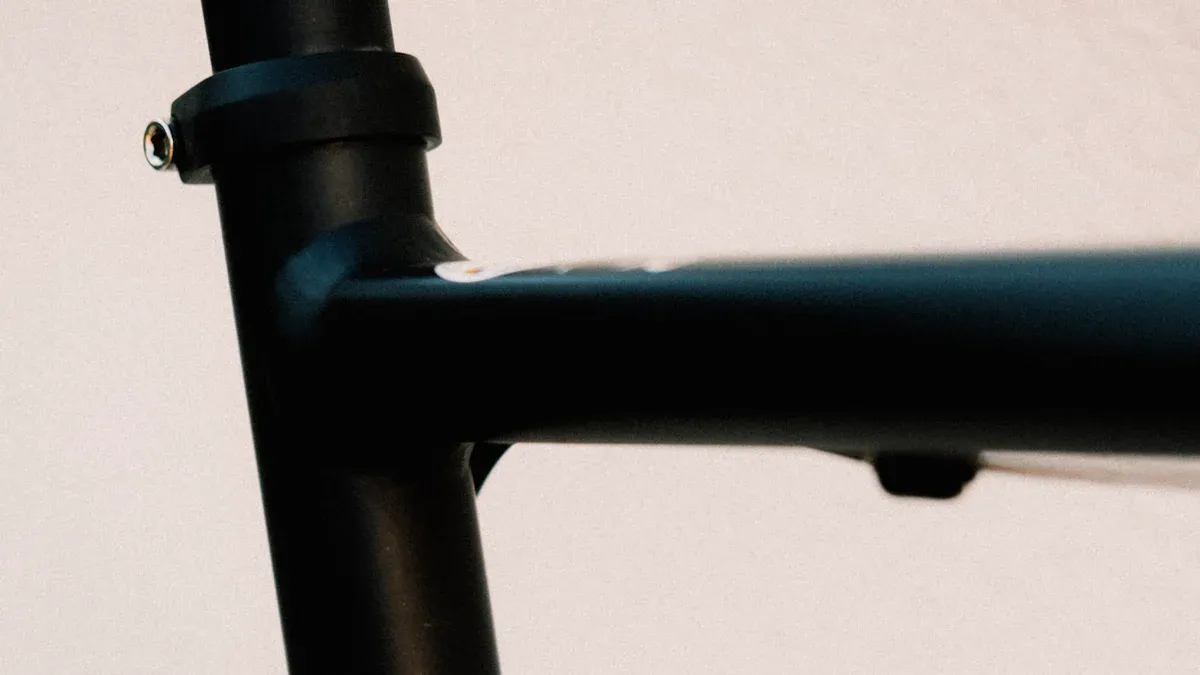
Attaching the Seat Post
Finally, you’ll attach the seat post. This step is essential for ensuring a comfortable riding position. Here’s how to do it:
Prepare Your Bike: Position your bike correctly to make installation easier.
Check the Seat Post: Clean the seat post to ensure a smooth fit.
Slide the Clamp Onto the Seat Tube: Align the clamp properly without twisting it.
Insert the Seat Post: Adjust it to your desired height and check for any tilting or misalignment.
Tighten the Bolt: Securely tighten the bolt, but be careful not to overtighten it.
Check for Tightness and Stability: Ensure everything is secure and stable before moving on.
Safety Precaution: Always wear gloves when using tools to protect your hands from injuries.
By following these steps, you can successfully build a bike frame from scratch. Remember, challenges may arise, but with patience and practice, you’ll overcome them.
Considerations for Building Your Own Bike
When you choose to build your own bike, two main things matter: frame geometry and material choices. Knowing these parts can help you make a bike that fits your style and needs.
Frame Geometry
Frame geometry greatly affects how your bike rides and feels. Here are some important points to think about:
Head Tube Angle: A steeper angle (like 73°) gives quick steering, which is great for racing. A slacker angle (around 65°) offers more stability, perfect for mountain biking.
Seat Tube Angle: A steeper angle (74-75°) helps you pedal efficiently, while a slacker angle makes long rides more comfortable.
Wheelbase: A longer wheelbase gives stability, making it easier to ride straight. A shorter wheelbase allows for faster turns and agility.
Stack & Reach: A higher stack helps you sit upright for comfort, while a longer reach leads to a more aggressive riding position.
Remember, how frame geometry and material work together can affect comfort and performance.
Material Choices
Picking the right material for your bike frame affects cost, weight, and how long it lasts. Here’s a quick look at popular materials:
Material | Cost (Expensive to Cheap) | Weight Characteristics | Longevity Characteristics |
|---|---|---|---|
Titanium | Most Expensive | Lightweight | High fatigue resistance |
Carbon Fibre | Expensive | Very Lightweight | High fatigue resistance |
Aluminium | Moderate | Lightweight | Moderate durability |
Steel | Least Expensive | Heavier | Very durable, but can rust |
Each material has its good and bad sides. For example, titanium is very strong but costs a lot. Steel is tough and cheap but can rust if not cared for.
When deciding to build your own bike or buy a ready-made frame, think about these factors:
Factor | Building a Bike Frame Independently | |
|---|---|---|
Cost | Usually more expensive | More cost-effective |
Customization | Maximum flexibility and choice | Limited to manufacturer options |
Knowledge and Experience | Needs a lot of knowledge | Good for beginners |
Time | Takes time to research and build | Saves time |
Component Quality | Can pick high-quality parts | Parts are pre-selected |
Risk of Incompatibility | High risk if inexperienced | Guaranteed compatibility |
By thinking about these points, you can make smart choices that match your cycling goals. Whether you want high performance or just enjoy building your own bike, knowing about frame geometry and material choices is very important.
Pros and Cons of Building a Bike
Making your own bike frame has good and bad sides. Let’s look at the pros and cons to help you decide if this project is for you.
Pros of Building a Bike Frame
Customization: You can pick every part of your bike. This lets you create a ride that matches your style and needs.
Learning Opportunities: You will learn important skills about how bikes work. You’ll get hands-on experience that helps with future projects.
Rewarding Experience: It feels great to make something from nothing. Many builders enjoy seeing their hard work become real.
Cons of Building a Bike Frame
Even though building a bike frame is fun, it has some challenges. Here are some common problems you might face:
Time-Consuming: Making a bike frame takes a lot of time. You could spend many hours learning, measuring, and fixing mistakes.
Precision Required: It’s very important to line up every part correctly. If things don’t fit well, it can hurt the bike’s performance.
Material Handling: You must choose strong and durable materials. This means you need to know about different materials and what they can do.
Skill Development: You will need to learn skills like brazing and handling materials. Patience is important because it takes time to get good at these skills.
Remember, many builders say this project is worth it because of the joy it brings. But, be ready for the challenges that come with it.
By thinking about these pros and cons, you can decide if you want to take on the exciting task of building your own bike frame!
Building your own bike frame is an exciting journey! You’ve learned about essential tools, materials, and the design process. Here are some key takeaways to remember:
Choose strong and light materials for durability.
Set clear goals for fit and style.
Regularly check alignment for a smooth ride.
Enjoy the process and take pride in your work.
So, why not take the plunge? Start your bike frame building adventure today! You’ll feel a sense of pride in creating something truly unique. Remember, every expert was once a beginner, so embrace the learning curve and enjoy the ride! 🚴♂️
FAQ
What are the essential parts of a bike frame?
The essential parts of a bike frame include the top tube, down tube, seat tube, chain stays, and head tube. Each part plays a crucial role in the bike’s structure and performance.
How long does it take to build a bike frame?
Building a bike frame can take anywhere from a few days to several weeks. It depends on your skill level, the complexity of the design, and the time you can dedicate to the project.
Can I use any material for my bike frame?
While you can technically use various materials, it’s best to choose ones like steel, aluminum, or carbon fiber. Each material has unique properties that affect weight, strength, and ride quality.
Do I need special skills to build a bike frame?
Yes, you need some skills, especially in welding and measuring. However, with practice and patience, you can learn these skills. Many resources are available to help you along the way.
What tools do I need to start building a bike frame?
You’ll need tools like a tube cutter, miter saw, welding equipment, and measuring tools. Having the right tools makes the building process smoother and more enjoyable.
See Also
Key Supplies Needed To Construct Your Custom Bike Frame
Understanding The Key Components Of A Bike Frame
Important Bike Frame Parts Every Cyclist Must Recognize