Dual suspension changes how you ride bikes. It improves how well you perform and makes you more comfortable on bumpy paths. When you start building custom bikes, it’s important to learn the best ways to do it. There are many choices available. Knowing the details about bike frame dual suspension can really improve your ride.
Key Takeaways
Dual suspension bikes give a smoother ride. They also offer better control on bumpy paths. This makes them great for different cycling styles.
Knowing about bike shape, materials, and suspension types is important. This helps you build a custom dual suspension bike that fits your needs.
Regular care is needed. You should check for leaks and clean your bike. This keeps your dual suspension bike working well.
Testing how your bike works is helpful. You can make changes based on what you feel. This improves comfort and handling for a better ride.
WHAT IS DUAL SUSPENSION?
Dual suspension, or full suspension, is a bike design. It has both front and rear suspension systems. This setup makes your ride better. It helps absorb shocks from bumpy ground. This gives you more control and comfort. Here are some main benefits of dual suspension:
Benefits of Dual Suspension
Impact Absorption: The rear shock takes hits from obstacles. This protects you and the bike frame.
Traction Maintenance: It keeps the rear wheel gripping during braking. It also helps on rough surfaces.
Fatigue Reduction: You will feel less tired on long downhill rides. The suspension handles most of the bumps.
Tuning Options: You can change the suspension to fit your weight. It can also match the type of terrain you ride.
With these benefits, many riders choose a bike frame dual suspension for their adventures.
Applications of Full Suspension Bikes
Full suspension bikes are great for many cycling types. Here are some popular uses:
Downhill (DH): This type focuses on fast descents and tricky terrain. Bikes here need a lot of suspension travel to handle impacts well.
eMTB (Electric Mountain Bike): These bikes are good for climbing and longer rides. They work well in many mountain biking situations.
DESIGN CONSIDERATIONS FOR BIKE FRAME DUAL SUSPENSION

When you build a bike frame with dual suspension, you need to think about some design choices. These choices can change how well your bike works, how comfortable it is, and how good your ride feels. Let’s look at the main areas to focus on: geometry, material choices, and types of suspension linkage.
Geometry and Handling
The shape of your bike frame is very important. It affects how the bike rides on different surfaces. Here are some key geometric factors to think about:
Geometric Factor | Description |
|---|---|
Head Angle | Affects how well a bike climbs or goes down hills; changes weight balance during climbs and descents. |
Seat Tube Angle | Influences where the rider’s weight sits compared to the bike’s axles, affecting handling on slopes. |
Reach | Important for bike fit; shows the distance between saddle and handlebars, affecting comfort and control. |
Stack | Affects handlebar height choice, which impacts riding position and comfort. |
Knowing these factors helps you build a bike that feels right for your style. Good geometry can improve your control and stability, especially on tough trails.
Material Choices
Picking the right materials for your bike frame is very important. Different materials have different strengths and weaknesses that can change your ride. Here’s a quick look:
Material | Advantages | Disadvantages |
|---|---|---|
Steel | Strong, durable, cheap, helps with suspension | Heavy, can rust |
Aluminum | Light, stiff, cheap, good strength-to-weight ratio | Not as durable, can feel rough on rides |
Carbon Fiber | Lightest, stiffest, great for speed | Can have durability problems, varies in quality and price |
Titanium | Very light, strong, great for suspension, lasts long | Expensive, hard to work with, tough to repair |
When choosing materials, think about how they affect the bike’s weight and strength. For example, aluminum is light and affordable, but it can wear out. Carbon fiber is very stiff and light, making it great for high-performance bikes.
Suspension Linkage Types
The kind of suspension linkage you pick can change how your bike absorbs shocks and how it rides. Here are some common suspension systems:
Suspension System | Characteristics | Pros | Cons | Examples |
|---|---|---|---|---|
VVP | Links that turn in opposite directions | Very adjustable for different needs | More complex and tighter fit | Santa Cruz Hightower, Pivot Trail 429 |
DW-Link / Maestro | Links that turn in the same direction | Adjustable for sensitivity and predictability | Might not pedal as efficiently | Devinci Troy, Trek Fuel EX |
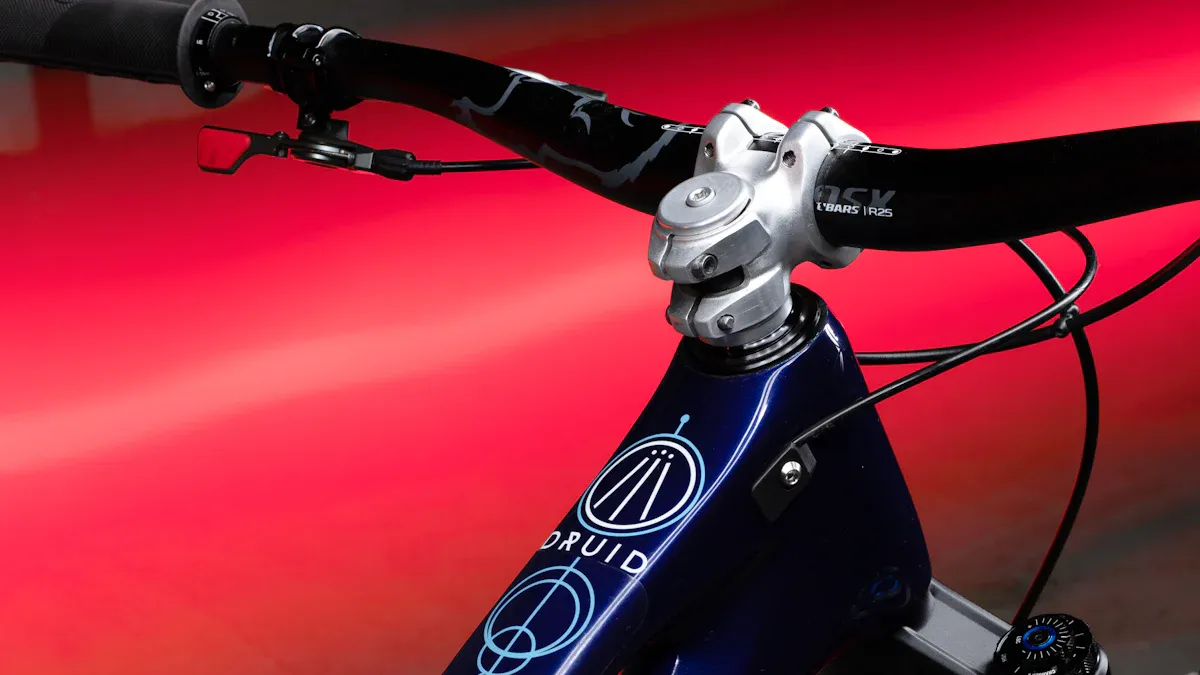
High-Pivot Idler | Idler pulley near the main pivot | Better at absorbing impacts | More complex and can create drag | Forbidden Druid, Cannondale Jekyll |
Split Pivot / ABP | Pivot located directly on the rear axle | Braking does not affect performance | Might not pedal as efficiently | Orbea Rallon |
Horst Link / 4-Bar | Pivot on the chainstay, just in front of the rear axle | Very adjustable and predictable | Can affect anti-squat and pedal kickback | Specialized Stumpjumper EVO, Canyon Strive |
Different linkage designs change how your bike handles shocks and reacts to the ground. For example, a higher leverage ratio may need stiffer springs, which can affect your tuning choices and overall ride quality.
By carefully thinking about these design parts, you can build a dual suspension bike that fits your needs and makes your ride better.
FABRICATION TECHNIQUES FOR FULL SUSPENSION

When you start building a full suspension bike, having the right tools is very important. The right techniques also help a lot. Let’s look at what you need to begin.
Essential Tools
You should gather some special tools to help you make your bike frame. Here’s a useful list of what you need:
Paragon tube blocks (for mitering)
Printed templates from BikeCAD or Fusion360
Pipe cutter (for rough cuts)
Hand files and hacksaw (for mitering)
Deburring tool
Emory cloth (sandpaper)
Small sanding drums (to clean inside tubes)
Acetone/IPA (for cleaning)
These tools will help you make accurate cuts. They ensure your frame fits together well.
Joining Methods
Joining the parts of your frame is very important for strength. You can use different methods like welding or brazing. Here are some common joining methods:
TIG Welding: This method makes strong, clean welds. It works well for aluminum and steel frames.
Brazing: This technique uses a filler metal to join parts. It’s often used with steel frames and allows for flexible designs.
Bolted Joints: If you want a non-permanent option, bolted joints are good. They let you make easy adjustments and repairs.
Finishing Techniques
After your frame is put together, you need to protect it from damage. Here are some finishing techniques to think about:
Protect areas where bag straps touch, especially around the head tube.
Use tape to cover chain and seat stays, plus fork blades, to avoid scratches.
Install Racer Tape (helicopter tape) for better protection and easy use.
Think about using Voilé Straps instead of Velcro for a softer hold on the frame.
These finishing touches not only make your bike look better but also help it last longer.
By using these fabrication techniques, you can make maintenance and assembly easier for your full suspension bike. With the right tools and methods, you’ll be ready to create a bike that fits your riding needs.
ASSEMBLY OF FULL SUSPENSION BIKES
Putting together a full suspension bike can be fun but also hard. You want everything to fit well and work right. To make this easier, let’s break it down into simple steps.
Pre-Assembly Steps
Before you start putting things together, get your workspace ready and gather all the tools and parts you need. Here’s a checklist to help you:
Clean Workspace: Make sure your area is neat and free from distractions.
Gather Tools: Have all your tools ready, like wrenches, screwdrivers, and any special tools for your bike.
Inspect Components: Look at all parts for damage or problems. This includes the frame, suspension parts, wheels, and drivetrain.
Read User Manuals: Get to know the user guides for your parts. They often have helpful setup tips.
Doing these steps will help your assembly go smoothly.
Assembly Process
Now that you’re ready, let’s go through the assembly process step-by-step. Follow these instructions carefully to make sure your full suspension bike comes together right:
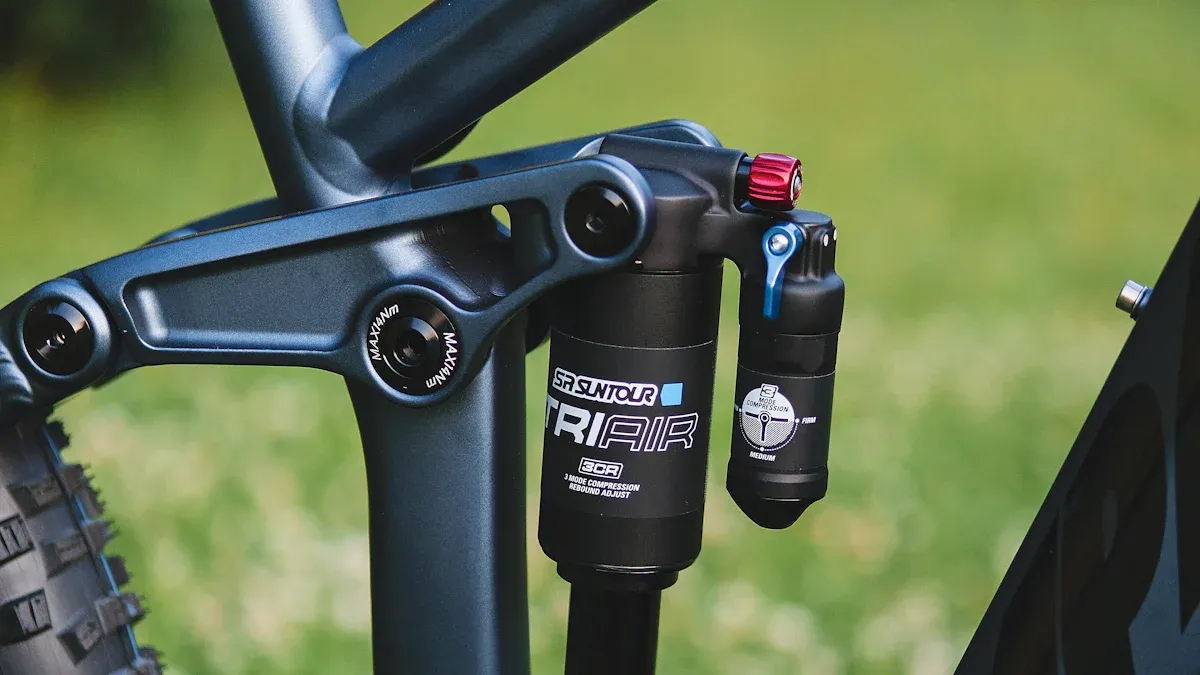
Install the Rear Shock: Start by attaching the rear shock to the frame. Make sure it’s tight and lined up correctly.
Attach the Swingarm: Connect the swingarm to the main frame. Make sure the pivot points are greased and move easily.
Install the Front Fork: Slide the front fork into the head tube and secure it with the headset. Adjust the headset tension if needed.
Mount the Wheels: Attach the front and back wheels. Make sure the axles are tight and the wheels spin freely.
Set Up the Drivetrain: Install the crankset, chain, and derailleurs. Adjust the derailleur settings for smooth shifting.
Install Brakes: Attach the brake calipers and connect the brake lines. Make sure everything is lined up for good stopping power.
Final Adjustments: Check all bolts and parts to ensure everything is tight and secure. Adjust the seat height and handlebar position for comfort.
Following these steps will help you put your bike together quickly and correctly.
Common Mistakes
Even skilled builders can make mistakes during assembly. Here are some common errors to watch out for:
Not setting sag first: This is a common mistake. Proper sag setup is important as it affects all other settings.
Using too much compression damping: Too much damping can stop the suspension from using its full travel, making the ride rougher.
Ignoring user guides: Manufacturers give helpful tuning tips that should be followed to make the suspension work better.
By knowing these mistakes, you can avoid them and make sure your bike works well.
With these assembly tips, you’re ready to build a great full suspension bike. Remember to take your time and check your work. Happy building!
TESTING AND ADJUSTMENTS
Testing your dual suspension bike is very important. It helps keep you safe and makes sure your bike works well. You want to see how your bike performs in different situations. Here are some good ways to test it:
Testing Methods
Testing Method | Description |
|---|---|
Material Testing | Checks if materials are strong and last through different tests. |
Structural Integrity Testing | Tests how well the frame can handle stress using load, impact, and vibration tests. |
Durability Testing | Looks at how materials hold up over time with regular use. |
Comfort Testing | Measures how comfortable the rider feels while using the bike, though details are not provided. |
Environmental Testing | Tests how the bike works in different weather conditions, though details are not provided. |
These methods help you see how your bike works in real life.
Performance Feedback
Getting feedback from your rides is very important. It helps you see if your bike fits your needs. You can use different tools to collect this information. Here’s a quick look at some helpful features:
Feature | Description |
|---|---|
GPS Antenna | For tracking your rides |
Waterproof | Makes sure it lasts in different weather |
Software Compatibility | Works with Windows, Mac, Android, and Apple mobile apps |
Brake Sensors | Helps you improve your braking skills |
Sampling Rate | Options for 500 Hz or 1000 Hz |
3D Printed Mounts | Custom mounts for shocks and forks |
Data Overlay | Can add data to your GoPro videos |
Sensors | Includes 3-axis accelerometer and gyro sensors |
Price | €1,749 |
User Guidance | Software gives setup tips based on how skilled you are |
Real-World Data | Settings based on data from many riders with different skill levels |
Using these tools, you can learn a lot about how your bike performs.
Adjustments for Improvement
After testing and getting feedback, you may need to make some changes. Here are some tips to help improve your bike’s performance:
Tune Suspension Settings: Change the sag and damping settings based on your weight and riding style. This can make your ride more comfortable and easier to control.
Check Frame Alignment: Make sure all parts are lined up correctly. If they are not, it can cause bad handling and wear out parts faster.
Upgrade Components: If you find any weak spots, think about upgrading parts like the shock or fork for better performance.
Regular Maintenance: Keep your bike clean and well-oiled. Regular care can stop problems and make your bike last longer.
By following these steps, you can make sure your dual suspension bike works its best. Remember, testing and adjustments are part of the process. They help you create a bike that is strong and fits your riding style. Happy riding!
Making a dual suspension bike can be fun and satisfying. Keep these important things in mind:
Dual suspension frames give you a smoother ride and better grip on bumpy paths.
Pick the right frame for your riding style, like cross country, downhill, or enduro.
Regular care, such as cleaning and looking for leaks, is important for the best performance.
Now that you know these tips, why not try building your own? Share your thoughts and questions in the comments below. Enjoy your ride! 🚴♂️
FAQ
What is the best suspension travel for my bike?
The best suspension travel depends on how you ride. For cross-country, 100-120mm is normal. Trail bikes usually have 120-150mm, while downhill bikes often have 200mm or more to absorb impacts well.
How often should I take care of my dual suspension bike?
You should check your bike after every ride. Look at the suspension for leaks and clean it. Do a full maintenance check every few months. This includes oiling moving parts and adjusting settings.
Can I upgrade my bike’s suspension later?
Yes! You can upgrade your bike’s suspension anytime. Just make sure it fits your frame and riding style. Look into options that meet your needs for better performance.
What tools do I need for basic bike care?
For basic care, you’ll need a multi-tool, tire levers, a pump, and a chain cleaner. A torque wrench is also useful to make sure everything is tight on the suspension parts.
How do I know if my suspension is set up right?
First, check your sag settings. Sit on the bike and see how much the suspension compresses. Aim for about 25-30% sag for the best performance. Change settings based on your weight and riding style.
See Also
Deciding on Hardtail Versus Full Suspension Mountain Bike Frames
Understanding Full Suspension Bike Frames and Their Functionality
Selecting Between Hardtail and Full Suspension Mountain Bikes
Comparing Enduro Bike Frame Materials for Durability and Strength
Key Factors to Evaluate When Selecting an E-Mountain Bike Frame
