
Making your own homemade bike frame is a fun adventure! You will feel proud when you create something special. To do well, you must get ready and collect the right tools. Keep in mind, with good help, you can build your own homemade bike frame!
Key Takeaways
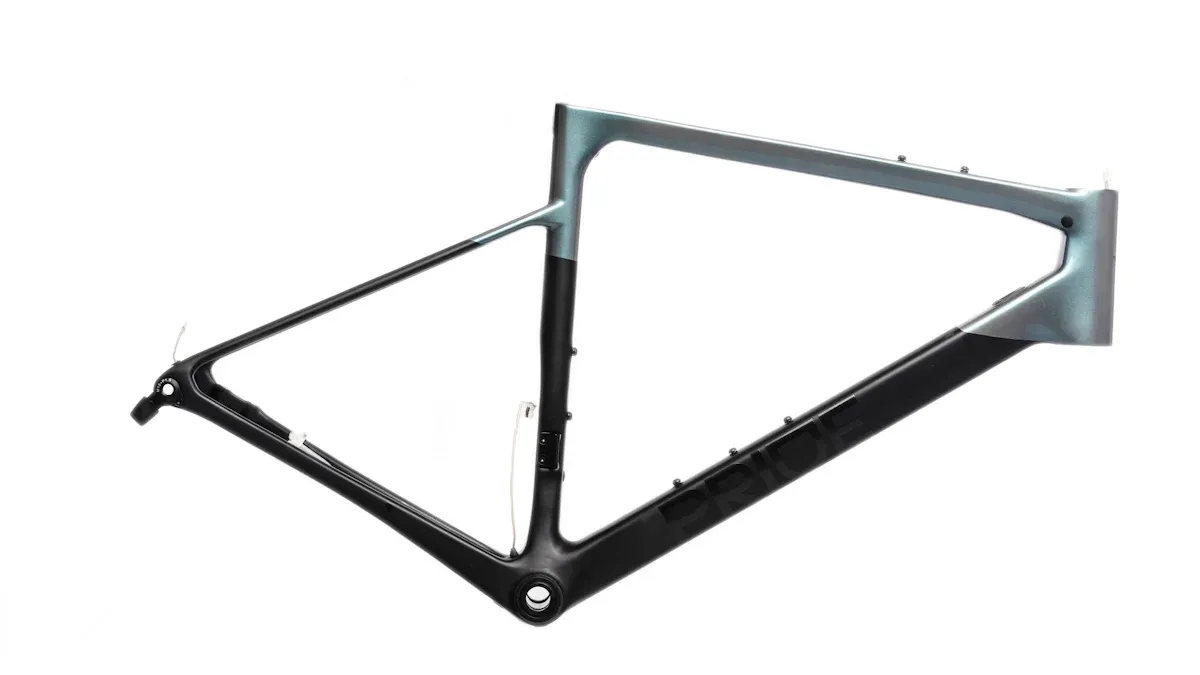
Choose the best materials like steel, aluminum, or carbon fiber. This helps with strength and weight.
Use design software like BikeCAD Pro. It helps you see your bike frame before you build it.
Make sure everything is aligned during assembly. This prevents problems and makes it safer.
Designing Your Homemade Bike Frame
Designing your homemade bike frame is very exciting. The right design changes how your bike looks and rides. Getting the size right is important for comfort and performance. Here are some key things to think about when deciding the shape and size of your bike frame:
Frame Size: This changes by brand and isn’t the same everywhere. You should check geometry charts to find what fits you best.
Stack and Reach: These measurements help make sure the bike fits you well. They affect your comfort and how the bike works.
Head Tube Dimensions: The angle and length of the head tube change how the bike handles. A steeper angle makes steering faster, while a slacker angle gives more stability.
Knowing these parts will help you make a bike that feels just right for you.
When designing your frame, you might want to use software or tools to help. Here’s a quick look at a popular choice:
Software | Description | Compatibility |
|---|---|---|
A program for bike frame builders that lets you input measurements. | PC, Mac, Linux |
Using design software like BikeCAD Pro can make things easier. It lets you enter your sizes and see how different designs will look and work.
Also, the material you pick for your frame can change your design. Here are some common materials and what they are like:
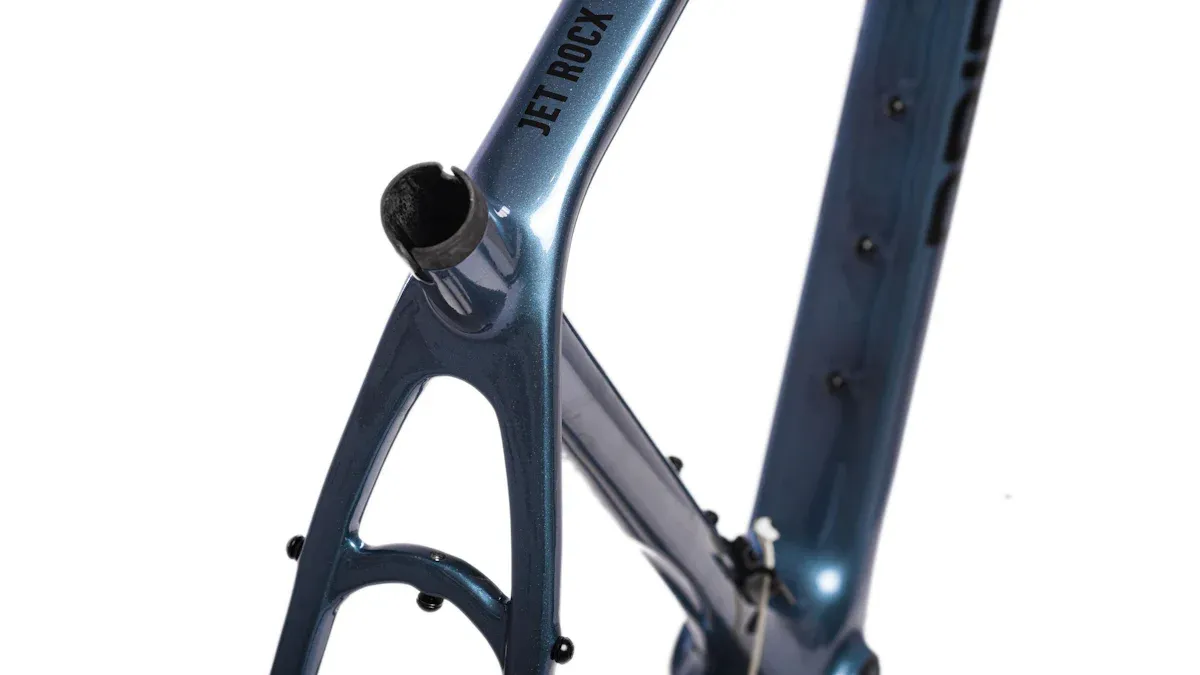
Carbon Fibre: This material is strong and light but can break under pressure. Be careful when making it.
Aluminium: It’s light and cheap, but it wears out faster. You can easily change designs with aluminium.
Steel: Known for being tough, steel is easy to fix. It’s great for touring bikes, but it’s heavier and can rust.
By thinking about these things, you can make a homemade bike frame that looks good and rides well. Take your time with the design, and feel free to try different ideas!
Gathering Components for Bike Building
Before you start building your bike, gather the right parts. Having everything ready will make your project easier and more fun. Here’s a list of important parts you’ll need:
Bike frame (usually comes with fork)
Right and left shifters
Front and rear derailleurs
Brakes (plus rotors if they are disk)
Brake pads (sometimes included with brakes)
Crankset
Cassette
Chain and master link
Cables and housing: shifter and brake
Bottom bracket
Wheels
Tubes and tires
Headset and spacers
Handlebars
Bar tape and electric tape
Stem
Seatpost
Saddle and pedals
Finding these parts can be a fun treasure hunt! You can look for parts at local bike shops, online stores, or even thrift shops. Just remember to check the quality before you buy.
Understanding Frame Standards
Now, let’s talk about frame standards. Knowing these standards is important to make sure your parts fit together well. Different bikes use different standards for things like bottom brackets and headsets. Here’s a quick look at some common standards and how they affect compatibility:
Standard | Description | Compatibility Impact |
|---|---|---|
PF30a | Asymmetrical shell width designs that do not change press fit adapters. | Compatibility is determined by the frame shell bore diameter. |
BB90/BB95 | Proprietary standards with internal bearing retainers. | Unique design affects compatibility with Trek® bicycles and specific components. |
American/Ashtabula | Uses a 51.5 mm cup pressed into the frame, common in older bikes. | Limited compatibility with modern components due to its older design. |
PF46 | Refers to a frame shell bore of 46mm, with varying shell widths. | Compatibility is influenced by the bore size and shell width variations. |
PF30 | Early industry name distinguishing it from BB30 (PF42) standard. | Compatibility is primarily based on the frame shell bore size. |
When you pick your parts, make sure they match your frame’s standards. This will save you time and frustration later on.
Building your bike frame can be a great experience. You’ll learn a lot and create something special that fits your style. So, gather your parts, understand the standards, and get ready to enjoy building your bike!
Essential Tools for Frame Building
When you dive into building your bike frame, having the right tools makes all the difference. Let’s break down what you’ll need.
Basic Hand Tools
First up, you’ll need some basic hand tools. Here’s a handy list of essentials:
Heat source (oxy-acetylene or arc welder, or MAPP for a cheaper option) – for welding.
Hacksaw and 32tpi blade – perfect for cutting metal.
Half-round file – smooths out those rough edges.
Drill (hand drill) with 3-4 drill bits – for making holes.
Pen or scribing tool (a nail works too) – to mark your measurements.
Vise (preferably bolted to a workbench) – holds materials securely.
Grinder with cutting and grinding disks – for rough work.
These tools will help you get started on your frame with confidence!
Specialized Equipment
Once you have the basics, consider investing in some specialized equipment. This might include:
Brazing torch – for joining metal parts.
Frame alignment tools – to ensure everything is straight.
Tube notcher – for precise cuts on frame tubes.
These tools can elevate your frame-building game and help you achieve a professional finish.
Safety Gear
Safety should always come first! Make sure you have the following gear:
Safety goggles – protect your eyes from sparks and debris.
Gloves – keep your hands safe from sharp edges and heat.
Dust mask – wear this when sanding or grinding to avoid inhaling particles.
By equipping yourself with the right tools and safety gear, you’ll set yourself up for a successful bike frame-building experience. Happy building!
Frame Assembly Steps
When you start putting your bike frame together, focus on two main things: joining techniques and aligning the frame. Let’s go over them!
Joining Techniques
Joining the tubes of your bike frame is very important for strength and durability. Here are some good methods you can use:
Fillet Brazing: This method uses brass to connect the tubes. It’s perfect for beginners because it’s easy to fix and adjust.
TIG Welding: This method is often liked by skilled builders. It uses stronger steel filler material, which makes the frame stronger. Remember, the Heat Affected Zone (HAZ) is smaller with TIG welding. This helps keep the surrounding metal strong.
Both methods work well if you design the joints correctly. Just make sure to practice a little before working on your final frame!
Aligning the Frame
After you’ve joined the tubes, alignment is your next focus. Proper alignment is key for keeping your bike frame strong. If it’s not aligned right, it can cause handling problems and put extra stress on joints. This might lead to failures later. Here are some common issues from misalignment:
Handling and tracking problems from wheels that are not aligned.
Chainline and shifting issues from rear cogsets that are not lined up.
Trouble removing and installing wheels.
To align your frame, use a frame alignment tool. This will help you check that everything is straight. Take your time with this step; it’s very important for a smooth ride!
By focusing on these assembly steps, you’ll be on your way to building a bike frame that looks great and rides smoothly too!
Final Adjustments and Finishing Touches
After you build your bike frame, it’s time for some last changes and finishing touches. This step is very important for safety and quality. Let’s see what you need to do!
Inspecting for Safety
Before you ride, check your bike frame carefully. Here are some good practices to follow:
Description | |
|---|---|
Reinforcement of Holes | Use grommets or strengthen areas where holes are needed to stop cracks from starting. |
Quality Control Checkpoints | Set up several QC checkpoints during building to find problems early. |
Material Verification | Make sure the right alloy is used and check with material certifications. |
Surface Finish Inspections | Look for pinholes or gaps in paint that could cause rust. |
Final Build Verification | Do a final build of random sample frames to check that all parts fit well. |
Make sure to do a visual and touch inspection. Look for any damage, especially around important areas like the head tube and bottom bracket.
Painting and Finishing
Now, let’s talk about making your bike frame look nice! Picking the right painting method can improve both strength and looks. Here’s a quick overview:
Description | Pros | Cons | Use Case | |
|---|---|---|---|---|
Liquid Paint | Sprayed on, good for custom jobs | Many color choices, good gloss/matte options | More VOC emissions, less durable | Urban bike brands with custom designs |
Powder Coating | Fuses into a strong layer in a hot oven | Great sticking, no VOC emissions | Limited detail control | Cargo bikes, utility e-bikes |
Anodizing | Special finish for aluminum | Very strong, fade-resistant | Limited colors | Premium lightweight e-bikes |
Choose a method that matches your style and needs. A good finish not only looks nice but also protects your frame from weather.
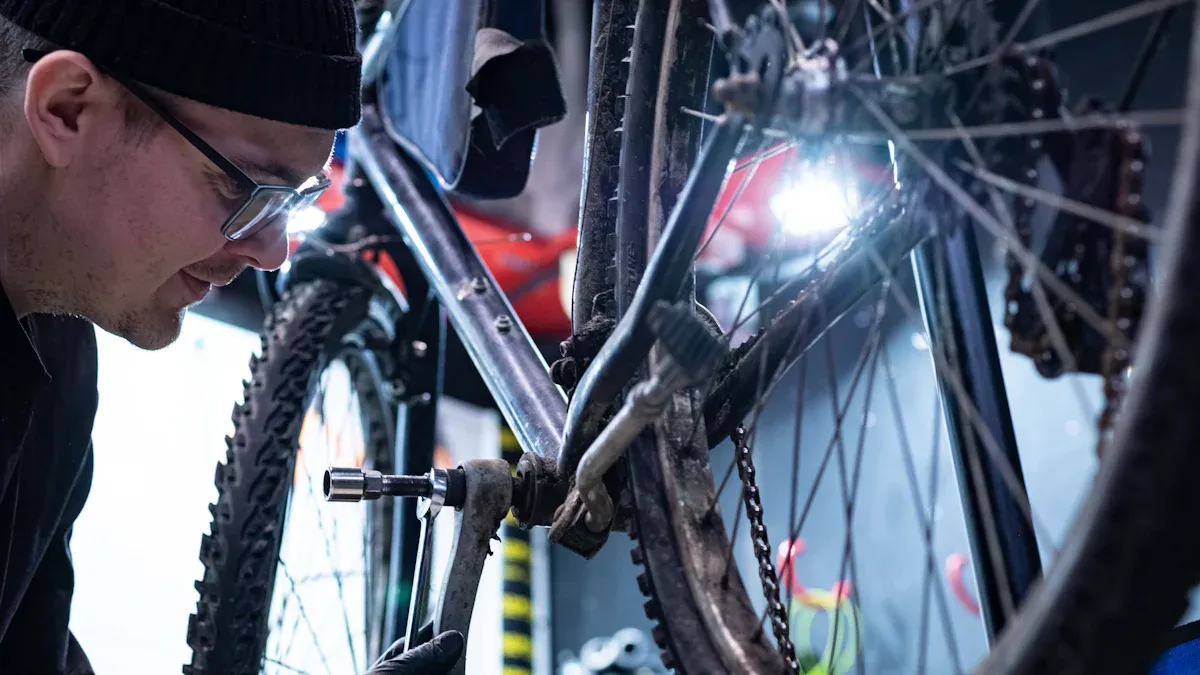
Installing Components
Finally, it’s time to put in the components. Watch out for common problems that can happen during this step:
Explanation | |
|---|---|
Mis-threaded pedals | Wrong installation can happen if the wrong pedal is used on the wrong side. |
Incorrectly installed forks | Forks may be put in backwards, causing tire clearance problems. |
Poorly adjusted limit screws | Limit screws often need adjusting, as they are rarely set right from the factory. |
Loose components | Common with saddles and other parts that may not be tightened properly. |
Tangled cable housing | Proper cable routing is key for smooth operation and safety. |
Take your time to make sure everything fits well. Proper installation will give you a smoother ride and a safer biking experience.
With these final adjustments and finishing touches, you’ll have a bike frame that’s safe and ready to ride in style!
Troubleshooting Common Issues
Building your bike frame can be a fun project, but you might face some common problems. Let’s solve these issues together!
Misalignment Problems
Misaligned wheels: This can cause tracking issues.
Misaligned frame: It changes how the bike rides.
Misaligned rider position: This can make rides uncomfortable.
To fix these problems, make sure to align the bottom bracket shell correctly. You can use methods like:
Cold-setting: Slightly adjust the frame to fix alignment.
Alignment tables: These help check if everything is straight.
Specific tools: Use tools made for checking frame and fork alignment.
Material Weakness
Sometimes, the materials you choose can have weak spots. Here’s what to watch for:
Breakage of fibers: Individual fibers may snap under pressure.
Debonding of fibers: Fibers can come apart from the epoxy-resin.
Delamination: Layers of material might peel away.
Matrix cracking: The epoxy-resin can crack, which weakens it.
To find these issues, tap the tubes and listen for sound changes. You can also use X-ray or ultrasound scans for a good check.
Adjusting Fit and Comfort
After putting your bike together, you might need to adjust it for a better fit. Here’s how to do it:
Set saddle height: Your leg should be straight with the toe slightly up when sitting.
Adjust the saddle’s fore-and-aft position: Use a level to be accurate.
Handlebars and stem adjustments: Follow expert advice or visit a local bike shop to try an adjustable stem.
Remember, set the handlebar height after adjusting the saddle height. Change the saddle angle based on your comfort for the best power while pedaling.
By fixing these common issues, you’ll have a smoother ride and a more enjoyable biking experience!
Building your bike frame at home can be a rewarding journey! Here are some key takeaways to remember:
Set clear goals for fit and style.
Regularly check alignment for a smooth ride.
Enjoy the process and take pride in your work.
Don’t hesitate to seek help from communities like Cobra Framebuilding, which offers great resources, including over 100 YouTube videos. Remember, practice makes perfect, so take your time and have fun!
FAQ
What materials should I use for my bike frame?
You can use steel, aluminum, or carbon fiber. Each material has its own good points. Pick one based on what you need and how much money you have.
How long does it take to build a bike frame?
Building a bike frame can take a few days or even weeks. It depends on how skilled you are and how complex your design is.
Can I customize my bike frame design?
Yes, you can! You can change your bike frame design to match your style and likes. Just make sure it is safe and works well.
See Also
Key Supplies Needed To Construct Your Custom Bike Frame
Learn Simple Techniques To Perfectly Draw Bike Frames
Important Gas Bike Frame Advice For Every Builder
Exploring The Ups And Downs Of Wooden Bike Frame Construction