
You want a dirt bike build that fits your body and riding style. Many riders choose a dirt bike frame kit because they want more than what standard bikes offer.
In the electric dirt bike community, riders often build from frame kits to get more power, better size, and custom options not found in commercial models.
A dirt bike frame kit lets you adjust frame geometry and create a full build overview that matches your needs. Just swapping parts does not give you a bike that feels right.
Riders explain that only a custom frame provides the correct proportions and attachment points for a true full build overview.
With the right approach, you can find a kit that is easy to build, safe, and perfect for your next dirt bike build. This tutorial will help you start your dirt bike build with confidence.
Key Takeaways
Pick a dirt bike frame kit that matches how you ride and your engine. This helps your bike work well and keeps you safe.
Get your workspace ready with the right tools. Make sure you have good lights and a clean spot. This makes building easier and safer.
Follow each step when you put the bike together. Check if the frame lines up. Make sure the engine fits. Set up the suspension. Look at the wiring and controls.
Stay neat by labeling all the parts. Keep hardware in different places. Use checklists to stop mistakes and save time.
Ask for help if you need it. Use online guides to learn new things and fix problems while you build.
Frame Kit Selection
Compatibility
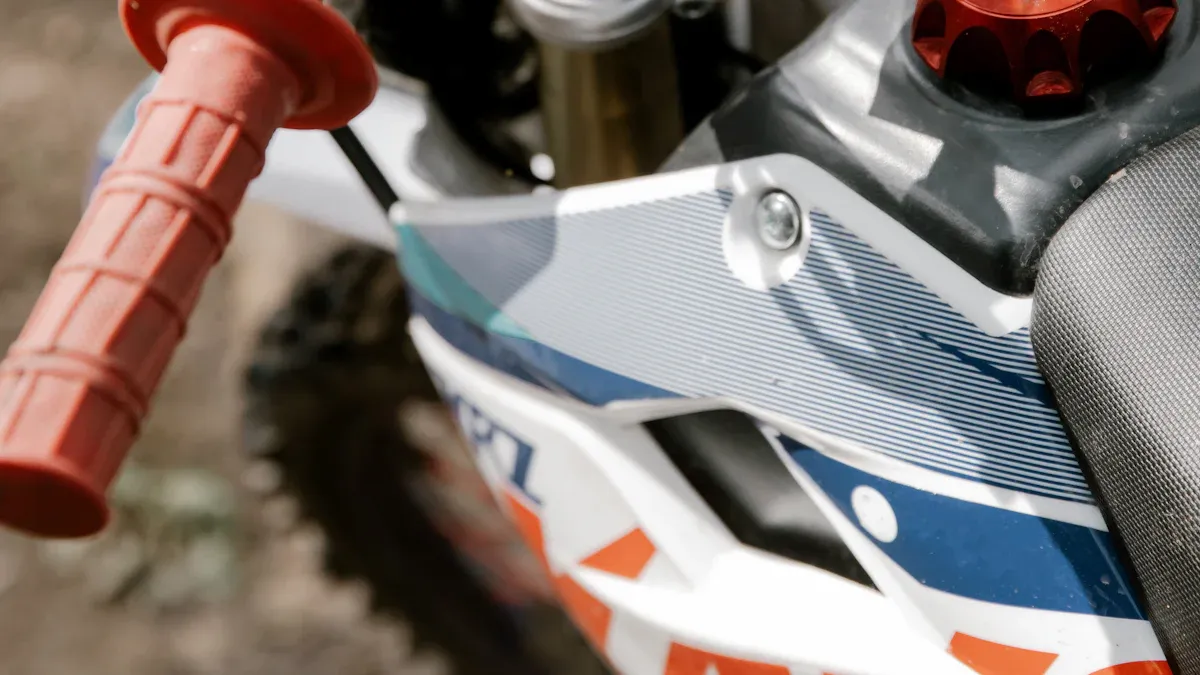
Pick a dirt bike frame kit that fits how you ride. Some kits are better for trails. Others work best for motocross or enduro. Make sure the frame kit matches your engine type. Electric builds need special care. For example, the Yamaha YZ-EMX electric conversion kit swaps the gas engine for an electric motor and battery pack. This keeps the frame strong and easy to handle. But it changes how the power feels. Many new electric kits use twin spar frames. These frames fit big battery packs more easily. Gas-powered frames hold engines and fuel systems. You must check that the mounting points and shape fit your powertrain.
Tip: Check OEM rules if you want to race. Some races only let you use certain frames or changes.
Geometry and Strength
Frame geometry changes how your bike rides. Look at the steering angle, wheelbase, and where the suspension mounts. These things affect how your bike turns and handles bumps. Strong materials help your bike last longer. Here is a table that compares frame materials:
Frame Material | Strength | Weight | Durability & Shock Absorption | Repair & Maintenance | Suitability for Off-Road Performance |
|---|---|---|---|---|---|
Aluminum Alloy | Strong, corrosion-resistant | Lightweight | Good durability, enhances handling | Easier to maintain than composites | Excellent for agility and tough conditions |
Chromoly Steel | Stronger and lighter than steel | Moderate weight | Superior shock absorption and durability | Easier to repair than aluminum | Popular for competitive off-road builds |
Carbon Fiber | Extremely strong | Very lightweight | High stiffness, less shock absorption | Difficult and costly to repair | Best for high-performance, less practical for general use |
Magnesium Alloy | Good strength | Very lightweight | Less durable | N/A | Weight advantage, durability concerns |
Titanium Alloy | Excellent strength, corrosion resistance | Lightweight to moderate | Durable | Expensive, harder to weld | High-performance, cost limits general use |
Cost Factors
Building a dirt bike frame kit costs a lot. Make a budget and expect some surprises. You might spend more on engine repairs, frame changes, or new suspension. Wheels, tires, and custom paint also add up. Labor costs go up if you need help. Taking a bike apart to the frame can cost about $750. This does not include cleaning, new bearings, or fixing rust. These jobs take more time and money. Save 20-30% extra for things you did not plan for. Write down every purchase and upgrade the most important parts first.
Save extra money for stripped bolts, tools, and missing parts.
Upgrade important parts before you buy paint or graphics.
Paying someone to help can cost more, especially if you are new.
Dirt Bike Build Preparation
Tools and Workspace
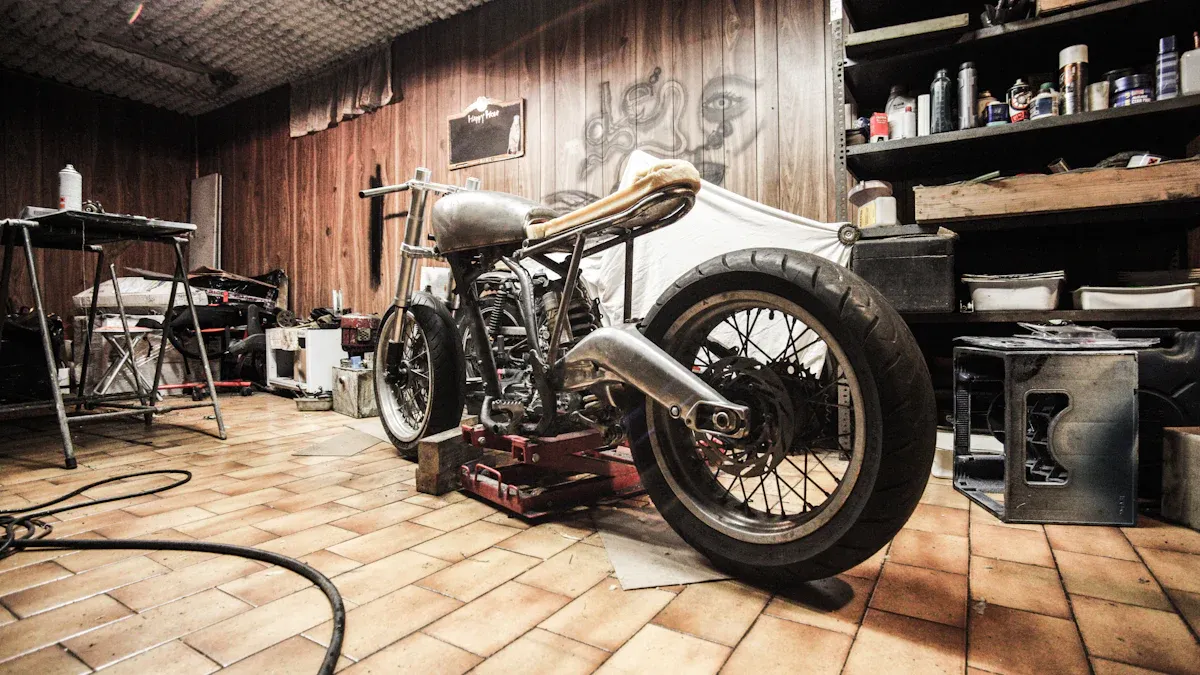
A successful dirt bike build starts with the right tools and a good workspace. You need a clean, well-lit area to work. This helps you find parts quickly and keeps your project safe. Use a sturdy workbench or table. Keep your tools organized so you do not waste time searching for them. Good lighting lets you see small details and avoid mistakes. Always keep a fire extinguisher nearby, especially if you work with fuel or do any welding.
Here is a table of essential and optional tools for your dirt bike build:
Category | Details |
|---|---|
Essential Tools | Wrenches (3/4″, 1/2″, 7/16″), Sockets (10mm, 13mm, 14mm, 17mm), Allen Keys (T30 Torx), Drill with 17/64″ bit, Screwdrivers (Phillips, flathead), Needle-nose pliers, Rubber mallet, Measuring tools (Silver Sharpie), WD-40, zip ties, pocket knife |
Optional Tools | Impact driver/wrench, Socket extensions, Work light, Assembly table or workbench |
A tidy workspace makes your dirt bike build smoother and safer.
Parts Checklist
Before you start, gather all the parts you need. Missing parts can slow down your dirt bike build. Check your frame kit for all included items. Make a list of extra parts like the engine, wheels, suspension, brakes, and wiring. Lay out each part and check for damage. Use small containers or bags to keep bolts and nuts together. Label everything so you do not mix up parts during assembly.
Tip: Double-check your checklist before you begin. This step saves time and prevents frustration later.
Safety Steps
Safety matters in every dirt bike build. Wear protective clothing made of cotton or wool to prevent burns. Avoid synthetic fabrics because they can melt. Use heavy, flame-resistant gloves when welding. Leather boots protect your feet from hot debris. Always wear safety glasses or a welding helmet with a tinted shade to shield your eyes. Keep your welding area free of flammable materials. Make sure your equipment works well and check cables for damage. Use a dry-powder fire extinguisher nearby. Work in a space with good airflow to avoid breathing in fumes. Treat all electrical parts as live and keep your hands dry.
Remember: Safe habits protect you and help your dirt bike build go smoothly.
Assembly Steps
Frame Assembly
Begin by checking the frame for any cracks or bad welds. If you find a problem, fix it by grinding and re-welding. Feel the frame with your hands to find sharp or rough spots. Sand down high areas on welds, but do not make them weak. Use a chemical like Krud-Kutter to clean off rust. Before painting, use fine blasting to smooth the frame. Put cutting oil in bolt holes to clear out rust and help bolts go in. Smooth sharp steel edges so paint does not crack. Knock off weld splatter with a hammer and chisel. Use small grinders to clean tight spots. Do not use flat sanders on tubes because they can make flat spots. Get the frame ready for paint with rust remover and abrasive discs.
Once the frame is clean, sort all the hardware. Take off all shipping stuff, zip ties, and foam. Put bolts and spacers in labeled boxes. Take the bike off the shipping frame by removing the front axle bolt and nut. Keep the spacers and remember where they go. Put the handlebars on the triple tree. Attach the front fender and number plate. Start bolts by hand so you do not cross-thread them. Get the brake caliper ready by taking out plugs and opening it with wedge tools. Put on the front wheel with the right spacers. Line up the brake disc between the pads and tighten the axle bolt. Spin the wheel and pump the brake lever to test the front brake.
Tip: Always check if the frame is straight before moving on. A straight frame helps your bike ride well and stay safe.
Engine and Drivetrain
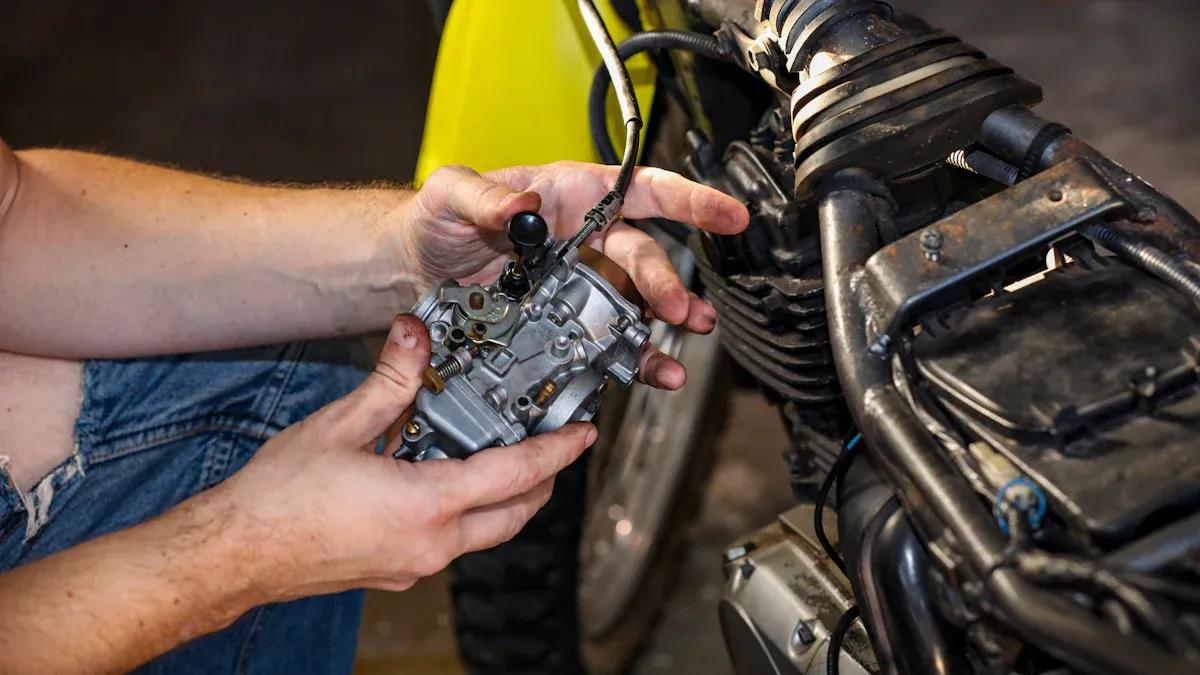
Attach the engine to the frame with bolts and lock washers. Slide the engine back to make chain adjustment easier later. Use a straight edge to line up the clutch sprocket and drive wheel sprocket. This keeps the shafts straight. Cut the chain to the right length and add the master link. Move the motor mount so the chain has a little slack. Clamp the mount and tack weld it after checking alignment. For custom builds, you might need to cut and drill a steel plate for the engine. Leave bolts loose at first so you can move the engine if needed. Tighten bolts carefully so you do not crush the frame. Move the clutch and jackshaft plate side to side to stop the chain from rubbing. Check and fix chain tension after your first rides. This helps stop noise, shaking, and early wear.
If you are building an electric dirt bike, take out and charge the battery safely. Follow the steps for ignition and connectors. Put in the motor and battery pack, making sure everything is tight. Test things like NFC and reverse mode after putting the battery back in.
Suspension and Wheels
Make sure your suspension parts fit the frame and mounting spots. Check that the rear shock is the right size and stroke. Tighten all pivot bolts with the right bushings, reducers, or bearings. Use a torque wrench to tighten bolts to the right level. This keeps your bike strong and safe. Set sag and rebound damping for your weight and the ground you ride on. Sag changes how your bike handles. Change suspension travel for your riding style. Make sure there is space between suspension, brakes, tires, and drivetrain.
For the front suspension, check that it fits the headset, fork length, steerer tube, axle, and brake mount. After putting it on, test how far it moves and change settings if needed. This makes sure your bike works smoothly and handles well.
Note: Setting up your suspension is more important than buying new parts right away. Ask a dealer or suspension expert if you need help with springs or damping.
Put on the wheels by greasing the axle and putting spacers in the right place. Tighten the axle nut and pinch bolts to the right amount. Pump up the tires, balance the wheels, and break in the brakes.
Wiring and Controls
Wiring can be hard in both regular and electric dirt bike builds. Solder thin sensor wires for strong connections. Cover them with heat-shrink tubing. If you cannot solder, use good crimp or waterproof connectors. Tie fixed wires to the frame to stop them from pulling. Check connectors for dirt, water, or loose parts. Clean off rust with contact cleaner and a brush. Put dielectric grease on connector pins to keep water out. Lock connectors with clips or zip-ties so they do not shake loose. Keep cables neat with zip ties and clips. Leave some slack at moving parts. Protect cables near the motor with spiral wrap or split loom. Make drip loops to stop water from getting into connectors.
Turn off and unplug the battery before fixing wiring. Use a multimeter to check for breaks or shorts. Replace weak wires or cheap connectors with better ones. If you have big problems, get help from a pro.
Tip: Keeping cables neat and checking them often helps your bike stay reliable.
Final Checks
Before riding, check everything carefully. Look at tires and wheels for the right type, air, tread, and alignment. Make sure lights and mirrors work. Check the horn and speedometer. Look at the exhaust to see if it is installed right and not too loud. Make sure all changes and bolts are tight. Use safety wire on oil drain plugs and master link clips if you race. Test the throttle return and kill switch. Make sure levers have ball ends or hand guards. Check the front brakes and tire shape. Look for leaks in fluids. Put in the right coolant and fuel catch cans. Protect metal parts with sliders. Remove sharp or dangerous edges.
Test ignition coils, brakes, and clutch. Check the chain or belt for tightness and oil. Look at the battery and its wires. Check suspension, swingarm, and fork length. Do one last check to make sure your bike is safe and ready to ride.
Remember: Always wear a DOT helmet, gloves, and protective clothes. Bring your papers, registration, and insurance when you ride.
Common Pitfalls
Alignment Issues
You might face alignment problems during your dirt bike build. The most common issues include a twist in the front triangle, especially at the head tube, and misalignment of the rear axle. These problems can make your bike hard to control. To avoid them, always check the frame on a flat surface before welding. Use precise tools like height gauges and adjustable standoffs to measure angles and parallel lines. Make sure the head tube and seat tube line up. Tight miters and careful welding help prevent heat from twisting the frame. Try not to bend the frame after welding, as this can cause damage. Small misalignments may not affect most riders, but you should aim for the best fit possible.
Tip: Use the head tube as your main reference point when checking alignment.
Fastener Mistakes
Fasteners hold your dirt bike together. If you use the wrong bolts or tighten them too much or too little, you risk serious problems. Too little torque lets parts loosen. Too much torque can stretch or break bolts, even if you do not see damage. Some bolts are for one-time use only and must be replaced. Always use a torque wrench and follow the manufacturer’s torque specs. Lubricate bolts if the instructions say so, because oil changes how tight the bolt gets. Make sure bolts move freely before you tighten them. This helps prevent thread damage and keeps your bike safe.
Skipping Instructions
You might feel tempted to skip steps or ignore the manual during your dirt bike build. This can lead to missing parts, poor fit, or unsafe assembly. Always read the instructions fully before you start. Follow each step in order. If you get stuck, look for help online or ask someone with experience. Careful work now saves you time and money later.
Troubleshooting
If something does not fit or work right, stop and check your work. Look for parts that are out of place or bolts that are not tight. Use your checklist to find missing items. If you find a problem with alignment or fasteners, fix it before moving on. Take your time and do not rush. A careful approach helps you finish your dirt bike build safely and smoothly.
Build Tips
Organization
Stay organized from the start. Label every part and keep small hardware in separate containers or bags. Use a marker or tape to write where each part belongs. Take photos as you work. These pictures help you remember how things fit together. Keep your workspace tidy. Put tools back in their place after each step. A clean area helps you find what you need and keeps your dirt bike build moving forward.
Tip: Make a checklist and cross off each step as you finish it. This keeps you on track and helps you spot missing parts early.
Lubricants and Tools
Using the right lubricants and tools makes assembly smoother and protects your bike. Here is a table of recommended products and their uses:
Product Name | Purpose/Benefit |
|---|---|
Premium Grease | Lubricates bearings for smooth operation. |
Ceramic Grease | Advanced bearing lubrication for bottom bracket, hub, and headset. |
Fiber Grip™ | Stops slippage between carbon fiber parts. |
Anti Seize Assembly Lubricant | Prevents metal parts from sticking or seizing. |
Dry Lube | Keeps chain and frame parts clean by repelling dirt. |
Wet Lube | Protects chain from rust and keeps drivetrain smooth. |
Pro Grease Gun | Applies grease in tight spots. |
Mechanic Grip™ Gloves | Protects your hands and improves grip. |
Absorb-It™ Mat | Keeps your work area clean by soaking up spills. |
No Drip Chain Luber™ | Applies chain lube evenly without mess. |
Always use gloves when handling chemicals. Wipe up spills right away to keep your workspace safe.
Getting Help
You do not have to build alone. Many builders use online resources to learn new skills. YouTube channels like Café Racer Garage and Bikes and Beards offer step-by-step videos for welding, wiring, and assembly. These tutorials let you pause and replay as needed. Forums such as Reddit’s r/motorcycles and ChopCult give you a place to ask questions and share your progress. Other builders can offer advice and help you solve problems. Posting photos of your project helps you track your work and get feedback. These communities also help you plan your budget and avoid common mistakes.
Note: If you get stuck, do not hesitate to ask for help. The dirt bike community is full of people who want to see your project succeed.
Building a dirt bike from a frame kit takes planning, patience, and attention to detail. You should prepare your workspace, gather all parts, and follow each step carefully. Many new builders share these common questions and challenges:
Is the motor axle length right for the frame?
How do you pick the best power and battery for your terrain?
Where can you find small parts and manage costs?
What if your parts do not fit or seem underpowered?
How do you improve your metalworking skills?
You may find the process harder than expected, but you will gain new skills and confidence. Stay safe, ask questions, and share your progress with others. Your effort will pay off with a custom bike you can be proud of.
FAQ
What tools do I need for a dirt bike frame kit build?
You need wrenches, sockets, screwdrivers, pliers, a torque wrench, and a drill. Keep a workbench and good lighting ready. Use a fire extinguisher if you weld. Organize your tools before you start.
How do I know if my parts are compatible?
Check the frame kit manual for a list of compatible engines, wheels, and suspension. Match the mounting points and sizes. If you feel unsure, ask the kit supplier or check online forums for advice.
Can I build an electric dirt bike with a frame kit?
Yes, you can build an electric dirt bike. Choose a frame kit made for electric motors and batteries. Make sure the frame has space for the battery pack. Follow all safety steps when working with electrical parts.
What should I do if something does not fit?
Stop and check your instructions. Look for the correct part number. Try to fit the part again. If it still does not work, ask for help on a forum or contact the kit supplier.
How much does a dirt bike frame kit build cost?
Costs vary. Most builds start at $1,500 for basic kits and used parts. Custom builds with new parts can cost over $4,000. Save extra money for tools, upgrades, and unexpected repairs.
See Also
Important Advice For Builders Crafting Gas Bike Frames
Must-Have Supplies And Tools To Build A Bike Frame
Popular E-Bike Frame Kits Everyone In The Community Loves