
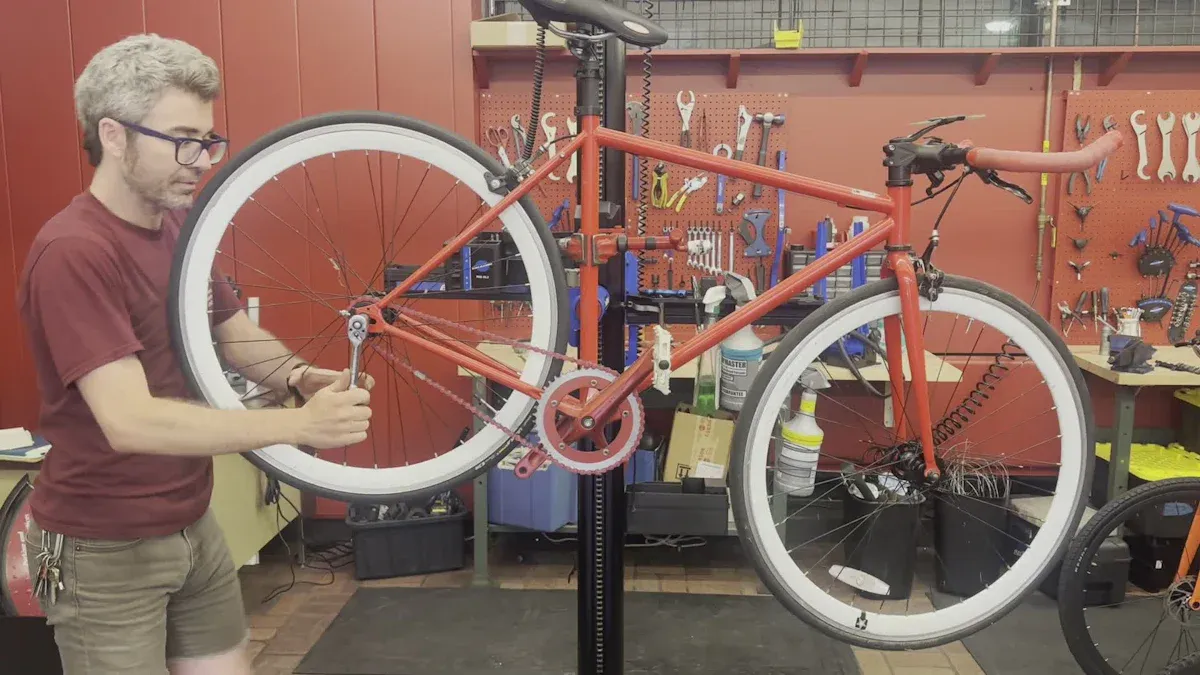
Building a frame bike stand DIY project offers you fantastic benefits. First off, you can save a significant amount of money. For instance, you can create a 6-bike storage rack for around $30, while commercial stands often cost hundreds! Plus, you get to customize your frame bike stand DIY to fit your specific needs. Whether you want a simple solution or something more advanced, there’s a project for everyone. As we move into 2025, look out for innovative designs like vertical storage and crank-operated racks that make it easier to maintain your bike. So, why not dive in and make a frame bike stand DIY that suits you?
Key Takeaways
Making your own bike stand saves money. It also lets you change it to fit your needs.
If you are a beginner, start with simple designs. Use PVC or wooden stands. They are easy and need basic tools.
Intermediate stands have more features. They include adjustable arms and wall mounts. This helps with bike maintenance and saves space.
Advanced stands are strong and last a long time. They are great for serious cyclists. They can hold multiple bikes safely and neatly.
Always focus on stability and safety. Use strong materials and proper mounting. Test your stand before using it.
Beginner Bike Stands

If you are new to DIY projects, making a bike stand can be fun and rewarding. Here are two simple DIY bike stands that need few tools and materials.
Simple PVC Bike Stand
A Simple PVC bike stand is great for beginners. You can buy PVC pipes at your local hardware store. They are light and easy to use. Here’s what you need:
Materials:
PVC pipes (1-inch diameter)
PVC elbows and tees
PVC cement (optional for extra stability)
Tools:
Hacksaw or PVC cutter
Measuring tape
Marker
To make your stand, cut the PVC pipes into these lengths:
Two pieces at 24 inches (for the base)
Two pieces at 18 inches (for the vertical supports)
One piece at 12 inches (for the top crossbar)
Put the pieces together using the elbows and tees to make a strong frame. This design is light and easy to move or store. Users say these stands work well for basic bike maintenance, especially for lighter bikes. If you have a heavier bike, think about using thicker PVC pipes for more stability.
Wooden A-Frame Stand
If you like working with wood, a Wooden A-Frame stand is another good choice. You can use scrap lumber, which is often free or cheap. Here’s a simple guide to help you start:
Materials:
Scrap 2×4 lumber (you can often find this for free)
Wood screws (3-inch screws work well)
Optional: wood glue for extra strength
Tools:
Circular saw
Hammer drill
Measuring tape
Clamps (to hold pieces in place while assembling)
To make your A-frame stand, cut the lumber into these pieces:
Two pieces at 36 inches (for the legs)
Two pieces at 24 inches (for the crossbar)
One piece at 12 inches (for the support brace)
Put the frame together by attaching the legs to the crossbar with screws. This design is very stable and can hold heavier bikes easily. Remember to drill pilot holes to stop the wood from splitting, which can happen to beginners.
Using recycled wood saves money and helps the environment by cutting down waste. You can even reuse old furniture or leftover materials to make your stand.
Building these easy DIY bike stands will boost your confidence and skills with tools and materials. Plus, you’ll have a bike stand that works for you!
Common Challenges for Beginners
When you start your DIY bike stand project, you might face some challenges:
Aligning and lining up boards can be hard.
Drilling pilot holes is important to avoid splitting the wood.
Holding boards steady while drilling can be tough.
Accurate measurements and markings are very important but can be hard for beginners.
Don’t let these challenges stop you! With practice, you will get better and feel more confident in your DIY skills.
Intermediate DIY Bike Stand Projects
As you get better at DIY, intermediate bike stands are more complex and useful. These projects need a little more skill but can really help with bike maintenance. Let’s look at two popular designs: the adjustable frame bike stand and the wall-mounted bike stand.
Adjustable Frame Bike Stand DIY
An adjustable frame bike stand is great for those who want flexibility. This design lets you work on different bike sizes and styles. Here’s how to make one:
Materials:
Plywood or solid wood for the base
Steel or aluminum tubing for the adjustable arms
Heavy-duty clamps or quick-release mechanisms
Screws and wood glue for assembly
Tools:
Power drill
Saw (circular or jigsaw)
Measuring tape
Level
To build your adjustable frame bike stand, start by cutting the plywood into a strong base. Then, attach the adjustable arms using the clamps. Make sure these arms can move up and down for different bike heights.
Tip: For extra stability, use a wide base and non-slip feet. This will stop the stand from tipping over while you use it.
Key features that improve stability include:
Strong construction with high-quality materials for strength and reliability.
A solid clamping system that holds the bike in place, stopping slipping or damage.
Non-slip feet that keep the stand from sliding on slippery or uneven surfaces, making it safer.
Using wood for the main platform is a popular choice among DIY fans. It’s cheap, easy to work with, and allows for customization. You can even drill weight-saving holes using the ‘drillium’ technique to make it lighter without losing strength.
Wall-Mounted Bike Stand
If you don’t have much space, a wall-mounted bike stand is a great choice. This design keeps your bike off the floor and out of the way. Here’s how to make one:
Materials:
Heavy-duty wood or metal brackets
Screws and wall anchors
Optional: padding or foam for bike protection
Tools:
Power drill
Stud finder
Level
Measuring tape
Start by finding the studs in your wall with a stud finder. This is important because mounting into studs gives the best support.
Safety Tip: Always mount the bike stand into wooden wall studs, not drywall anchors. This makes sure it can safely hold the bike’s weight.
When installing, follow these steps:
Measure the space carefully, thinking about bike width and handlebar clearance.
Use the right tools like a power drill and level for accurate installation.
Secure the bike with strong locks, even when stored in a garage, for extra safety.
Remember that typical bike weights range from 28 to 33 lbs. If you’re mounting a heavier bike, like an e-bike, think about using a floor stand instead.
Important Note: Experts say to reduce the safe working load of drywall anchors by four times. This means you should aim for about 45 lbs or less per anchor to avoid problems.
Building these intermediate DIY bike stands not only improves your bike maintenance skills but also gives you a sense of achievement. Plus, you’ll save money compared to store-bought options while enjoying the satisfaction of making something just for you.
Common Mistakes to Avoid
When making your bike stand, watch out for common mistakes:
Common Mistake | How to Avoid It |
|---|---|
Wheel misalignment | Make sure the wheel is properly seated before tightening to avoid steering issues. |
Improper brake adjustments | Balance the tension in both brake pads to ensure responsive braking. |
Neglecting final safety checks | Do thorough inspections to confirm all parts are secure before use. |
By avoiding these mistakes, you’ll create a strong and reliable bike stand that works well for you.
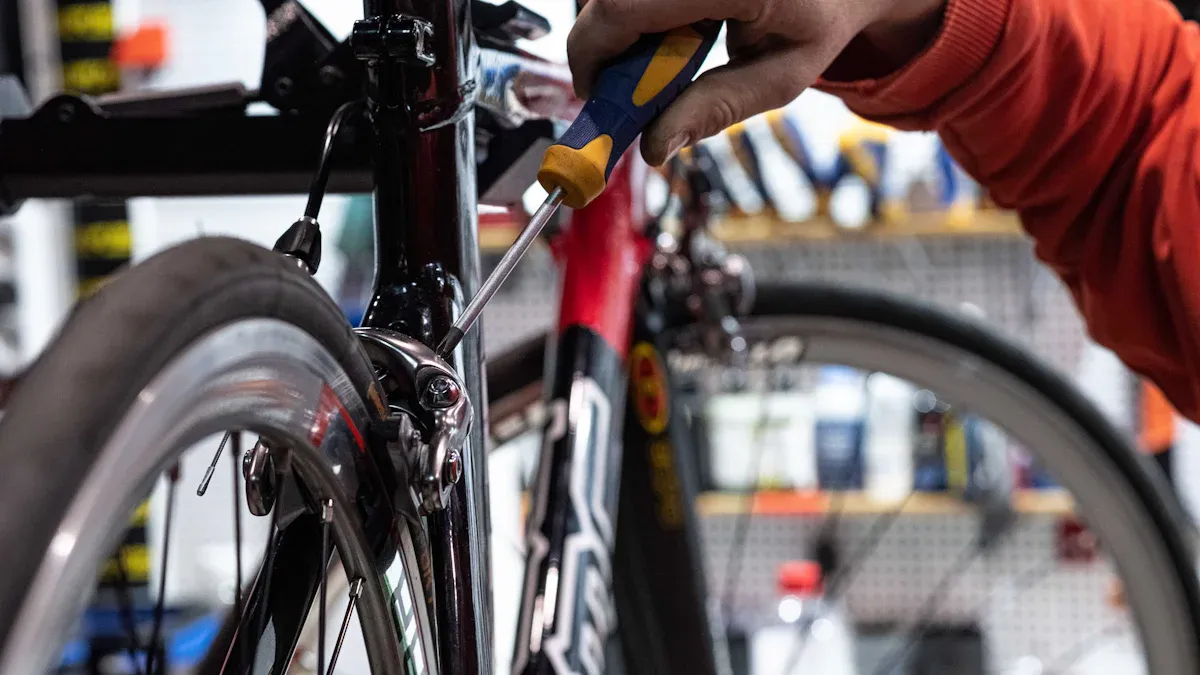
Advanced Bike Stand Designs
When you are ready to improve your DIY skills, think about making advanced bike stands. These designs are for serious cyclists and mechanics. They need strong and long-lasting solutions for bike care.
Professional-Grade Repair Stand
A professional-grade repair stand is great for those who want a strong and dependable choice. You don’t need fancy tools to build one; basic hand tools work just fine. Here’s what you will need:
Materials:
1 1/2 inch PVC pipes in different lengths
2-inch diameter pipe for bike rests
PVC fittings like T-fittings and elbow fittings
PVC cement to hold pieces together
Tools:
Hacksaw or PVC tubing cutter
Tape measure
Wood chisel or Dremel tool
Pencil, file, and sandpaper
To make sure it lasts, use strong steel for the frame. This material fights rust and gives the strength needed for heavy bikes. A solid base and strong locking parts make your bike work stand safe and useful.
Tip: Always check if your stand is stable by gently rocking the bike after lifting it. This makes sure everything is secure before you start working.
Customizable Multi-Bike Stand
If you have more than one bike, a customizable multi-bike stand is a big help. These stands let you change the design to fit your space and needs. Here are some popular customization options:
Description/Feature | Benefit to Users with Multiple Bicycles | |
|---|---|---|
Vertical Bike Racks | Wall-mounted or freestanding vertical racks with 6-8″ spacing | Saves space by allowing high-density bike storage |
Two-Tiered Racks | Wall-mounted racks with two levels and lift-assist feature | Increases capacity without taking up more space; lift-assist helps store bikes easily |
Lift-Assist Mechanism | Mechanical help to lift bikes onto upper tier | Makes it easier for everyone to store bikes safely |
Finishes (Powder Coating) | Strong, weather-resistant coatings | Protects bikes from weather damage, making bikes and racks last longer |
These features not only improve security but also make it easier to store and reach your bikes. You can adjust the layout to fit your garage or bike room, keeping things tidy.
Note: When setting up a multi-bike stand, think about the space needed. Make sure there is enough room between bikes to avoid damage and allow easy access.
Building these advanced bike stands will improve your bike care skills. You will feel proud of making something that fits your needs while saving money compared to store-bought options.
Making your own DIY bike stand has many benefits. Here are some reasons to start:
Improved Stability: A strong stand stops your bike from tipping over.
Comfortable Working Height: It lifts your bike, making repairs easier on your back.
Easy Access: You can spin the wheels for adjustments without bending down.
Regular Maintenance: Having a special workspace helps you keep your bike in great shape.
If you want more ideas, check out sites like Instructables. They have helpful guides and a friendly community for DIY fans. So, grab your tools and start building! 🚴♂️✨
FAQ
What materials do I need for a DIY bike stand?
You can use PVC pipes, wood, or metal, depending on your design. Basic tools like a saw, drill, and measuring tape are essential. Always choose sturdy materials for safety and durability.
How much does it cost to build a bike stand?
Building a bike stand can cost anywhere from $30 to $100, depending on the materials you choose. Using scrap wood or PVC can help you save money while still creating a functional stand. 💰
Can I customize my bike stand?
Absolutely! You can adjust the height, width, and design to fit your needs. Adding features like adjustable arms or extra storage can make your stand even more useful. Just let your creativity flow! 🎨
How do I ensure my bike stand is stable?
To enhance stability, use a wide base and secure all joints tightly. If using wood, drill pilot holes to prevent splitting. Test the stand by gently rocking it before use.
Is it safe to mount my bike on a wall stand?
Yes, as long as you mount it into wall studs, not just drywall. Use heavy-duty anchors for added security. Always check the weight limit to ensure safety. 🔒
See Also
Top Ten Unique Bike Frame Ideas To Boost Creativity
New Advances In Motorized Bicycle Frames Coming In 2025
Essential Gas Bike Frame Advice For Every Builder