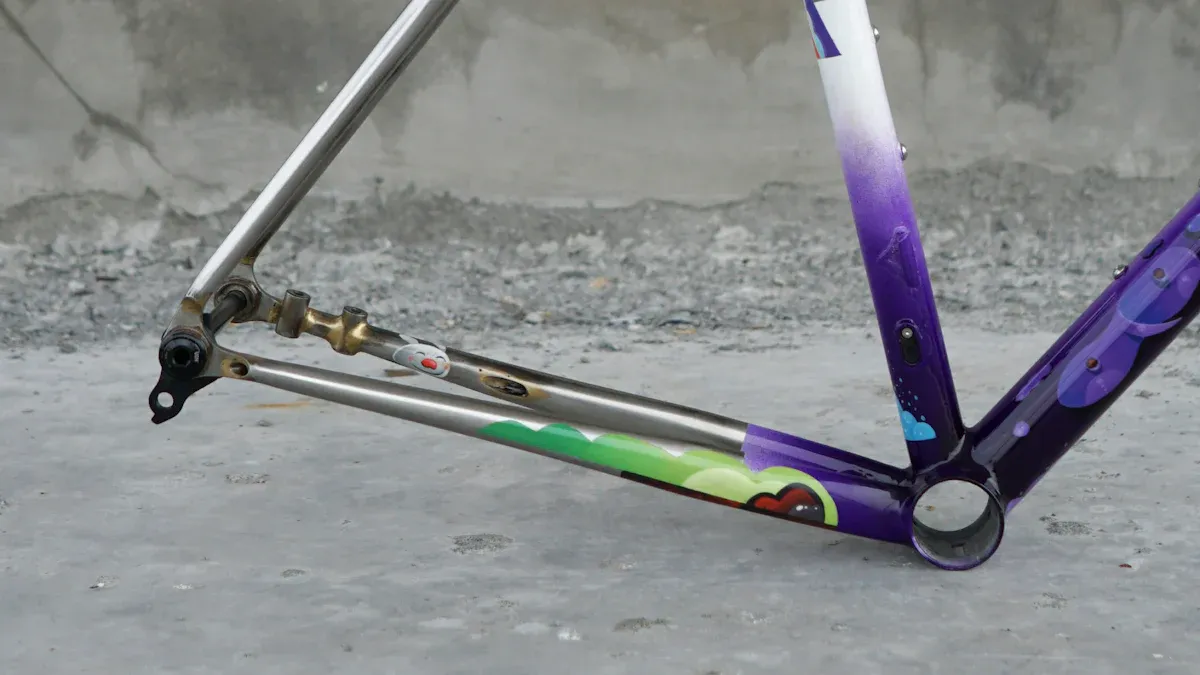
A flawless paint job can transform your bike into a stunning work of art. Imagine the pride you’ll feel riding a beautifully resprayed bike frame, turning heads everywhere you go. Not only does a fresh coat of paint enhance your bike’s aesthetic appeal, but it also protects the frame from wear and tear. Whether you’re a seasoned pro or a DIY enthusiast, taking the time to respray bike frame details right will make all the difference. So, roll up your sleeves and get ready to dive into the world of bike painting!
Key Takeaways
Always wear safety gear like goggles, a mask, and gloves to protect yourself while painting.
Clean and sand your bike frame well before painting to help the paint stick and look smooth.
Use primer and apply several thin coats of paint instead of one thick coat for a strong, even finish.
Mask off parts you don’t want to paint to avoid mistakes and keep your bike looking neat.
Be patient and follow drying times carefully to get a durable and beautiful paint job.
Preparation

Safety Gear
Before you dive into your bike painting project, make sure you have the right safety gear. Protecting yourself is crucial. Here’s what you need:
Safety goggles: These will shield your eyes from dust and paint particles.
Respirator mask: This is essential when working with spray paint to avoid inhaling harmful fumes.
Gloves: Use disposable gloves to keep your hands clean and safe from chemicals.
Taking these safety precautions ensures you can focus on your project without worrying about potential hazards.
Dismantling the Bike
To achieve a flawless paint job, you need to prep the bike properly. Start by completely dismantling it. Follow these steps:
Remove the brake components, fork, and all other parts to expose the frame fully.
Strip off old paint and decals using scrapers, sandpaper (220 grit), or paint stripper.
If you find rust, sand it away or use gentle methods like tinfoil on sensitive areas.
Clean and degrease the frame thoroughly with engine degreaser. Wipe it down with an alcohol-based cleaner or mineral spirits to remove any residue that could affect paint adhesion.
Mask all openings and parts that shouldn’t be painted, such as the bottom bracket shell and head tube.
Cleaning the Frame
Not cleaning the frame can lead to a poor finish. After dismantling, ensure the frame is spotless. Use a degreaser to eliminate grease and grime. A clean surface helps the paint adhere better, giving you a smoother finish.
Sanding Techniques
Sanding is vital for optimal paint adhesion. Here’s how to do it right:
Start with the appropriate grit: 120-240 for steel, 240-320 for aluminum, and 320 for carbon frames.
After applying primer, wait for it to cure overnight. Then, sand gently with 400 grit sandpaper to smooth the surface without going down to bare metal.
Avoid letting the base color coat dry completely before applying the clear coat. This allows for better chemical bonding.
By following these sanding techniques, you’ll protect the surface and ensure a durable finish for your respray bike frame.
How to Spray Paint a Bike

Choosing Paint
When picking paint for your bike frame, choose something that looks good and lasts. Here are some options:
Powder Coating: This is very strong. It gives a tough finish that can handle outdoor weather if done right.
Epoxy-Based Paints: These paints, like VHT High Temperature Roll Bar and Chassis Paint, resist chemicals and rust. But, they might not last long in sunlight, which can cause fading.
Acrylic Enamel: Brands like Duplicolor wheel paint are durable and work well on bike frames. They are easy to use and look nice.
Rustoleum Appliance Paint: This paint is strong and cheap, but it’s mainly for indoor use. It might not be the best for outdoor bikes.
Choosing the right paint is important for how long your respray bike frame lasts and how it looks.
Applying Primer
Applying primer is an important step in painting. It helps the paint stick better and improves the finish. Here’s how to do it:
Use Multiple Thin Coats: Instead of putting on a thick layer, use 1-2 thin coats of primer. This helps with sticking and coverage. Start with a metal etching primer, then add regular primer coats.
Drying Time: Wait about 10-15 minutes between coats. After the last coat, let it dry for 24 hours before painting.
Recommended Products: Choose primers made for metal surfaces. They will give the best results for your bike frame.
Following these steps makes sure your primer helps create a great paint job.
Spray Paint Techniques
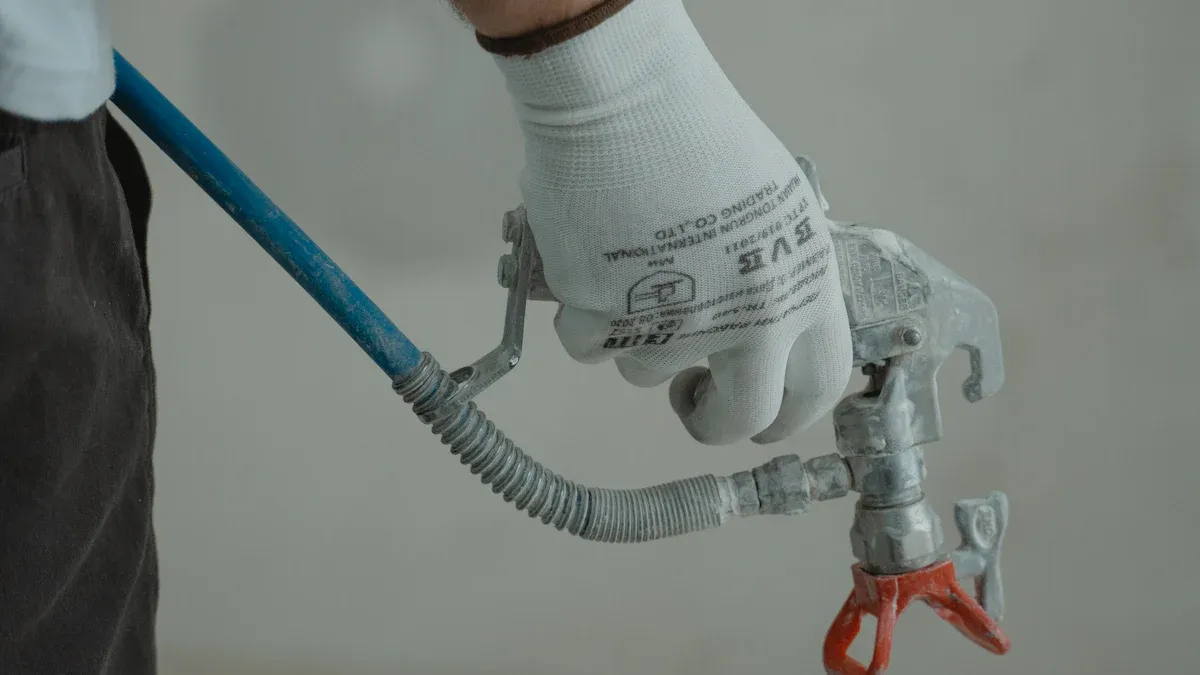
Now that you have your paint and primer ready, it’s time to spray paint your bike. Here are some tips for an even finish:
Distance Matters: Keep the spray can about 6-12 inches from the frame. This distance helps avoid drips and gives an even coat.
Use Sweeping Motions: Move the can in a smooth motion. Start spraying before you reach the frame and stop after you pass it. This helps prevent heavy spots.
Layering: Use several light coats instead of one thick coat. This reduces runs and helps with drying between layers.
Environmental Conditions: Watch the temperature and humidity. The best conditions are between 55-65°F. Don’t paint in high humidity or extreme heat, as these can change drying times and finish quality.
By using these spray paint techniques, you’ll be on your way to a great finish on your bike frame.
Common Mistakes to Avoid
When you start painting a bike frame, it’s easy to make mistakes. These mistakes can ruin your hard work. Here are some common problems and tips to help you avoid them.
Overloading Paint
One big mistake is putting on too much paint at once. This can cause sagging and drips. These issues ruin the smooth finish you want. Instead, apply several thin coats. This method helps you get an even finish. It also lets each layer dry properly. Remember, patience is important!
Tip: If you see sagging or bubbles, lightly sand the area and repaint it. This will help keep your bike looking great.
Ignoring Drying Times
Another mistake is rushing the drying times between coats. If you skip this step, you might get uneven surfaces, paint flaking, and scratches. Always let enough time pass between layers. A good rule is to wait at least 24 hours after applying primer before painting. This helps each layer stick well and gives you a strong finish.
Note: Check the manufacturer’s drying time recommendations. They can change based on the paint type you use.
Not Masking Properly
Proper masking is very important. It protects areas you don’t want to paint. If you don’t mask correctly, paint can bleed onto parts like chrome or screws. Use strong masking tape with paper to cover these areas. Press down the edges firmly to stop paint from seeping underneath.
Tip: Pay close attention to important areas, like minimum insertion lines on seatposts and decorative etching. This careful taping will help keep your bike looking sharp.
By avoiding these common mistakes, you’ll have a successful bike frame painting project. Remember, good preparation and attention to detail are key to achieving that flawless finish!
Finishing Touches
Applying Clear Coats
After painting your bike frame, adding a clear coat is very important. It protects your hard work and makes the finish look better. Here are some options to think about:
2K rattle can clear coats: These give a strong and tough finish. They offer the best protection for painted bike frames. But, they can be hard to apply and might look bumpy if not done carefully.
Single-stage paints: These usually don’t need a clear coat unless you want a shinier look or extra protection.
Nitrocellulose clear coats: Stay away from these. They are weak and take a long time to dry, so they aren’t good for lasting protection.
Keep in mind that some clear coats can make colors like silver look dull. Always test them with your paint to make sure they work well together.
Drying Times
Drying times are just as important as how you apply the paint. After putting on your clear coat, let it dry completely. This step makes sure the finish is hard and ready to use. A good rule is to wait at least 24 hours before touching the bike. Always check the manufacturer’s drying time suggestions, as they can change based on what you use.
Reassembly Tips
Once your bike frame is dry, it’s time to put it back together. Follow these tips to keep your new finish safe:
Make sure all parts are clean and dry before putting them back.
Plan how to reassemble to make it easier.
Put grease on bearings before reinstalling for smooth movement.
Be careful when putting tires on painted rims to avoid scratching the paint.
Use tools carefully to prevent puncturing tubes or damaging paint.
Check and adjust chain tension to avoid stress on parts.
Look at fenders to see if they rub against tires and adjust if needed.
Double-check all screws for tightness and make sure wheels are straight.
Add oil to the chain and sprockets after putting everything together without messing up the paint.
Mask off sensitive areas before painting to keep them safe during the process.
By following these finishing touches, your bike frame will look great and stay protected for many years!
To sum it up, getting a perfect bike frame paint job needs a few important steps. First, clean your bike well to help the paint stick. Sanding the surface makes the new paint hold better. Masking parts that shouldn’t get paint stops overspray. Using primer is important for strength, and putting on several layers of base paint gives a bright finish. Don’t forget to add a clear coat for extra protection.
Remember, taking your time with each step is very important. Enjoy the process, and soon you’ll have a bike that looks awesome and lasts a long time!
FAQ
What are the best safety precautions when painting a bike frame?
Always wear safety goggles, a respirator mask, and gloves. These safety precautions protect you from harmful fumes and paint particles. Proper ventilation is also crucial during the project.
How do I choose the right paint for my bike frame?
When choosing bike paint colours, consider durability and finish. Look for epoxy-based or acrylic enamel paints. These options provide a strong finish and resist fading over time.
What are common mistakes to avoid when spray painting a bike?
Avoid common mistakes like skipping the primer, applying too much paint, and not sanding between coats. These mistakes can ruin your paint job and affect durability.
How long should I wait between coats of paint?
Wait at least 24 hours after applying primer before painting. For spray paint, allow 10-15 minutes between coats. Rushing the drying times can lead to an uneven finish.
Can I paint over an old paint job?
Yes, but you must prep the bike properly. Clean the frame thoroughly, sand it down, and apply a primer. This ensures the new paint adheres well and provides a smooth finish.
See Also
Essential Advice For Painting Carbon Bike Frames Safely
Step By Step Guide To Perfect Bike Frame Decal Application
Simple Three Step Process For Successful Bike Frame Powder Coating
