
Upgrading your old mountain bike frame can make your ride better. Imagine changing a classic bike into a modern one. It will perform better and feel more comfy. You will enjoy better handling and safety. You will also feel excited about fixing something special. Plus, it is a cheap way to improve your biking fun. Are you ready to explore the fun world of bike upgrades?
Key Takeaways
Upgrading your old mountain bike frame makes it work better. You will get better grip, control, and a lighter bike for a smoother ride.
New braking systems make riding safer and more comfortable. Hydraulic disc brakes give you better control. This helps when going down steep hills.
Fixing up an old bike can be a fun project. Take it apart, clean it, and fix any rust to get it ready for new parts.
Check if new parts will fit before you buy them. Make sure your frame can hold modern parts to avoid wasting money.
Use the right tools for upgrades. Having the right tools makes everything easier and more fun.
Benefits of Upgrading Your Old Mountain Bike Frame
Enhanced Performance
Upgrading your old mountain bike frame can really improve how it works. You will see better grip and control. This is true when you pick modern tires with special tread patterns for trails. These tires help you ride over tough areas. Also, new parts make your bike lighter. This means you can go faster and have a smoother ride.
Here are some key performance benefits you can expect:
Increased braking power: Modern brakes let you brake later. This helps you manage speed better on hills.
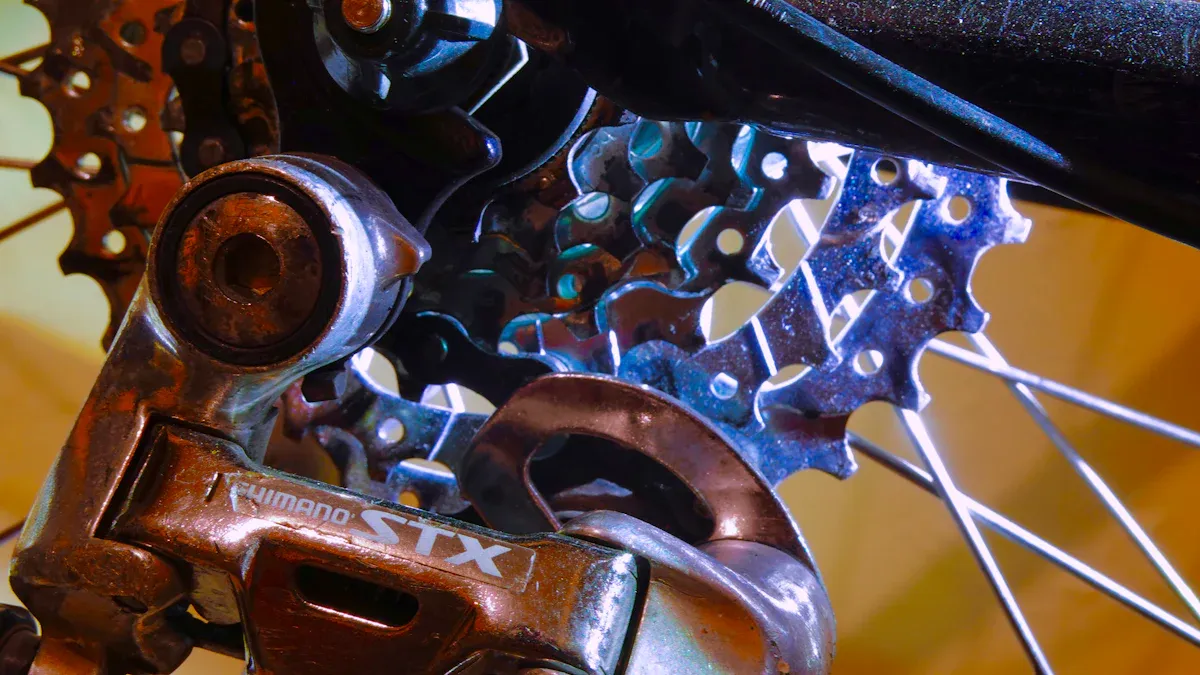
Reduced weight: New drivetrain parts make your bike lighter. This helps you climb hills easier.
Better puncture protection: You can ride with more confidence. Modern tires are tougher and last longer.
Modern mountain bikes also have better shapes. This gives you more control on different surfaces. For example, a slack head tube and short chain stays help you turn better. Plus, adding rear suspension and disc brakes can make your ride much better than older bikes.
Improved Comfort and Safety
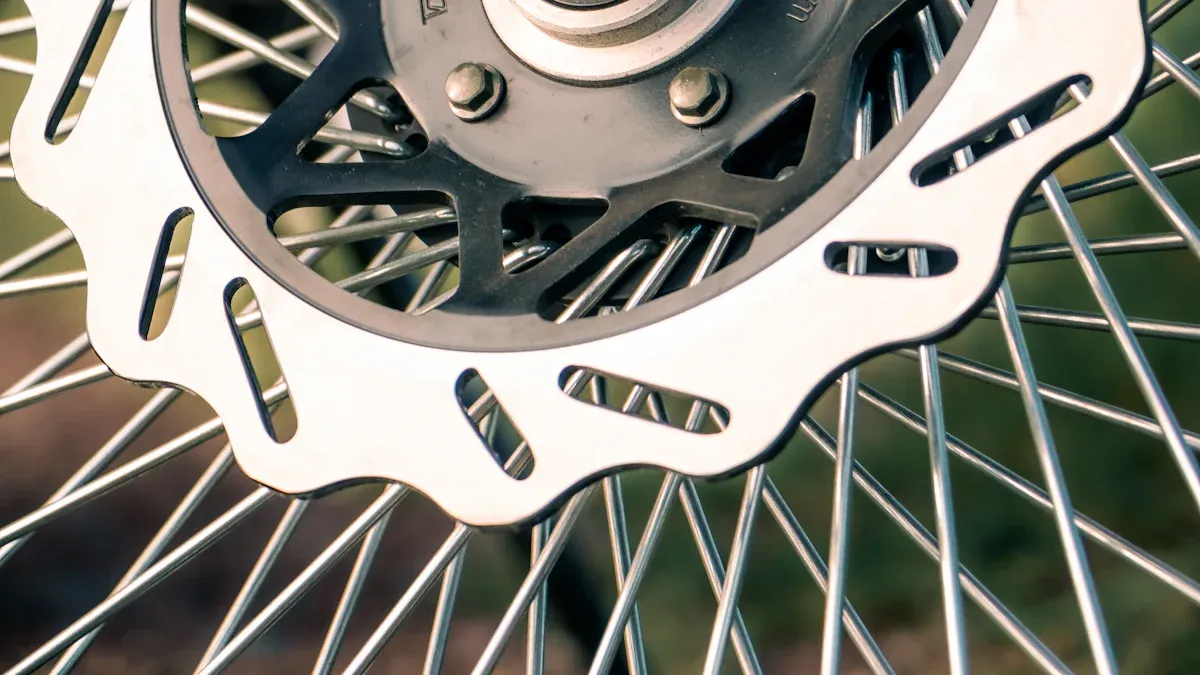
When you upgrade your bike, you also make it more comfy and safe. Modern braking systems, like hydraulic disc brakes, give you better control. This means you can stop more easily, which is very important for safety on trails. Bigger and thicker rotors can really boost stopping power. This lets you go down steep hills with more confidence.
Tim Burdelski, a certified technician, says that upgrading brakes changes how you ride. You will feel safer when going fast or turning sharply. This helps you worry less about traffic and obstacles.
Also, modern tires make your ride more comfortable. They soak up bumps better, making your trip smoother on rough paths. This comfort lets you enjoy longer rides without getting tired.
Upgrading your old mountain bike frame not only boosts performance but also brings back memories. Fixing up a vintage mountain bike can be a fun project. You will feel connected to the past while enjoying new technology. Plus, reusing and upgrading old bike frames helps cut down waste and supports eco-friendly practices.
How to Restore a Mountain Bike
Restoring a mountain bike can be a rewarding project. You’ll breathe new life into your old mountain bike frame and enjoy the process. Let’s break down the steps to get your bike ready for modern parts.
Disassembly and Cleaning
Start by fully disassembling your bike. This means removing the wheels, handlebars, and any other components. Inspect each part carefully. You want to check for wear and tear. Cleaning is crucial here. Use a degreaser to remove grime and dirt. A clean bike frame makes it easier to spot any issues.
Here’s a quick checklist for disassembly and cleaning:
Remove the wheels and tires.
Take off the handlebars and stem.
Detach the brakes and drivetrain components.
Clean each part with a degreaser and a brush.
Once everything is clean, you can move on to the next step.
Rust Treatment and Painting
If your vintage mountain bike has rust, don’t worry! You can treat it effectively. First, assess the severity of the rust. For light surface rust, a baking soda paste works well. For more stubborn rust, vinegar or lemon juice can help. After removing the rust, touch up any paint chips to protect the frame.
Next, it’s time to paint! Here are some tips for a great finish:
Use urethane enamel for durability.
Apply a catalyzed primer before painting for a smoother finish.
Finish with a polyurethane clear coat for gloss and protection.
After painting, let it dry completely. This will ensure a long-lasting finish. Remember, a well-restored bike frame not only looks good but also sets the stage for upgrading with modern parts.
By following these steps, you’ll successfully restore a mountain bike and prepare it for a new life on the trails. Enjoy the journey of restoring your classic mountain bike!
Selecting Parts to Upgrade
Upgrading your old mountain bike frame can be fun. But first, you need to check if the parts will fit. Not all new parts work with every old frame. Here’s what you should know to make good choices.
Frame Compatibility
When you want to upgrade, see if your frame can use modern parts. Many old frames need changes to fit new pieces. Here are some important things to think about:
Hub Spacing: Old frames usually have smaller hub spacing. If you want to add new wheels, you may need to change the frame.
Geometry: Frames from the mid to late 90s are more likely to fit modern features. Look for things like downtube shifter braze-ons and the right rear spacing (like 130mm) for better fit.
Brake Systems: If you want to switch from rim brakes to disc brakes, check if your frame has the right mounts. Many older frames might not work with these new types.
Tip: Always check your bike’s details before buying new parts. This can save you time and money later.
Choosing the Right Components
Once you know the parts will fit, it’s time to pick the right ones. Here are some things to remember:
Budget: Upgrading can cost a lot, so focus on parts that give you the best value. Pay attention to key areas like the drivetrain and brakes. These can really improve your ride without costing too much.
Modern Features: Look for parts that boost your bike’s performance. Features like tubeless wheels, 11/12-speed drivetrains, and dropper seatposts can make a big difference.
Wheel Standards: Think about switching to 29” or 27.5” wheels. 26” wheels are becoming less popular. This change can help your bike handle better and go faster.
Finding parts for your project bike can be exciting. You might find original parts that fit well or new upgrades that make your ride better. Just remember to check for fit and stay within your budget.
By following these steps, you can make sure your upgrades fit and improve your biking experience. Enjoy restoring your vintage bike with a modern touch!
Step-by-Step Guide to Upgrade Your Bike
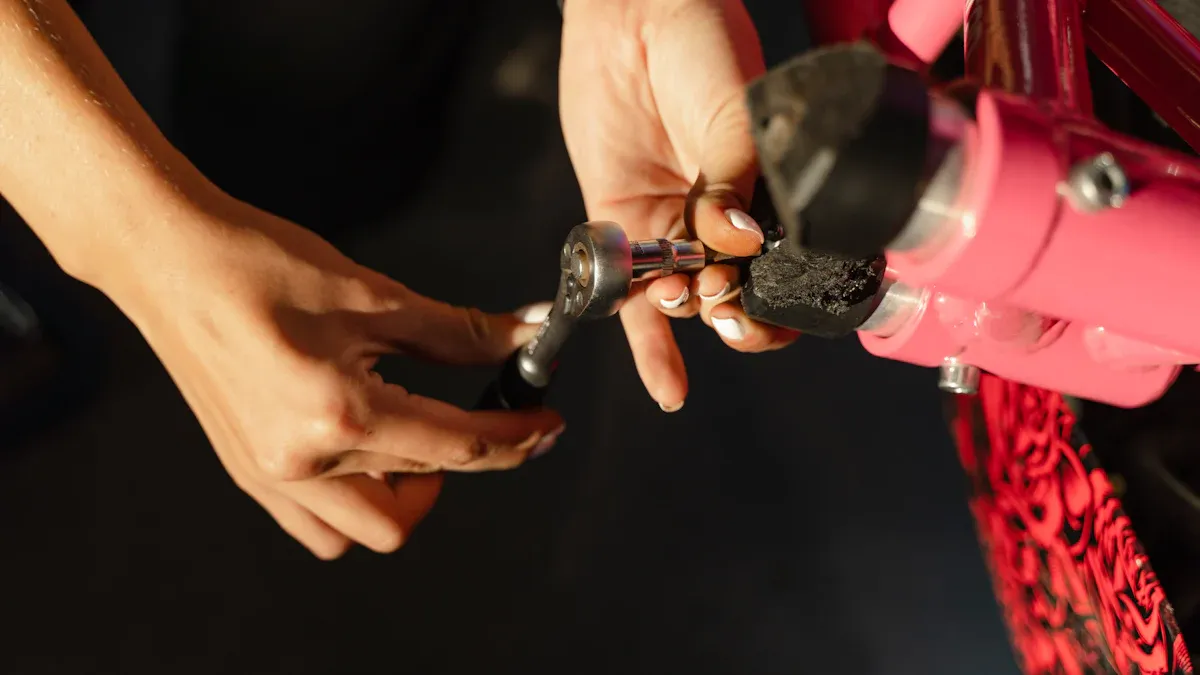
Upgrading your bike can be a fun adventure! To start, you need the right tools. Here’s a list of important tools that will help you with the upgrade:
Tools You’ll Need
Hex wrench set
Open-end wrenches
Adjustable wrench
Pliers
Phillips and slotted (flathead) screwdrivers
Cutting pliers
Chain wear checker
Chain tool
Master link pliers
Chain hook
Tire levers
Air pump
Spoke wrench
Hub cone wrench
Cassette lockring tool + Chain whip
Crank puller
Bottom bracket tool
Bottom bracket lockring wrench
Pin spanner
Pedal wrench
Headset cup removal tool
Headset cup press
Caliper
These tools will help you with most upgrades, like changing tires or adding a new drivetrain.
When you’re ready to learn more, think about the tools needed for simple upgrades versus more complex changes. Here’s a quick comparison:
Tool Type | Basic Upgrades | Advanced Modifications |
|---|---|---|
Standard Tools | Allen keys, basic multi-tools | Special tools for tricky tasks |
Specialized Tools | N/A | Torx keys, specific tools for advanced work |
Installing New Parts
Now that you have your tools, let’s go through how to install modern parts. Here’s a step-by-step guide to help you:
Starting Point: Find the frame and parts you want to upgrade. Make sure you have everything you need.
Building the Jig: If you’re adding new brakes, make a jig for placing brake posts. This helps everything line up right.
Attaching the Posts to the Frame: Remove any paint where you’ll attach the posts. Line up the jig with the frame for brazing.
Test Fitting and Final Brazing: Before finishing the brazing, check that everything fits well. This step is very important to avoid problems later.
Final Assembly and Test Ride: Put your bike back together and take it for a test ride. This is the moment you’ve been waiting for!
While upgrading, you might run into some common installation problems. Here are a few issues you may face and how to fix them:
Installation Challenge | Solution |
|---|---|
Compatibility issues with new components | Make sure new parts fit with the old frame and parts before buying. |
Difficulty in removing/installing grips | Use lubrication (hairspray, WD-40, or soap) to help take off old grips and put on new ones. |
Complex installation of forks and suspension | Get help from a local bike shop if unsure, or know what you’re doing before trying. |
Adjusting new components for personal fit | Ride around to change the height of the saddle or other parts for comfort. |
Choosing the right brakes for riding style | Think about your riding style to find the right brake setup (front, back, or both). |
Replacing handlebars may require stem replacement | Think about changing the stem if you upgrade handlebars, especially after crashes. |
By following these steps and tips, you’ll be on your way to giving your vintage bike a fresh look. Enjoy the process, and remember that each upgrade gets you closer to a bike that feels just right for you!
Tips to Bring Your Old Ride Back to Life
Upgrading your vintage mountain bike can be an exciting project. To bring your old ride back to life, you need to know a few important things. Let’s look at bike geometry and how to check component specifications.
Understanding Bike Geometry
Bike geometry is very important for how your bike rides. When adding modern parts to your old frame, check these key measurements:
Reach: This shows how far you lean forward when riding.
Stack: This tells how high your handlebars are.
Head Tube Angle: This affects how quickly you steer.
Chainstay Length: This helps with stability and speed.
Bottom Bracket Height: This changes your center of balance.
Wheelbase: This affects how stable your bike is.
Standover Height: This makes sure you can get on and off easily.
Knowing these measurements helps you pick parts that fit well and improve your ride. If you’re not sure about these specs, ask a local bike shop. They can give you helpful advice and help you avoid problems.
Researching Component Specifications
Before buying new parts, do some research. Checking component specifications helps you choose parts that will work together. Here are some good resources to help you:
Shimano technical documents: Shimano Docs
Compatibility chart for Shimano parts: Shimano Compatibility
Sheldon Brown’s resource on compatibility issues: Sheldon Brown
Component compatibility guide: Recycled Mountain Racing Guide
Upgrades and second-hand components: Flow Mountain Bike
These resources can help you check if new parts will fit your old frame. Here’s a quick table to guide you on what to check:
Compatibility Factor | Details |
|---|---|
Wheel Diameter | Common sizes are 622 mm (700C), 584 mm (650B), and 559 mm (26″ for older bikes). |
Tire Width | Frame space can affect fit. |
Brake Types | Different mounting styles for rim and disc brakes can limit fit. |
Contact Points | Check the fit of stem attachment, handlebar size, and seatpost size. |
Drivetrain Specifications | Different bottom bracket types and derailleur mounts must be checked. |
If you feel confused, think about getting professional help. Cyclists should visit a local bike shop for advice on upgrades. Cycling technology changes fast, and parts like suspension, brakes, and wheels have changed a lot. A mechanic can help tune and replace parts, making your upgrade easier.
By knowing bike geometry and checking component specifications, you can confidently upgrade your vintage bike. Enjoy the ride as you bring your old ride back to life!
Upgrading your old mountain bike frame can be an exciting project. You will improve how it rides, feel more comfortable, and be safer. Plus, you will enjoy making your bike feel new again. Make sure to pick the right parts that fit your frame. This will help your bike work its best.
After you upgrade, remember these maintenance tasks to keep your bike in great shape:
Description | |
|---|---|
Check seatpost and stem | Make sure they are not stuck in the frame with rust. |
Replace chain | A worn chain can cause bigger problems later; changing it now saves money. |
Replace cable housings | New cables and housings help your bike shift gears better. |
Repack bearings | Regularly repack the headset, hubs, and bottom bracket to keep everything running smoothly. |
So, what are you waiting for? Start your project and enjoy every moment with your upgraded bike!
FAQ
What is a bike restoration project?
A bike restoration project means fixing up an old bike. You can change parts, remove rust, and make it work better. It’s a fun way to enjoy your vintage bike and make it feel new again.
How do I choose parts for my vintage bike?
When picking parts, check if they fit your frame. Look for modern pieces that work well and improve how your bike rides. Researching details helps you upgrade your 90s bike successfully.
Can I do a period accurate restoration?
Yes! A period accurate restoration uses parts from the same time as your bike. This keeps the old look while making it work better. It’s a great way to respect the original design.
What tools do I need for upgrading my bike?
You’ll need basic tools like wrenches, screwdrivers, and a chain tool. Having the right tools makes your bike restoration project easier and more fun. Don’t forget to have a good air pump ready!
Is it safe to upgrade my old mountain bike?
Absolutely! Upgrading can make safety features like brakes and tires better. Just make sure to follow installation steps and check if parts fit. If you’re unsure, ask a local bike shop for help.
See Also
Innovative MTB Frame Designs That Transform Your Cycling Experience
Comparing Enduro Bike Frame Materials For Durability And Strength
The Benefits Of Upgrading To A Carbon Road Bike Frame
Transitioning From Lugged Steel Frames In Mountain Bike Design