
Imagine your wrapped bike frame looking shiny and new again. You get real protection from scratches and cable rub. It also stops paint chips. Your bike stays looking fresh. This helps if you want to sell it later. You save money instead of buying a new frame. You also save money instead of getting a full repaint.
Aspect | Wrapping Bike Frame | Repainting (Powder Coating) |
|---|---|---|
Typical Cost | Starting around £50-£60 (simple matt black) | |
Additional Fees | Up to £500 total including bike shop fees | Extra for stripping/reassembly |
Durability | Lasts about 1 year, less scratch resistant | Tougher finish, more durable |
Warranty Impact | Preserves original paint, keeps warranty | Can void warranty due to paint alteration |
Removability | Removable, restores original look | Permanent change |
You can install it easily. You do not need special skills. A wrapped bike frame is a good investment. It helps your bike look nice and keeps its value.
Here’s what a vinyl wrap can protect your bike from:
Paint damage and scratches
Cable rub
Minor chips from gravel and mud
Key Takeaways
Wrapping your bike frame protects it from scratches, paint chips, and cable rub while keeping it looking new.
You can wrap your bike yourself using simple tools like vinyl wraps, a squeegee, scissors, and a heat gun.
Preparing your bike by cleaning it well and removing parts makes wrapping easier and helps the wrap last longer.
Use knifeless tape and make careful cuts to get clean edges and a smooth fit around curves and corners.
After wrapping, trim excess vinyl, seal edges with heat, and care for your bike gently to keep the wrap looking great for years.
What You Need
Wraps & Tools
If you want your bike to look new, you need the right wraps and tools. Here is a simple checklist to help you begin:
vinyl wraps (pick a color and finish you like)
bike protection kits or frame protection tapes
knifeless tape
squeegee
heat gun or hair dryer
cleaning supplies (soap, water, microfiber cloth)
scissors
painter’s tape
You can buy wraps and vinyl wraps online or at bike shops. Bike protection kits and frame protection tapes help protect your bike on rough rides. If you want custom graphics, you can order special vinyl wraps with your own design.
Here is a table that shows the usual costs for wraps and vinyl:
Cost Component | Typical Price Range (USD) | Notes |
|---|---|---|
Vinyl Material | $30 – $100 | High-quality vinyl wraps (brands like 3M, Avery Dennison) vary by quality and finish. |
Protective Coatings | $20 – $50 | Optional, for added durability and protection. |
Custom Graphics | $50 – $150 | Personalized designs or logos to customize appearance. |
Professional Labor | $100 – $300+ | Charges depend on design complexity and location; DIY wrapping mainly involves material costs (~$50 or more). |
Choosing Vinyl Wraps
There are many vinyl wraps to pick from. Some people like bright colors. Others want a classic look. You can choose gloss, matte, metallic, carbon fiber, or glitter finishes. Bike protection kits and frame protection tapes give more protection for your bike.
Let’s see how vinyl wraps and clear bike protection kits are different. Vinyl wraps make your bike look cool and stop small scratches. Bike protection kits and frame protection tapes use thicker material. They protect against impacts, UV rays, and bad weather. Some bike protection kits have self-healing surfaces. Small scratches go away with heat. These kits last longer and sometimes have warranties for up to 10 years.
Check out the ways you can customize vinyl wraps in this table:
Customization Category | Examples / Details |
|---|---|
Colors | Pink, Blue, Purple, Red, Green, Gold, Gray, Black |
Finishes | Gloss, Satin, Matte, Carbon Fiber, Textured, Holographic, Metallic, Candy, Glitter, Brushed Metallic |
Textures | Carbon Fiber look, Textured vinyl mimicking premium materials |
Custom Printed Wraps | Personalized artwork, logos, graphics; allows subtle to bold designs |
Additional Benefits | Protection for frame, easy removal, cost-effective alternative to repainting |
Bike Types Tailored | Road, Mountain, Gravel, Track, BMX racing bikes |
You might think about the environment. Vinyl wraps use less energy and water than paint. They release fewer chemicals and make less dangerous waste. But vinyl wraps do make plastic waste. It is hard to recycle. Both ways have good and bad sides, so pick what matters most to you.
Prep the Frame
Clean Thoroughly
You want your wrap to stick well and last a long time. Start by cleaning your bike frame. Dirt, grease, and old grime can ruin the installation and lower the durability of your wrap. Skip dish soap and household degreasers like Dasty. These products strip away important greases and can cause corrosion. Instead, grab a purpose-made bike cleaner like Badass Bubbles or Simple Green HD. These cleaners remove grease and dirt without harming your bike’s finish or protective layers. Use warm soapy water with a sponge and brush for stubborn spots. Rinse everything off and dry the frame with a microfiber cloth. A clean surface means better protection and fewer scratches under the wrap.
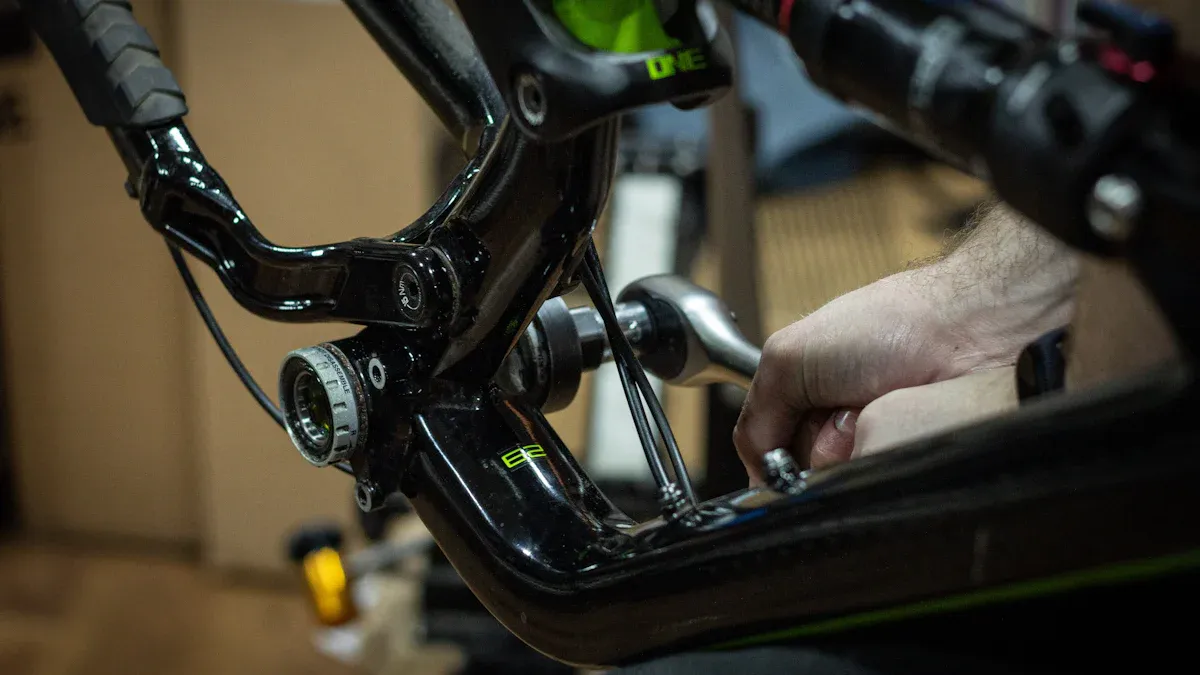
Tip: Always check for hidden dirt around cable stops and bottom brackets. Dirt here can mess up the installation and lead to bubbles or peeling.
Remove Parts
You will find wrapping much easier if you take off some parts. Removing components gives you better access and helps you avoid wrinkles or missed spots. Here’s a simple checklist to follow:
Loosen S&S couplers gently.
Take off disk brake rotors and mark them for front or rear.
Remove saddle bags, pedals, handlebar attachments, seats, and seat posts.
Disconnect cables for brakes and shifting.
Take off the drive chain if possible.
Remove rear derailleur if needed.
Take off left cranks and chains, but keep right crank arms secure.
Remove wheels, racks, and fenders, noting bolt types.
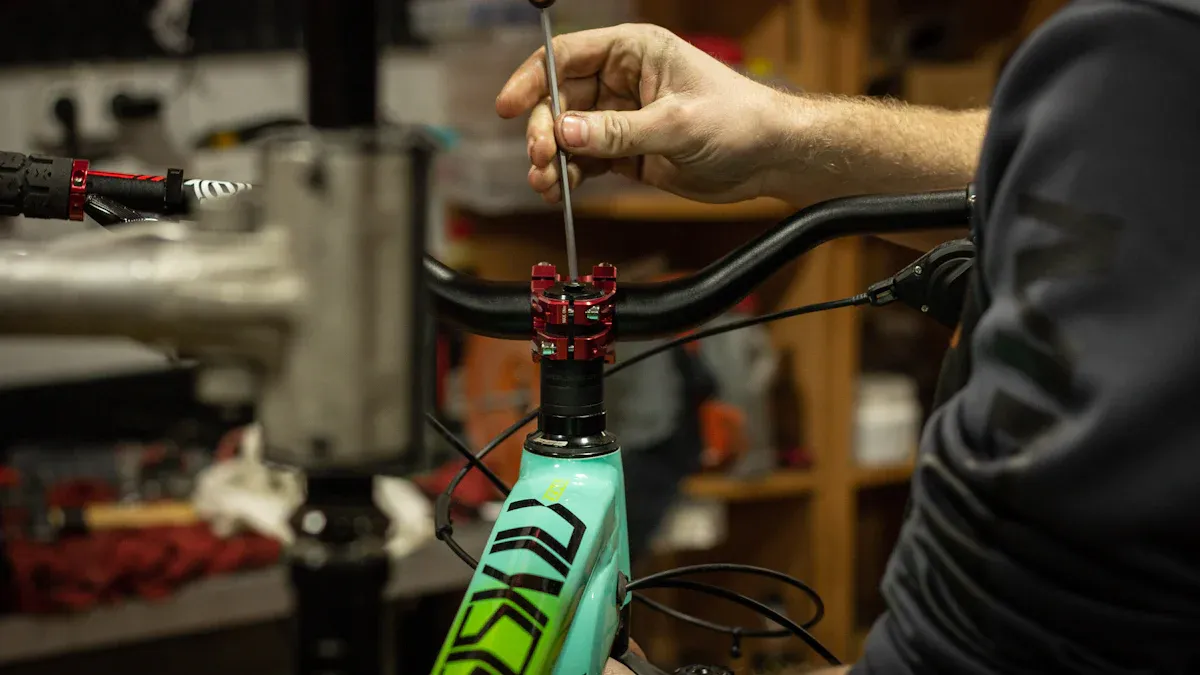
Take off handlebars, stem, and fork, keeping spacers and washers safe.
Double-check that all loose parts are secure for installation.
This step helps you reach every part of the frame, making the protection more complete and reducing the risk of scratches during wrapping.
Use Knifeless Tape
Knifeless tape is your best friend for a clean wrap. You place it along the edges where you want the vinyl to stop. The tape acts as a guide and keeps your bike safe from knife cuts. When you finish the installation, you pull the tape’s filament through the vinyl. This cuts the wrap without touching the frame. You get sharp lines and keep the original finish safe. Knifeless tape also helps you protect areas you do not want wrapped, like logos or cable ports. This step boosts durability and keeps your bike looking fresh.
Measure & Cut
Make Templates
You want your wrap to fit perfectly, so start with templates. Grab some painter’s tape and lay it along each section of your bike frame. This helps you see the shape and size you need for each piece. Use a marker to outline the edges, then peel off the tape and stick it onto a sheet of paper. Trace the shape onto the paper to create a template. If you don’t have a computer program for patterns, this method works great. You can also trace the ends of the tubes with paper to get the exact shape. This step makes the installation much easier and helps you avoid mistakes.
Tip: Always plan for tricky spots like braze-ons or cable stops. You might need to wrap these areas separately or cut around them.
Once you have your templates, transfer them onto the vinyl wrap. Cut the vinyl with fish mouth ends to match the flattened shape of the tubes. Don’t worry about cutting the vinyl to the exact size before installation. Apply the vinyl first, then trim the excess for a perfect fit.
Cut for Curves
Bike frames have lots of curves and contours. You need to make relief cuts so the vinyl can stretch and fit smoothly. Keep your workspace clean and plan your layup schedule before you start. Use a hot air gun or hair dryer to gently warm the vinyl. This softens the material and lets you stretch it around compound curves. If you see bunching or wrinkles, make small relief cuts with scissors. These cuts help the vinyl lay flat and stick better.
When you wrap around tight corners or joints, trim the vinyl slowly. Use a plastic squeegee to press out air bubbles and make sure the wrap sticks well. Soap water works as a lubricant, letting you slide the vinyl into place before the adhesive sets. If you notice any mismatches or gaps, you can paint the base frame to hide them.
Accuracy matters here. Take your time with each cut and check your work as you go. A seamless wrapped bike frame looks professional and lasts longer. Good measurement and careful cutting make the installation smooth and stress-free.
Apply Wraps
Start Easy Areas
You want your bike to look sharp and get superior protection, so start with the easy parts first. Begin with the flat sections of your frame. These areas let you get used to handling the vinyl wraps before you move on to the tricky spots. Lay the vinyl on the top tube or down tube. These spots have fewer curves and make the process less stressful.
Here’s a simple order to follow for a smooth installation:
Clean and prep your bike frame.
Place knifeless tape at the front and bottom for clean cuts.
Measure and cut your vinyl wraps to fit.
Start applying the vinyl at the top of the frame.
Lock the vinyl onto the top and front sections first, using a little heat if needed.
Make relief cuts near the front to access the tape and remove extra film.
Move to the middle, stretching and smoothing the vinyl evenly.
Work on the left side, making relief cuts to help the vinyl fit.
Form and cut the back section, focusing on corners and edges.
Flip the frame and repeat on the other side.
Cut out spots for hardware to prevent shifting.
Finish with a careful cleanup and sealing.
Taking your time with these steps helps you avoid mistakes and gives your bike better protection. Most beginners finish the whole process in about three hours, which is pretty reasonable for a first try.
Tip: Always start with the largest, flattest areas. This builds your confidence and helps you get used to the feel of the vinyl.
Handle Curves
Curves and corners can be tough, but you can handle them with patience and the right tools. Use a heat gun or hair dryer to warm the vinyl wraps. This makes the vinyl soft and stretchy, so it fits around tricky shapes. Don’t use too much heat—just enough to make the vinyl flexible.
When you reach a curve, gently pull and stretch the vinyl over the area. Make small relief cuts with scissors if you see bunching or wrinkles. These cuts help the vinyl lay flat and stick better. Use a squeegee to press the vinyl into place and push out any air bubbles.
Use a squeegee or plastic applicator to smooth the vinyl.
Work slowly and avoid overstretching the vinyl wraps.
If you see a wrinkle, lift the vinyl and try again.
Keep the surface clean to prevent dirt from getting trapped.
High-quality vinyl wraps, like 3M, let air escape and make it easier to get a smooth finish. The pressure-activated adhesive lets you reposition the vinyl if you make a mistake. This feature helps you avoid wrinkles and keeps your bike’s appearance looking sharp.
Note: If you want superior protection, use bike protection kits on high-wear areas. These kits use thicker vinyl for better durability.
Smooth & Seal
Now you want to make sure your wraps stay put and look great. Use your squeegee to smooth out any last bubbles or wrinkles. Work from the center out to the edges. This pushes air out and helps the vinyl stick tight.
Heat is your friend here. Use a heat gun to go over the edges and corners. This step activates the adhesive and helps the vinyl wraps conform to the frame. It also seals the edges, which stops them from lifting later. Hold the heat gun a few inches away and move it slowly. Too much heat can damage the vinyl.
For the best protection, leave a small overlap of vinyl at the edges—about an eighth of an inch. This covers any gaps and keeps the wraps secure. Use a sharp blade or knifeless tape to trim the vinyl for clean lines. Make relief cuts at curves to prevent overstretching.
After you finish, go over the whole frame with the heat gun one more time. This final step locks everything in place and boosts durability. Check all the edges to make sure they are sealed tight. If you see any spots lifting, press them down and add a little more heat.
Pro Tip: Let your bike sit for 24 hours after installation. This gives the vinyl time to cure and ensures better protection and durability.
With careful work, your bike will have a fresh appearance and long-lasting protection. Bike protection kits and vinyl wraps together give you better protection and keep your bike looking new. You get a custom look, superior protection, and save money compared to repainting.
Finish & Protect
Trim Excess
You want your bike to look sharp, so trimming the extra vinyl is a must. Use the right tools to avoid damaging your frame. Here are some top picks:
Knifeless tape gives you clean lines and keeps your finish safe.
Squeegees and marking pencils help you cut with precision.
Take your time and check for any bubbles or wrinkles. If you spot imperfections, smooth them out with your squeegee. Clean cuts and smooth wraps make your bike’s appearance stand out and boost protection.
Check Edges
After trimming, check all the edges. Press down any spots that look like they might lift. Use a little heat to seal the edges for better protection and durability. Look for small gaps or loose corners. If you find any, press them down and add a bit more heat. This step keeps water and dirt out, so your wraps last longer and your bike frame protection stays strong.
Bike Frame Protection Tips
You can get superior protection by adding extra patches or sleeves to high-wear areas. Here are some great options:
Customizable chainstay armor protects against chainslap and trail debris.
Shuttle Armor shields your downtube from tailgate and shuttle pad wear.
Bike protection kits like Essential Protection™, Covered Protection™, and Tailored Protection™ cover key spots and offer up to 99% coverage.
All these products use lightweight, self-healing film for better protection and durability.
Want to keep your wraps shiny and your bike looking new? Try these tips:
Wash your vinyl gently with water and a little soap. Avoid harsh cleaners.
Don’t clean your bike in direct sunlight. This helps prevent water spots.
Skip wax and polish. The clear coat keeps the appearance bright.
For small scratches, add another vinyl layer. Riding will help smooth it out.
Store your bike in a cool, dry place. Use a breathable cover, not plastic.
Clean your bike before storage and keep the chain lubed.
If you follow these steps, your wraps can last up to seven years. You get better protection, fewer scratches, and a fresh appearance for a long time. Protecting your frame with bike protection kits and wraps means you spend less time worrying about damage and more time enjoying your ride.
You can make your wrapped bike frame look new with a few simple steps. Gather your tools, remove parts, and protect each section before you start. Many cyclists say wrapping helps keep paint fresh and makes resale easier. While wraps may not stop every scratch, you get solid protection for daily rides. If you want a long-term investment, wrapping your bike frame is a smart move. Try it yourself and share your results or questions below!
FAQ
How long does a bike frame wrap last?
You can expect your wrap to last one to seven years. The lifespan depends on how often you ride, where you store your bike, and how well you care for the wrap.
Can I remove the vinyl wrap later?
Yes, you can peel off the vinyl wrap whenever you want. It will not damage your original paint if you remove it carefully. Use a little heat to make the process easier.
Do I need special tools to wrap my bike?
You do not need fancy tools. You just need vinyl wrap, a squeegee, scissors, painter’s tape, and a heat gun or hair dryer. Knifeless tape helps you get clean edges.
Will the wrap protect my bike from big impacts?
The wrap protects against scratches, chips, and cable rub. It will not stop dents or deep damage from crashes. For tough trails, add extra frame protection kits to high-wear spots.
Can I wash my bike after wrapping it?
Yes! You can wash your bike as usual. Use mild soap and water. Avoid harsh chemicals and high-pressure washers. This keeps your wrap shiny and helps it last longer.
See Also
Step-By-Step Guide To Perfectly Applying Bike Frame Decals
Essential Tips For Caring And Maintaining Steel Bike Frames
Decades Of Innovation And Craftsmanship In Steel Road Frames