
Repairing a bike frame crack is very important for your safety. A broken frame can lead to serious accidents if you don’t address it. You might lose control while riding, which can result in injury. Fixing the crack in your bike frame ensures your safety and helps your bike last longer. Taking action now can help you avoid costly replacements in the future.
Key Takeaways
Get the right tools and materials before fixing your bike frame. This helps make the process easier and safer.
Use a step-by-step method to take apart, fix, and put your bike back together. Doing each step carefully improves your repair.
Check your repair well after you finish. Look for problems and ride your bike to make sure it is safe and strong.
Take care of your bike frame regularly to stop future problems. Clean it often and look for new cracks to make it last longer.
Fix any cracks quickly. Taking care of problems early can stop accidents and save you money on replacements.
Necessary Supplies for Bike Frame Crack Repair
Before you fix your bike frame crack, get the right tools and materials. Having everything ready makes the job easier and safer. Here’s what you need:
Tools Required
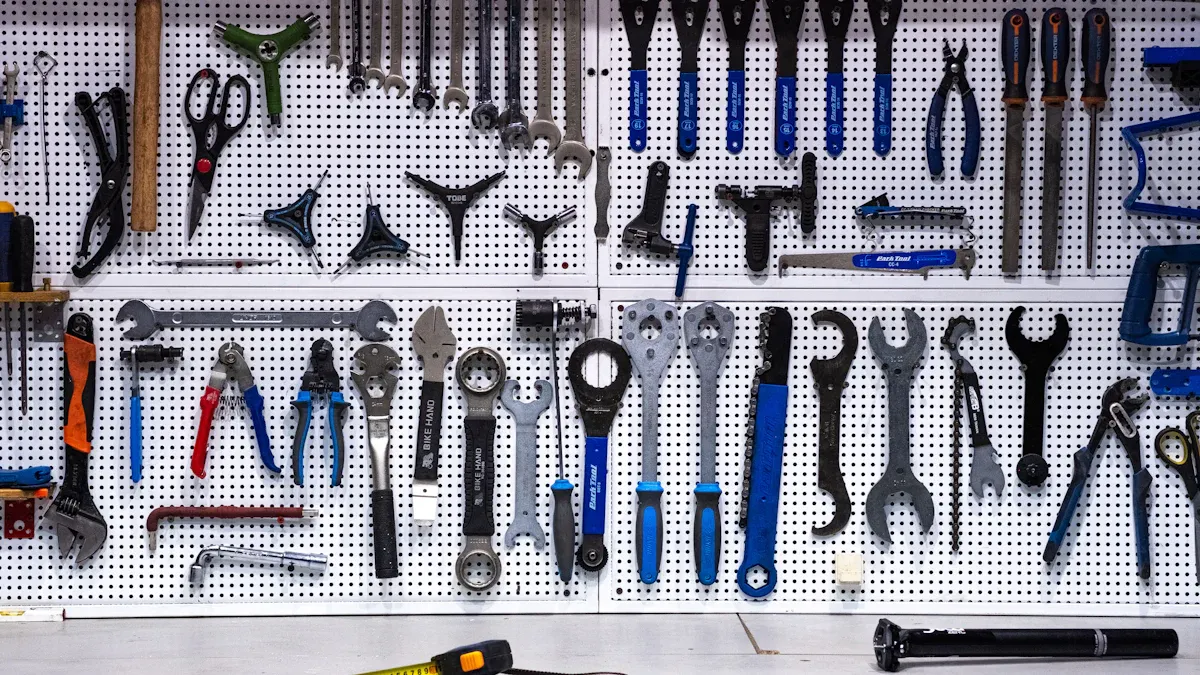
You will need some important tools to fix your bike frame. Here’s a list of what to collect:
Wrenches: Use these to take apart your bike. A set with metric and standard sizes will work for most jobs.
Screwdrivers: You need both flathead and Phillips screwdrivers for different screws.
Pliers: These help you grip and twist wires or small parts.
Sandpaper: Use fine-grit sandpaper to get the damaged area ready for repair.
Heat Gun: This tool helps soften some materials, especially for carbon fiber repairs.
Safety Gear: Always wear gloves and safety glasses to keep yourself safe during repairs.
Materials Needed
The materials you pick can really affect how strong your bike frame repair is. Here’s what to think about:
Epoxy Resin: This is key for sticking materials together. Pick a high-quality epoxy for the best results.
Carbon Fiber Repair Kit: If your bike has a carbon frame, a special kit will give you the right materials for a strong fix.
Aluminum Welding Rods: For aluminum frames, these rods help you weld the crack well.
Fiberglass Cloth: This can make the repair area stronger, especially for carbon fiber fixes.
Paint or Finish: After fixing, you might want to paint over the area to protect it from weather.
Tip: Always choose high-quality materials. The quality of your repair materials affects how long your bike frame repair lasts. For example, using cheap epoxy can create a weak bond, raising the chance of future problems.
Here’s a quick look at how different materials affect durability:
Material | Properties | Durability Impact |
|---|---|---|
Steel | Easy and cheap to repair; can flex for a lively feel | Generally durable; flexing can enhance performance without leading to failure. |
Aluminum | Lightweight, rustproof; can suffer from fatigue if flexed too much | Risk of failure due to fatigue if not properly treated; requires precise thermal treatment for strength. |
Titanium | Very corrosion resistant; strong and lightweight | Expensive and complex to repair; requires meticulous welding to maintain integrity. |
Carbon Fiber | Strong and lightweight; complex to repair | High performance but challenging to repair; quality of repair materials crucial for durability. |
By gathering these tools and materials, you prepare yourself for a successful bike frame crack repair. Remember, taking time to prepare well will help you in the future.
Step-by-Step Process to Repair a Cracked Bike Frame
Fixing a cracked bike frame needs careful work. Follow these steps to make sure your repair is safe and works well.
Disassembling the Bike
First, take apart your bike. This helps you reach the damaged area easily. Here’s how to do it:
Remove the wheels: Use your wrenches to loosen the axle nuts or quick-release levers.
Take off the pedals: Use a pedal wrench to unscrew them from the crank arms.
Detach the handlebars: Loosen the stem bolts and lift the handlebars away from the frame.
Remove the seat: Unscrew the seat post clamp and pull the seat out.
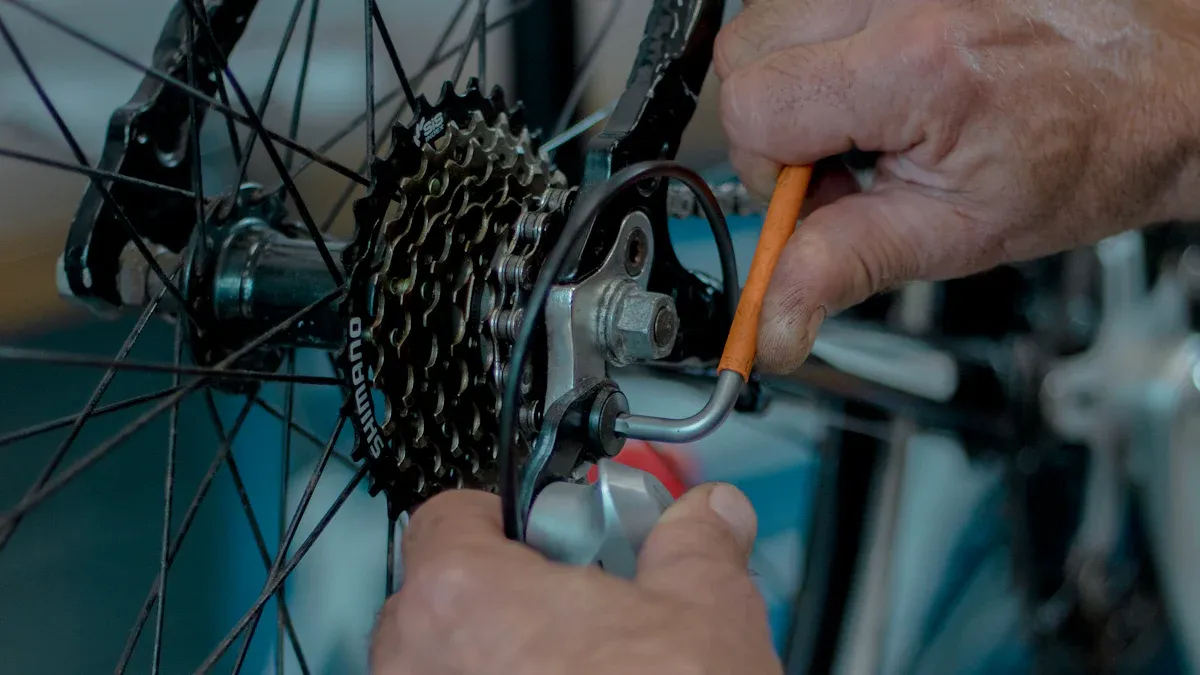
Take off the drivetrain components: Remove the chain, derailleurs, and any other parts connected to the frame.
Tip: Keep track of all screws and small parts. Use a container to avoid losing them during the disassembly process.
Preparing the Damaged Area
After you can see the damaged area, it’s time to get it ready for repair. Good preparation makes a strong bond. Follow these steps:
Clean the damaged area: Start by gently sanding with extra-fine sandpaper. This removes any debris and roughens the surface for better adhesion.
Wipe the area: Use a benign solvent like isopropyl alcohol to clean the area thoroughly. This step removes dust and grease.
Fill any gaps: If there are chips or gaps, apply thin layers of paint until the area is filled. Allow each layer to dry before applying the next.
Smooth the surface: Gently sand and smooth the repainted area with extra-fine sandpaper between coats.
Repairing a Carbon Bike Frame
If your bike has a cracked carbon frame, follow these steps to fix it well:
Remove loose parts: Use a knife or sharp tool to eliminate any loose material around the crack.
Sand the area: Carefully sand the damaged part to remove the topcoat layer and expose the carbon fiber.
Clean the sanded area: Use cleaning alcohol to remove any dust from the surface.
Mix the epoxy: Combine epoxy A and B with graphite powder to create a filling mixture.
Apply the mixture: Cover the entire crack with the mixture, ensuring it fills all gaps.
Allow curing: Let the mixture cure overnight. Once cured, sand it smooth.
Lay down carbon fiber fabric: Apply carbon fiber layers using a vacuum bagging technique for added strength.
Finish the repair: After curing, remove excess material and sand the area smoothly. Apply a finishing coat of epoxy to restore the appearance of the carbon fiber. Finally, add a layer of clear coat for shine and UV protection.
Reassembling the Bike
After you finish the repair, it’s time to put your bike back together. Follow these steps to make sure everything is correct:
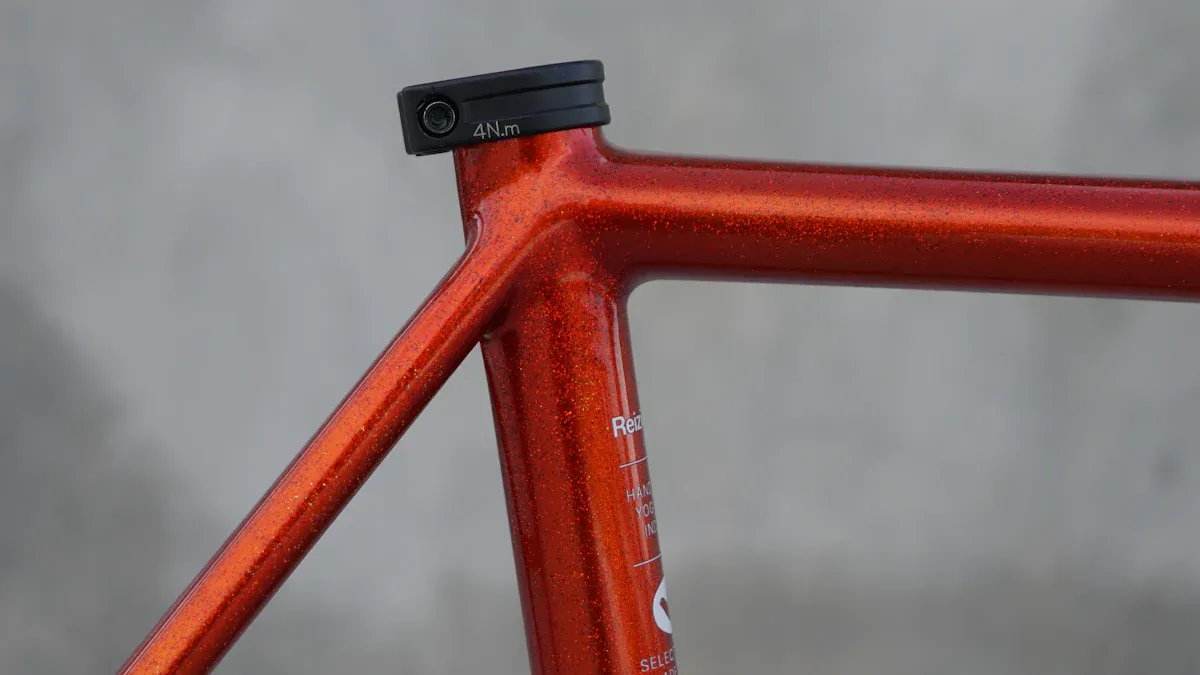
Check frame alignment: Ensure the frame is straight and aligned properly.
Install the bottom bracket: Secure it in place according to the manufacturer’s instructions.
Attach the cranks and pedals: Install the cranks and then screw the pedals back on.
Reinstall handlebars and seat: Put the handlebars back into the stem and secure the seat post.
Reconnect the drivetrain: Install the rear and front derailleurs, followed by the chain.
Install wheels: Attach the front and rear wheels, ensuring they are secure.
Adjust brakes and gears: Make necessary adjustments to ensure everything functions smoothly.
Final checks: Inspect all components to ensure they are tight and secure.
Tip: After reassembling, don your helmet and take a test ride. Adjust as necessary to ensure comfort and safety.
By following these steps, you can effectively repair a cracked bike frame and ensure your bike is safe to ride again.
Ensuring a Durable Repair
Testing the Repair
After you fix your bike frame, you need to test it. This helps make sure it is safe and strong. Here are some good ways to check your work:
Visual Inspection: Look closely at the repaired area. Check for cracks, gaps, or uneven spots. A careful look can find problems before you ride.
Flex Test: Gently push on the repaired area. If it bends or moves, the repair might not be strong. You want it to feel solid with no movement.
Ride Test: When you feel sure about the repair, take your bike for a short ride. Start on a flat, smooth place. Listen for any strange sounds or vibrations. If it feels stable, you can ride farther.
Tip: Always wear your helmet during the ride test. Your safety is very important.
Maintenance Tips
Taking care of your bike frame after a repair is important for it to last. Here are some key maintenance tips:
Regular Inspections: Check your bike frame often for signs of wear or new cracks. Finding issues early can stop more damage.
Keep it Clean: Clean your bike frame regularly. Dirt can hide cracks and weaken the material over time. Use mild soap and water to keep it nice.
Avoid Extreme Conditions: Don’t expose your bike to very hot or cold weather. These conditions can weaken the repair and the frame.
Professional Assessment: If you see serious damage or a big crack, ask a professional for help. They can check it and suggest what to do next.
By using these testing methods and maintenance tips, you can make sure your bike frame repair lasts. Following these steps will help you have safe rides for many years.
Fixing a cracked bike frame is very important for your safety and how well the bike works. Keep these main ideas in mind:
Collect the right tools and materials.
Carefully follow the steps to repair it.
Test your repair to make sure it lasts.
Acting now can help you avoid accidents and expensive fixes later. Focus on your safety and your bike’s life. Start your repair today! 🚴♂️
FAQ
What should I do if my bike frame has multiple cracks?
Look closely at each crack. If they are small, you can fix them using the methods in this blog. For bigger or many cracks, ask a professional to check the damage.
How long does a bike frame repair take?
Repair time depends on the damage and materials used. Usually, you should wait at least 24 hours for the epoxy to fully cure before putting your bike back together.
Can I ride my bike immediately after repairing the frame?
No, you need to wait until the repair is fully cured. Riding too soon can weaken the repair and cause more damage or accidents.
Is it safe to repair a carbon bike frame myself?
Yes, you can fix a carbon frame yourself if you follow the right steps and use good materials. But for serious damage, think about getting professional help.
How can I prevent future cracks in my bike frame?
Check your bike often for signs of wear. Stay away from extreme conditions and rough terrains. Good maintenance and care can help your bike frame last longer.
See Also
Easy Methods to Safeguard Your Bicycle Frame
Best Practices for Safely Painting Carbon Bike Frames
Key Tips for Protecting Your Bike Frame Effectively