
Maintaining your mountain bike frame is crucial for a smooth ride and safety on the trails. Over time, you might notice common issues like cracks or dents that can affect performance. Instead of rushing to a shop, think about fixing my frame yourself! Not only can you save money, but you’ll also gain a sense of accomplishment. Tackling mountain bike frame repair gives you the chance to learn new skills and keep your bike in top shape.
Key Takeaways
Check your mountain bike frame often for cracks and dents. This helps keep you safe and your bike working well.
Use the right tools for fixing it. For carbon frames, use a carbon fiber repair kit. For aluminum frames, use JB Weld.
Follow the right repair steps for each type of frame. This will help you get strong and lasting results.
If you see big damage or feel unsure, ask a professional for help.
Write down repairs and maintenance tasks. This helps you keep track of your bike’s condition over time.
Types of Mountain Bike Frames

When you think about mountain bike frames, there are two main types: carbon and aluminum. Each type has special features and some problems.
Carbon Frames
Carbon frames are light and quick. They help transfer power well because they can flex. Here are some important facts about carbon frames:
Strength and Flexibility: Carbon fiber is strong and flexible. This lets it take different shapes and stay stiff.
Lightweight: These frames are great for racing. They are very stiff, which helps with energy transfer.
Common Issues: Carbon frames can get damaged easily. They are especially weak from hits that are not from their main support. Damage might not show right away. So, it’s important to check your frame often. For instance, a small fall can cause cracks that get worse over time.
Tip: Always look at the narrow parts of the frame, like the chainstay and seatstay. These areas can get damaged more easily.
Aluminum Frames
Aluminum frames are liked for being strong and cheap. They are usually heavier than carbon frames but can handle hits better. Here’s what you need to know:
Cost-Effective: Aluminum frames cost less and are lighter than steel frames. Many riders choose them for this reason.
Common Issues: Aluminum frames are tough, but they can wear out over time. They usually last about 5 to 10 years, depending on how you use and care for them. Keeping the chainstay safe from the bouncing chain can stop damage. Using frame protector stickers can help keep it strong.
Characteristic | Carbon Frame | Aluminum Frame |
|---|---|---|
Fatigue Life | 5-10 years typical expectancy |
Tools for Mountain Bike Frame Repair
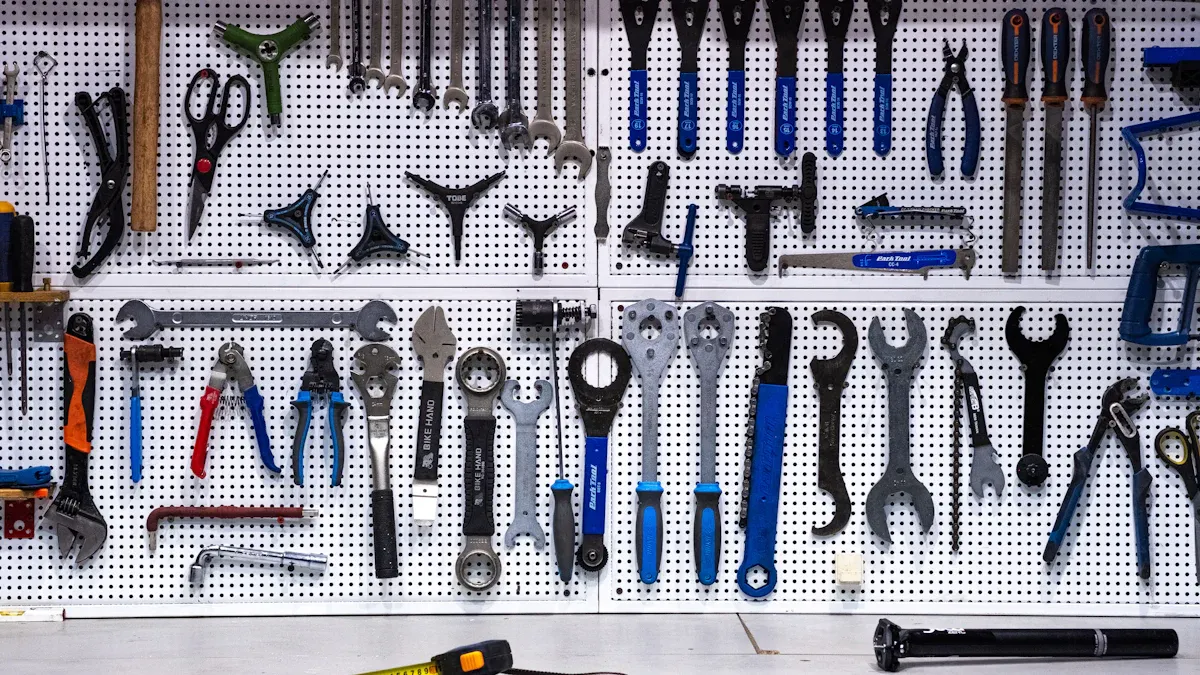
When you fix your mountain bike frame, having the right tools is very important. Here’s a list of tools you need for both carbon and aluminum repairs:
Essential Tools
Cable Housing Cutter: This tool is key for changing cables. It makes clean cuts, which helps with proper installation.
Chain Tool: Use this to keep your bike’s shifting working well. It helps you take off and put on chains easily.
Crank Arm Removal Tool: You need this for working on the bottom bracket. It makes taking off crank arms easy.
Bottom Bracket Removal Tool: This tool is needed to reach and change the bottom bracket.
Cassette Removal Tool and Chain Whip: If you want to change or tighten your cassette, these tools are very helpful.
Cone Wrenches: Use these for repacking wheel hubs to keep them running smoothly.
Tip: It’s important to use tools made for bike repairs, like cable and housing cutters. Regular wire cutters often do not make clean cuts, which can cause installation problems.
Specialized Tools for Carbon
Fixing carbon frames needs some special tools because of the material’s unique features. Here are a few you might need:
Carbon Fiber Repair Kit: This kit usually has resin, hardener, and carbon fiber cloth. It’s important for fixing cracks and keeping the frame strong.
Heat Gun: A heat gun can help soften the resin during repairs. This allows for better sticking.
Sandpaper: Use fine-grit sandpaper to smooth the surface before putting on the repair materials.
Also, think about using protective materials like Helicopter tape or InvisiFRAME to protect your bike’s paint during repairs. These options give great protection against scratches and dings.
With the right tools ready, you’ll be set to handle any frame repair job. Happy repairing!
Repair a Carbon Bike Frame
Fixing a carbon bike frame might look hard, but you can do it with the right steps. Let’s split it into two main parts: checking for damage and fixing it.
Assessing Damage
Before you start fixing, check the damage on your carbon frame. Here’s how to do it:
Clean the frame: First, clean the area around the damage. This helps you see any cracks or marks on the carbon.
Flex or squeeze: Gently flex or squeeze the damaged spot. Compare it to undamaged areas. If it feels too flexible, that’s a warning sign.
Listen for sounds: While flexing, listen for strange noises. Sounds like crumpling paper can mean internal damage.
Tap the frame: Use a hard object to tap the frame. A dull sound may mean structural damage, while a clear sound means it’s okay.
Inspect all parts: Check every area. Look at fork legs, seatstays, and downtube carefully to make sure you don’t miss anything.
Flex the entire frame: Gently flex the whole frame to find any spots that feel odd. This can help you spot hidden damage.
Consult a professional: If you’re not sure about the damage, it’s smart to ask a professional. Mistakes can cause serious safety issues.
Tip: Look for visible cracks, soft spots, or splintering. If you see these signs, it might be better to replace the frame instead of trying to fix it.
Repair Techniques
After checking the damage, it’s time to fix the carbon bike frame. Here’s a simple guide to help you:
Disassemble components: Start by taking off all parts attached to the damaged frame. This makes it easier to repair.
Wrap minor cracks: For small damage, wrap the cracked area with more layers of carbon fiber fabric, epoxy, and hardener.
Sand the area: Use fine-grit sandpaper to smooth the damaged area. Rinse it with alcohol to clean the surface for the repair.
Wrap with electrical tape: Cover the area with electrical tape, leaving the damaged part open. This helps keep the repair materials in place.
Mix epoxy: Prepare your epoxy and hardener in a 2:1 ratio. Apply it to the damaged area, making sure it covers evenly.
Lay down carbon fiber fabric: Once the first coat dries, lay down carbon fiber fabric over the area. Add more epoxy mixture on top to hold it.
Repeat layering: Keep adding layers until you have a strong repair. Each layer should go on after the last one has dried.
Wrap with shrink tape: After the last layer, wrap the area with shrink tape and let it cure for 24 hours.
Finish the repair: Once it’s cured, take off the tape and sand the frame for a clean finish.
Using a DIY carbon fiber repair kit can work well if you follow the steps closely. Many people have had long-term success with their repairs, showing that with the right knowledge and materials, you can get great results.
Note: Remember, carbon fiber frames cannot be cold-set or re-bent. If the damage affects the frame’s strength, it’s safer to replace it.
By following these steps, you can confidently repair carbon bike frames and keep your ride in great shape!
Repairing Cracked Aluminum Frame
Fixing a cracked aluminum frame might look hard, but you can do it with the right steps. Let’s start by finding the problems you might see.
Identifying Issues
When you check your aluminum frame, look for signs of damage. Here’s a quick table to help you find problems:
Common Signs of Damage | Description |
|---|---|
Dents | Show possible weak spots that can cause failure. |
Cracks | Happen due to stress, especially where it bends. |
Structural Weaknesses | Can lead to serious failure while riding. |
Pay close attention to the joints and welds. Small scratches might not mean there are issues, but aluminum can get tiny cracks under pressure. These cracks can be hard to see until they get worse. So, check those areas carefully!
Repair Methods
Now, let’s go through the repair steps. Fixing a cracked aluminum frame has several parts, and you need to be careful for a strong repair. Here’s what to do:
Drill small holes: Start by making tiny holes (about 1/16th of an inch) at the ends of the crack. This helps reduce stress and stops the crack from getting bigger.
Open the crack slightly: Use a pointed tool on a Dremel to gently widen the crack. This helps the filler stick better.
Fill the crack: Put JB Weld in the crack and let it cure as the instructions say. This epoxy is strong and works well for aluminum.
Sand the area: After the epoxy cures, sand the area smooth. Clean it with a solvent to get rid of dust or oil.
Wrap with carbon fiber: Take carbon fiber soaked in epoxy and wrap it tightly around the repaired area. This makes the repair stronger.
Use laminating epoxy: If you have it, use laminating epoxy for better results. If not, a dual-syringe epoxy will work too.
Wear gloves: Always wear gloves when using epoxy to protect your skin.
Secure the repair: Optionally, wrap the joint with an inner tube or plastic wrap to hold everything in place while it cures.
Welding aluminum can be hard. You need to control heat well to avoid burning or not heating enough. Getting a good bond between the base metal and filler rod is very important. If you’re not good at welding, think about asking a professional for help.
After you finish the repair, heat treatment is important to make the frame strong again. Here’s a process to follow:
Solution Heat Treating: Heat the aluminum in a furnace to a temperature that is 10F–25F below the melting point of the alloy.
Quenching: Quickly cool the parts, often in water, to ‘freeze’ the changed microstructure.
Aging: Do either natural aging at room temperature or artificial aging in a furnace to make the material stronger.
By following these steps, you can fix a cracked aluminum frame and keep your mountain bike in great shape. Remember, checking regularly can help you find problems early, saving you time and money later!
Fixing your mountain bike frame can feel great. Keep these important steps in mind:
Assess the Damage: Look for cracks and signs of wear.
Choose the Right Repair Method: Use the right techniques for carbon or aluminum frames.
Prioritize Safety: If you see cracks, hear strange sounds, or feel odd flexing, it’s best to ask a professional.
Regular maintenance helps your bike perform better and last longer. After fixing my frame, check everything again to make sure it’s okay.
Tip: Write down repairs for future reference. This helps you remember maintenance tasks.
By taking care of your repairs and keeping up with bike maintenance, you’ll have a smoother ride and save money over time!
FAQ
What should I do if I find a crack in my bike frame?
If you see a crack, stop riding right away. Check the damage closely. If it’s small, you can try to fix it yourself. For bigger cracks, think about replacing the frame or asking a professional for help.
How can I prevent damage to my bike frame?
To avoid damage, check your frame often for wear. Use frame protectors, stay away from rough paths when you can, and keep your bike in a safe spot away from extreme temperatures.
Is it worth repairing a damaged frame?
Yes, fixing a damaged frame can save you money compared to buying a new one. If the damage is small and you use the right repair methods, you can make your bike work well again.
How long does a frame repair take?
The time it takes to repair a frame can vary. Simple fixes might take a few hours, while harder ones could take a day or two, especially if you have to wait for the epoxy to dry.
Can I use regular epoxy for bike frame repairs?
You can use regular epoxy, but it’s better to use a special bike frame repair kit. These kits are made for the specific materials and stresses in bike frames, which helps create a stronger bond.
See Also
The Role of Science in Fixing Carbon Bike Frames
Comprehensive Mountain Bike Frame Wrap Guide for Everyone
Effective Strategies to Safeguard Your Bike Frame