
When it comes to sanding aluminum bike frames, choosing the right grit is crucial. Typically, you’ll want to stick with a grit range of 120 to 400. This choice depends on what you’re trying to achieve, whether it’s smoothing out scratches or preparing for a fresh coat of paint.
Key Takeaways
Choose sandpaper grit between 120 and 400 for aluminum bike frames. This range helps smooth out scratches and prepares the surface for painting.
Start sanding with medium grit (80-220) to remove old paint and flaws. This approach prevents deep scratches and prepares a clean surface.
Finish with finer grits (400-2000) for a smooth, shiny look. This step enhances the bike’s appearance and helps protect it from damage.
Understanding Sandpaper Grit
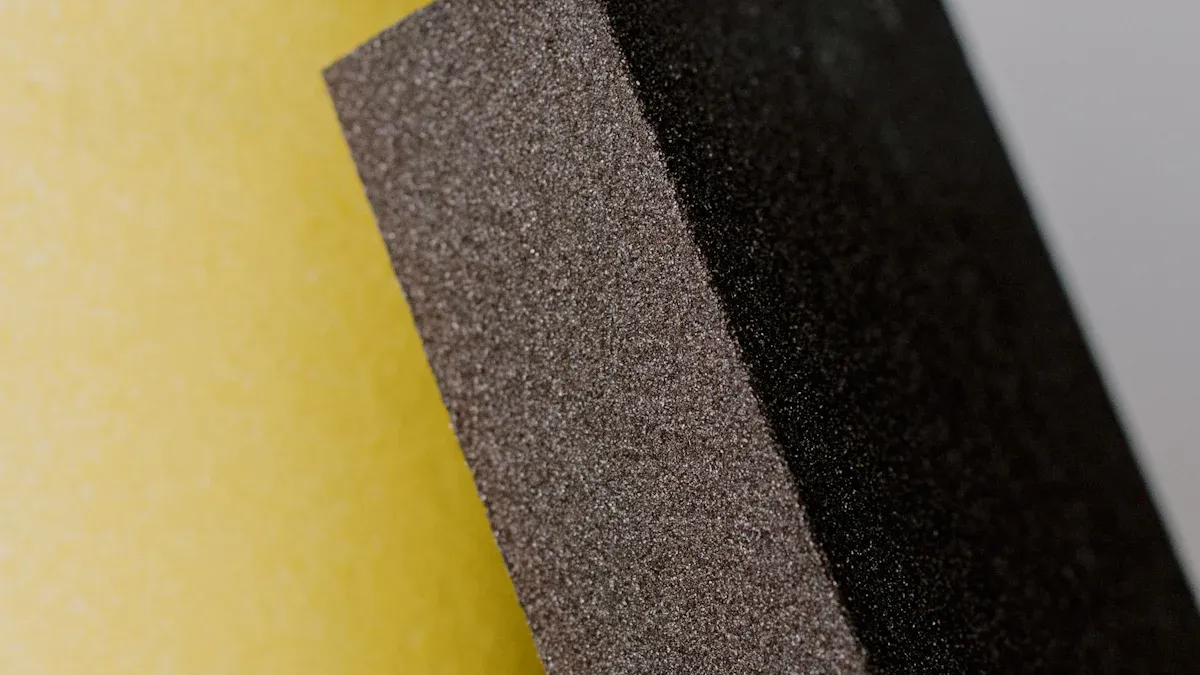
Grit Numbers Explained
When you check sandpaper, you see numbers on the package. These numbers show the grit size. Grit size tells you how rough or smooth the sandpaper is. Companies set these grit numbers using rules from groups like the Coated Abrasive Manufacturers Institute (CAMI). They make sure the grit size is the same by counting how many grains fit through a certain filter size.
Lower grit numbers, like 80 or 120, mean rougher sandpaper. These grits take off material fast but can leave bigger scratches.
Higher grit numbers, like 320 or 400, mean smoother sandpaper. These create nicer finishes and are great for final touches.
Impact on Sanding Process
Picking the right grit is very important when sanding aluminum bike frames. If you start with a grit that’s too rough, you might scratch the surface. Aluminum is soft and can get damaged easily, so using smoother grits is very important. For example, starting with a medium grit (around 120-150) helps you fix flaws without making deep scratches. Then, you can move to finer grits for a smooth finish.
Using the right grit not only makes your bike frame look better but also changes how hard you have to work. If you use a grit that’s too fine at first, you might end up working harder than needed. So, always choose the grit size that fits your job to avoid bad results.
Remember, the only thing that separates a shiny surface from a scratched one is the size of the scratches. Finer grits give a smoother finish, making your bike look awesome after sanding.
Grit Recommendations for Sanding Aluminum Bike Frame
When you start sanding your aluminum bike frame, you need a clear plan. Each sanding step needs different grit sizes for the best results. Here’s a simple guide for grit recommendations for each sanding stage:
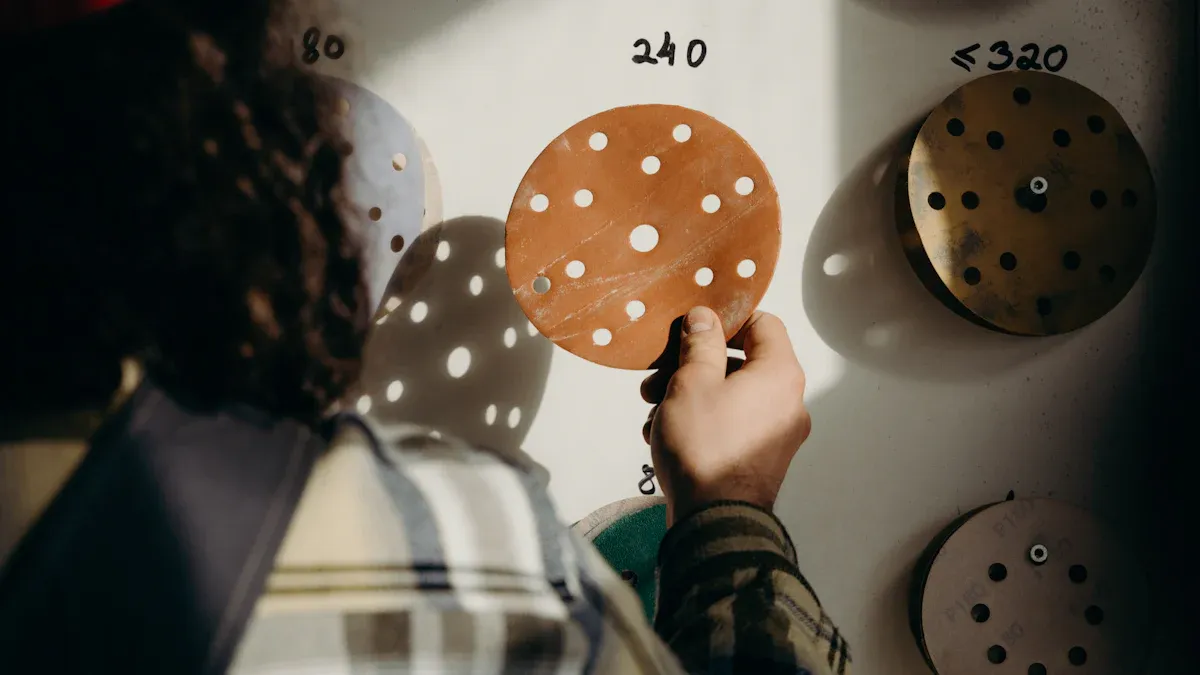
Initial Sanding (80-220 Grit)
For the first sanding, you want to get rid of old paint, scratches, or bumps. Here are some grit choices to think about:
80 grit: This grit is very rough. It can quickly take off material. Use it for tough jobs, but be careful as it can leave deep scratches.
120 grit: This is a good choice for smoothing rough spots without being too harsh.
220 grit: This grit is great for getting metal frames ready for new paint. It makes a clean surface that helps the paint stick well.
Using a mix of these grits will help you build a strong base for your bike frame. Remember, starting with a rougher grit helps fix big problems, while moving to finer grits gets the surface ready for painting.
Intermediate Sanding (320 Grit)
After you finish the first sanding, it’s time for the next step. Here, you want to make the surface even better:
320 grit: This grit works well to remove paint and anodizing from aluminum frames. You’ll see a dull shine and a smoother surface after using it. This step is important as it gets the frame ready for the last sanding. It’s smart to use this grit before going to finer ones for polishing.
Final Sanding (400-2000 Grit)
The last sanding stage is all about getting a smooth, shiny finish. Here’s a grit range to use for this step:
Purpose | |
|---|---|
180 | Remove anodizing from the frame |
220 | Smooth the surface |
400 | Further smoothing |
600 | Prepare for finer sanding |
800 | Continue smoothing |
1000 | Close to polishing |
1500 | Fine sanding before polishing |
2000 | Final sanding before polishing |
Using finer grits like 400-800 helps scratch the paint without taking it all off. This makes it easier for new paint to stick. For raw metal frames, wet sanding with 220 grit and then 400 grit makes a rough surface that helps new paint stick better.
By following these grit recommendations, you’ll make sure your sanding of the aluminum bike frame is effective. This leads to a professional-looking finish. Good sanding not only makes your bike look better but also helps it last longer, stopping problems like rust in the future.
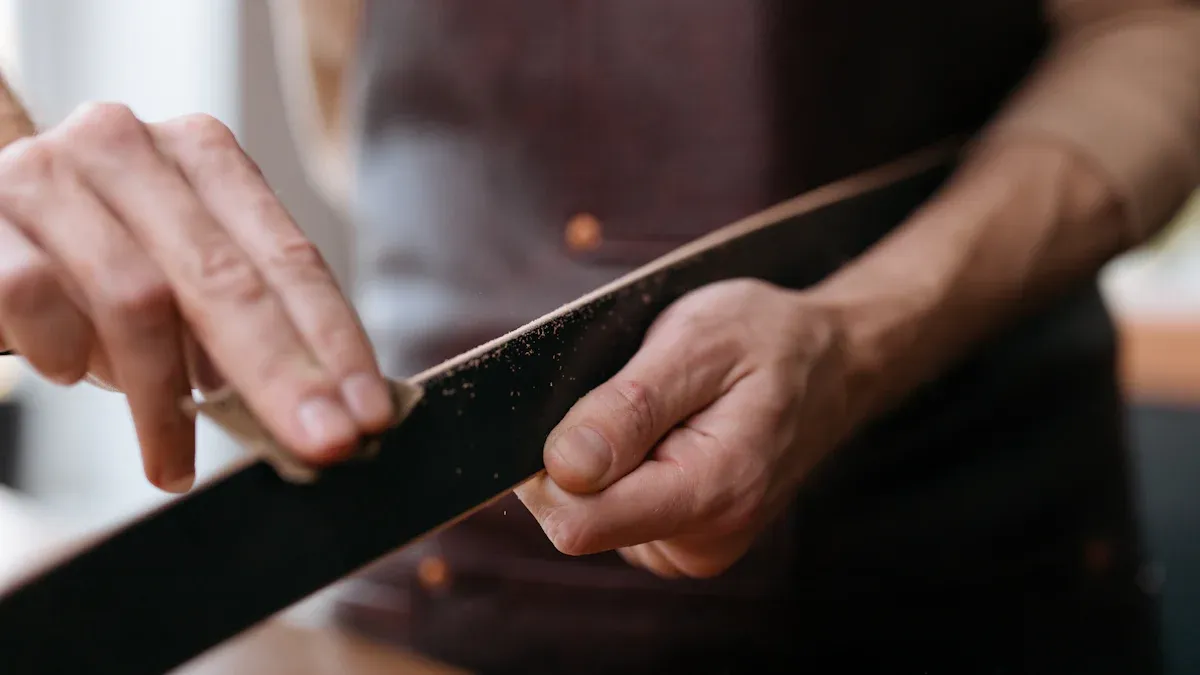
Tips for Effective Sanding
Techniques for Sanding
When you start sanding your aluminum bike frame, using the right techniques is very important. Here are some good practices to follow:
Start with 400 grit dry sandpaper. This grit works well for older frames with pits and deep scratches. It helps remove problems without causing too much damage.
Use a palm sander. This tool can save you a lot of time. It’s efficient and helps keep even pressure on the surface.
Don’t force the sander. Let the sandpaper do its job. Pushing too hard can create uneven surfaces and deeper scratches.
Progress through higher grits. Move from 400 to 800, then to 1200 and 1500, and maybe up to 2000. This slow increase helps you remove all deep scratches and get a smooth finish.
Take your time. Don’t skip grits. Each step is important for fixing problems and getting the surface ready for painting or polishing.
By using these techniques, you’ll make sure your bike frame looks professional.
Tools for Sanding Aluminum
Having the right tools is just as important as using the right techniques. Here’s a list of tools you should think about for sanding aluminum bike frames:
Palm Sander: This tool is great for big areas and helps you get a uniform finish.
Hand Sanding Blocks: For smaller or tricky areas, hand sanding blocks give you more control.
Wet/Dry Sandpaper: This sandpaper is flexible and can be used for wet and dry sanding. Wet sanding can help cut down on dust and give a smoother finish.
Dust Mask: Always wear a dust mask to keep yourself safe from breathing in aluminum dust.
Safety Goggles: Protect your eyes from debris while sanding.
Wet Sanding vs. Dry Sanding
Wet sanding can be very helpful when working with aluminum. Here’s a quick look at both methods:
Sanding Method | Advantages | Disadvantages |
|---|---|---|
Wet Sanding | – Smoother finish | – Messier process |
Dry Sanding | – Faster cleanup | – Creates more dust |
Wet sanding is often better for getting a smoother finish, especially before painting. But, dry sanding is quicker and easier to handle.
Polishing After Sanding
Once you finish sanding, polishing is the next step to get that shiny, professional look. Here’s how to polish your aluminum bike frame well:
Remove the body and tape off areas not to be polished. This stops accidental damage to parts you don’t want to polish.
Sand the frame starting with 400 grit, then move through 800, 1200, and 1500 grit. This makes sure you have a smooth finish.
Wash the frame again to get rid of any sanding grit. This step is very important before polishing.
Polish using a drill polishing kit. Start with a cutting compound, then use a polishing compound for a mirror-like finish.
By following these steps, you’ll not only make your bike frame look better but also protect it from future wear and tear.
In short, picking the right sandpaper grit for your aluminum bike frame is very important. Here’s a quick summary of the benefits:
Starting with medium grit (80-120) helps remove flaws easily.
Finishing with fine grit (150-220) gives a smooth surface, making it look better.
Using the right grit stops damage to the frame, which can happen with rough grit.
By following these tips, you’ll get a professional finish that looks awesome and protects your bike for a long time. Happy sanding! 🚴♂️
FAQ
What grit should I start with for sanding my aluminum bike frame?
Begin with 120 to 220 grit for the first sanding. This helps remove scratches and old paint well.
Can I use the same sandpaper for all sanding stages?
No, you need different grits for each stage. Use rougher grits for the first sanding and finer ones for finishing.
Is wet sanding better than dry sanding for aluminum?
Wet sanding usually gives a smoother finish and makes less dust. This is a good choice for aluminum frames.
See Also
Evaluating Aluminum Bike Frames: Strengths and Weaknesses
A Buyer’s Guide to Carbon, Aluminum, and Steel Frames
Top Methods to Eliminate Rust from Your Bike Frame
Comparing Enduro Frame Materials for Durability and Strength