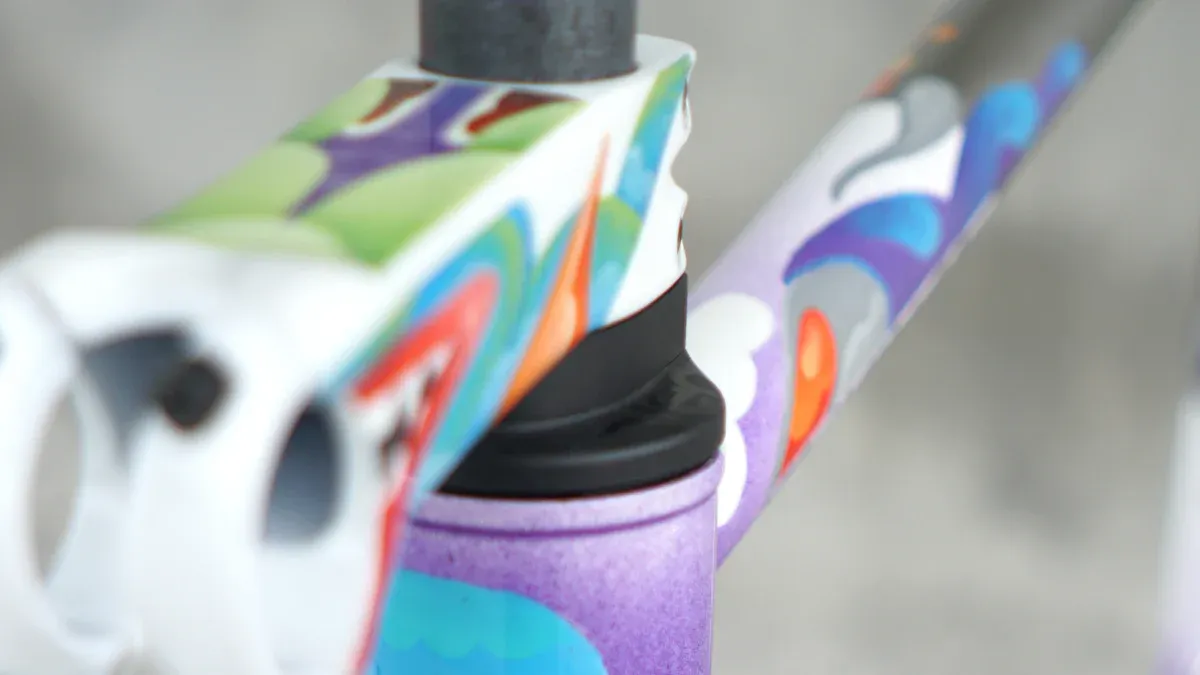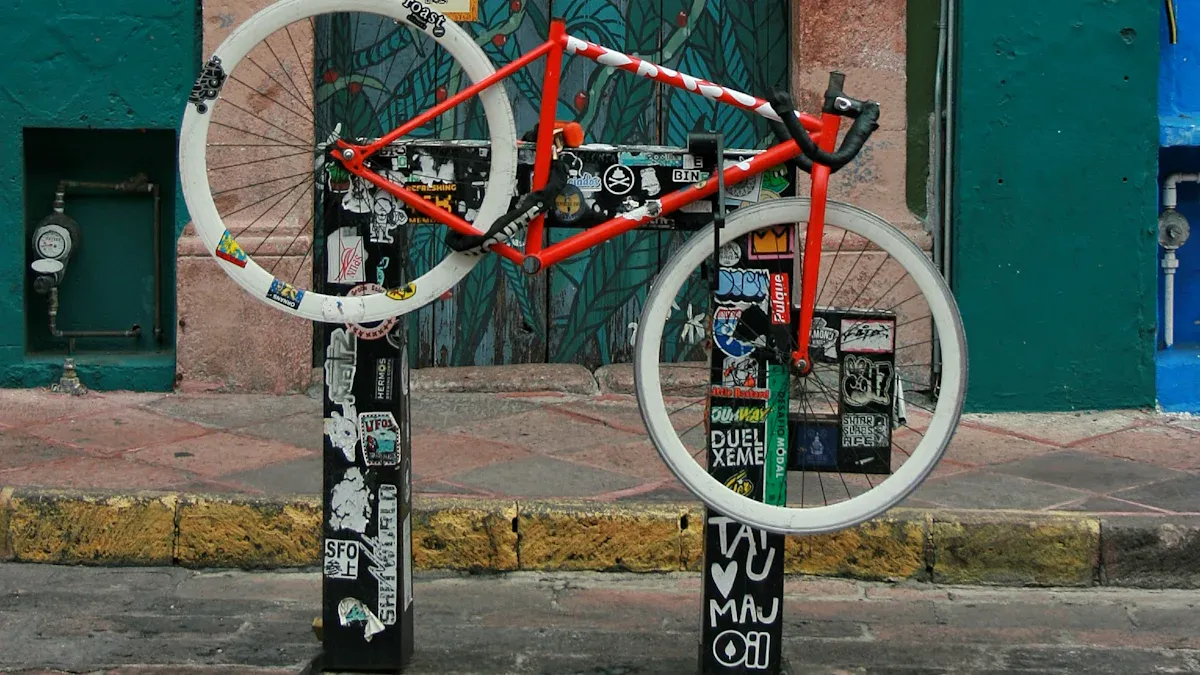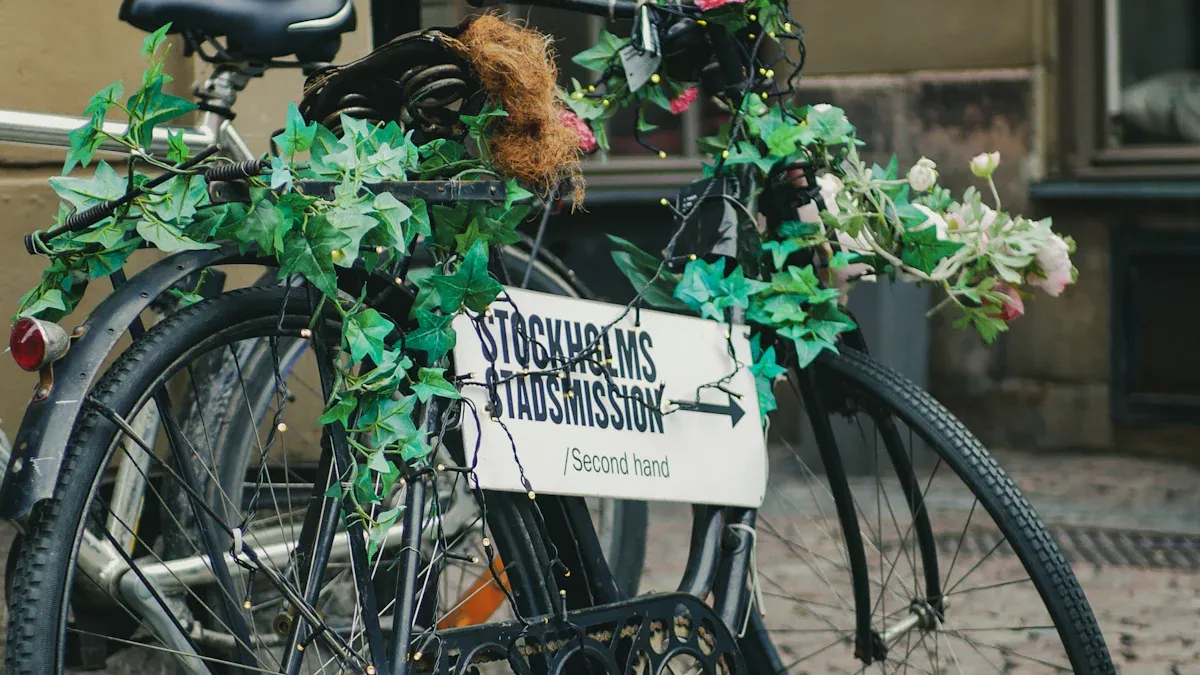
Repurposing old bike parts into bike frame art ideas gets your creativity going. You can give new life to things that are thrown away, which also helps the environment. When you do DIY projects, you cut down on waste while showcasing your artistic skills. So, why not think differently and let your imagination soar?
Key Takeaways
Using old bike parts for art helps cut down on waste. It also shows off your creativity. It’s a fun way to help the environment.
Change bike frames into cool wall art. Clean them, paint them, and add personal things like photos or lights. This makes your home more interesting.
Make garden trellises from bike wheels. This helps plants grow and adds a creative look to your garden. Pick wheels of different sizes for more visual fun.
Wall Art from Frames

Making wall art from old bike frames is a great way to show your creativity. You can change these frames into beautiful pieces that make your home special. Also, it’s a smart choice that helps cut down on waste.
Materials Needed
To start, gather these materials:
Old bike frames (any size)
Sandpaper or a wire brush
Paint or spray paint (optional)
Hooks or brackets for hanging
Decorative items (like fabric, photos, or lights)
Tips for Execution
Choose Your Frames: Pick frames that inspire you. Different shapes and sizes can create a unique look on your wall.
Prep the Frames: Clean the frames well. Use sandpaper or a wire brush to get rid of rust or old paint. This step helps paint stick better if you choose to paint.
Get Creative: Think about how you want to show your art. You can keep the frames as they are for a rustic look or paint them in bright colors for a modern style.
Add Personal Touches: Think about adding photos, artwork, or even fairy lights inside the frames. This adds depth and personality to your wall art.
Hang with Care: Use strong hooks or brackets to hang your frames safely. Make sure they’re level for a neat finish.
Artists like Drew Evans have shown how flexible bike frames can be in making amazing art. You can also try different ways to display them, like using them in public areas or as part of modular designs. Here’s a quick look at some use cases:
Use Case | Description |
|---|---|
Rural Infrastructure | Repurposing bike frames into public facilities like tables and railings. |
Modular Design | Using shape grammar-based changes for creative designs. |
Sustainable Practices | Connecting urban-rural gaps through recycling resources. |
With these tips, you’re ready to jump into bike frame art ideas. Let your imagination go wild!
Garden Trellis from Wheels
Transforming discarded bike wheels into a garden trellis is a fun and creative project. Not only do you give new life to old parts, but you also create a functional piece of art for your garden. Here’s how you can do it!
Materials Needed
Gather these materials before you start:
Discarded bike wheels (various sizes)
Pressure-treated lumber blocks
4″ carriage bolts
Deck screws
Twine or wire (optional for plant support)
Tips for Execution
Select Your Wheels: Choose a mix of bike wheels based on size and color. This variety adds visual interest to your trellis.
Design Your Layout: Lay the wheels on the ground to test different designs. This step helps you visualize how they will look once mounted.
Mounting the Wheels: Use a 4″ carriage bolt to attach the wheels securely to a fence. Make sure they don’t spin. For added stability, mount the wheels using pressure-treated lumber blocks and deck screws.
Incorporate Plants: Bike wheels work great as trellises for vining plants. You can attach them to a fence or connect them to planter boxes with twine. Plants like beans, peas, cucumbers, and tomatoes thrive when they have something to climb on. They’ll weave through the spokes, creating a beautiful display.
By following these steps, you’ll turn discarded bike parts into a stunning garden feature that supports your plants and showcases your creativity!
Chain Link Sculptures
Making sculptures from old bike chains is a great way to show your creativity. These chains have a cool texture and shape. They can turn into amazing art pieces. Artists like Seo Young-Deok and Drew Evans have shown how beautiful these sculptures can be. Seo makes life-size human figures from welded chains. Drew creates nature-inspired designs, like trees and animals.
Materials Needed
Before you start, gather these materials:
Old bike chains
Wire cutters
Pliers
Welding equipment (if needed)
Paint or rust-resistant spray (optional)
Tips for Execution
Plan Your Design: Think about what you want to make. Drawing your ideas can help you see the final piece.
Prepare the Chains: Use wire cutters to cut the chains into different lengths. This will give your sculpture more depth.
Assemble Your Sculpture: Use pliers to bend and twist the chains into your chosen shape. If you’re welding, remember to follow safety rules.
Add Finishing Touches: After your sculpture is put together, think about painting it or leaving it as is for a rustic look.
Display Your Art: Find a great spot for your sculpture, either inside or outside. It can start conversations and show off your creativity.
By following these steps, you can turn old bike chains into eye-catching sculptures that show your artistic talent. So, grab those chains and start creating!
Picture Frames from Pedals
Making picture frames from old bike pedals is a fun way to show off your favorite memories. You can change those bike parts into something beautiful and special. Here’s how to begin!
Materials Needed
Before you start, gather these materials:
Old bike pedals (two for each frame)
A strong backing board (like wood or cardboard)
Glass or acrylic sheet (to protect your picture)
Strong glue or screws
Paint or decorative items (optional)
Tips for Execution
Choose Your Pedals: Pick pedals with cool shapes or colors. This will make your frames more interesting.
Prepare the Backing: Cut your backing board to the size you want. Make sure it’s strong enough to hold your picture.
Attach the Pedals: Use strong glue or screws to attach the pedals to the corners of the backing board. Make sure they are secure so your frame stays together.
Add the Glass: Place the glass or acrylic sheet over your picture. This keeps it safe and makes your frame look nice.
Personalize It: Get creative! You can paint the pedals or add fun things like stickers or fabric. This makes your frame unique.
By following these steps, you’ll make a beautiful picture frame that shows your favorite photos and your creativity. So, grab those old pedals and start crafting!
Coat Rack from Handlebars
Using old bike handlebars to create a coat rack is a practical and stylish way to repurpose bike parts. Not only do you get a unique storage solution, but you also add a touch of personality to your space. Let’s dive into how you can make this fun project a reality!
Materials Needed
Before you start, gather these materials:
Old bike handlebars
A sturdy wooden board (for mounting)
Screws or wall anchors
Sandpaper
Paint or wood stain (optional)
Tips for Execution
Choose Your Handlebars: Look for handlebars that have a cool design or interesting shape. This will make your coat rack stand out.
Prep the Surface: Use sandpaper to smooth out any rough edges on the handlebars. If you want to paint or stain them, now’s the time to do it!
Mounting the Handlebars: Attach the handlebars to the wooden board using screws. Make sure they’re secure so they can hold your coats without wobbling.
Hang It Up: Use wall anchors to mount the board on your wall. Position it at a height that’s easy for you to reach.
Get Creative: Consider adding hooks or decorative elements to enhance the look. You can even paint the board to match your home décor.
Popular styles for coat racks made from bike handlebars include customizable designs that not only serve as functional storage but also act as wall art. Many DIY enthusiasts focus on using sustainable materials, making this project eco-friendly.
By following these steps, you’ll create a coat rack that’s not just practical but also a conversation starter. So grab those handlebars and get crafting!
Planters from Bike Seats

Using bike seats as planters makes your garden special. They add a fun touch and let you show your creativity. Plus, reusing old bike parts is good for the planet. You can make something pretty while helping the environment!
Materials Needed
Before you start, gather these materials:
Old bike seats
Potting soil
Plants or seeds of your choice
Drill (for drainage holes)
Decorative stones or mulch (optional)
Tips for Execution
Prepare the Seat: First, clean the bike seat well. If it has rust, sand it down. Then, drill a few holes in the bottom for drainage. This step is very important to keep your plants healthy.
Choose Your Plants: Pick plants that grow well in small spaces. Here are some great options:
Succulents: They need little water and come in many shapes and colors.
Herbs: Basil, mint, and thyme grow well in small pots and are useful in cooking.
Flowers: Petunias or marigolds add bright colors and attract bees.
Fill with Soil: Put potting soil in the seat, leaving enough room for your plants.
Plant and Decorate: Place your chosen plants in the soil. You can also add decorative stones or mulch on top for a nice finish.
Using bike seats as planters has many benefits:
Creative Expression: Make your garden decor unique.
Repurposing Old Bikes: This eco-friendly practice helps reduce waste.
Cost-Effective: Use old bikes instead of buying new planters.
Vertical Gardening: Save space in small areas with vertical displays.
Portability: Easily move the planter to change your garden layout.
Conversation Starter: Get attention with a fun design.
DIY Satisfaction: Enjoy making a handmade feature.
Versatility: Customize the planter to show your style.
So, grab those old bike seats and start planting! You’ll love creating something beautiful while making your garden shine. 🌱
Wind Chimes from Spokes
Creating wind chimes from discarded bike spokes is a fun way to make musical art while being eco-friendly. You can turn those old spokes into a beautiful decoration that adds charm to your outdoor space. Let’s dive into what you need and how to make them!
Materials Needed
Before you start, gather these materials:
Random metal bicycle parts (like brake handles, pedals, or seats)
Black twine or similar material for hanging
A pole to hold the wheel (a broken ski pole works great!)
Tips for Execution
Cut String or Twine: Cut pieces of twine about 12-18 inches long. This length gives you enough room to hang your parts nicely.
Tie Bicycle Parts to Wheel: Pair bicycle parts with similar weights. Tie them to the wheel using twine, ensuring they’re evenly spaced. This balance helps the chimes sound better when the wind blows.
Final Assembly: Secure the wheel to a pole so it can spin freely. You can use a sturdy base to keep it upright.
Decorate Your Chimes: Get creative! You can paint the spokes or add beads and shells to the twine for extra flair. Consider using colorful ribbons to hang the chimes, making them even more eye-catching.
Hang and Enjoy: Find a perfect spot to hang your wind chimes. Listen to the soothing sounds as they dance in the breeze!
By following these steps, you’ll create a unique piece of art that not only looks great but also brings a delightful sound to your space. So, gather those spokes and let your creativity shine! 🎶
Clocks from Gears
Making clocks from old bike gears is a great way to mix usefulness with creativity. You can make special timepieces that tell time and look cool. Artists like Marianne Koops inspire many people with their creative clock designs. They show how bike scraps can become beautiful home decorations.
Materials Needed
Before you start, gather these materials:
Old bike gears (various sizes)
Clock movement kit (available at craft stores)
Backing board (wood or metal)
Drill (for making holes)
Paint or decorative items (optional)
Tips for Execution
Select Your Gears: Pick gears that you like. Different sizes and colors can make a striking look.
Prepare the Backing: Cut your backing board to the size you want. This will be the base for your clock.
Attach the Clock Movement: Drill a hole in the center of your backing board. Put the clock movement kit through the hole and secure it as the instructions say.
Arrange the Gears: Try different layouts for your gears before gluing them down. You can make a layered look or a simple design.
Personalize It: You can paint the gears or add decorations to match your style.
By following these steps, you’ll have a stunning clock that shows off your creativity.
Here’s a quick look at some features of creative clock designs:
Feature | Description |
|---|---|
Artist | |
Materials Used | Old recycled bike chains and gears, brushed copper faces, brass hands |
Functionality | Clocks powered by one included C battery |
Weight | Approximately 1lb |
You can also find clocks made from painted chainrings, with over 200 unique designs created by artists like Marianne Koops. These clocks use old gear pieces, bike tires, and even used license plates. They were first made as gifts but have become popular crafts. So, gather those gears and start making your own unique clock! 🕰️
Art Mobiles from Frames
Making art mobiles from bike frames adds a fun touch to your space. These hanging sculptures move gently in the wind, bringing joy to any room or garden. You can use your imagination as you design your mobile, using different bike parts to create something special.
Materials Needed
Before you start, gather these materials:
Old bike frames or wheels
Fishing line or strong twine
Scissors
Decorative items (like beads or fabric)
A sturdy base for hanging
Tips for Execution
Choose a Theme: Think about what inspires you. Here are some fun themes to consider:
Bicycle Wheel Clock: Make a cool clock using old wheels and gears. It’s both useful and artistic!
Hunting Trophy Hangers: Create artistic versions of hunting trophies using bike parts, inspired by Picasso’s bull’s head.
Bike Furniture: Design furniture from recycled bike parts, mixing usefulness with art.
Bicycle Chain Chandeliers: Make light sculptures from bicycle chains. They look artistic and change over time.
Assemble Your Mobile: Cut the fishing line or twine into different lengths. Attach your bike parts and decorative items, making sure they hang evenly.
Hang with Care: Find a great spot to show off your mobile. Make sure it’s secure and can move freely.
By following these steps, you’ll create a fun mobile that shows your creativity and love for recycling. So, gather those bike parts and let your artistic side shine! 🎨
Display Ideas for Vintage Frames
Showing off your bike art can really improve your space. Here are some fun display ideas that will make your vintage frames pop!
Materials Needed
Vintage bike frames
Wall mounts or hooks
Light fixtures (optional)
Paint or decorative items (optional)
Tips for Execution
Choose Your Frame: Pick a bike frame that you like. A classic or bright frame can start great conversations.
Horizontal Mounts: Use horizontal mounts to hold the bike flat against the wall by the top tube. This method looks nice and is easy to reach.
Add a Light Fixture: Put a light fixture on top of the frame. You can use a simple socket or get creative with pendant lights for a unique look.
Creative Arrangements: Arrange several frames in a pattern. Mixing in other bike parts can create a connected look that catches the eye.
Personalize It: Paint or decorate the frame to match your living room style. Adding bicycle-themed stickers can make it more fun.
Functional Art: Use bike parts to make shelves or hooks. This way, you can mix display and use, making your art both pretty and useful.
By trying these ideas, you’ll show off your creativity and inspire others to enjoy the beauty of repurposed bike art! 🚴♂️✨
Let your creativity flow with these bike art projects! You will have fun while also feeling less stressed and happier. Share your art on social media to inspire others and make new friends. Together, we can celebrate being eco-friendly and the fun of DIY! 🌍✨
Doing creative activities can:
Improve your mood and feelings.
Help you relax and be mindful.
Strengthen your community.
Motivate others to join the biking culture.
FAQ
What types of bike parts can I use for art projects?
You can use frames, wheels, chains, pedals, handlebars, seats, spokes, and gears. Get creative with whatever you have!
How do I ensure my bike art is weather-resistant?
Use rust-resistant paint and sealants. For outdoor projects, choose durable materials that can withstand the elements.
Can I sell my bike art creations?
Absolutely! You can sell your creations online or at local craft fairs. Share your unique designs with the world!
See Also
10 Creative Custom Bike Frame Ideas To Inspire You
Learn Simple Techniques To Perfectly Draw Bike Frames
Key Tips For Protecting Your Bike Frame Effectively
