
It is very important to align your bike frame properly. This helps with safety and performance. If your frame is not aligned, it can cause problems like:
Problems with the chainline and shifting
Trouble removing and putting on wheels
By checking your bike frame alignment often, you can improve your cycling experience. This also helps prevent accidents.
Key Takeaways
Check your bike frame often for damage. Look for cracks, dents, and bends to keep it safe and working well.
Use a plumb line to check if it is straight. This tool helps you see if your bike frame is aligned correctly.
If you hear strange noises or have handling problems, ask a professional for help. Fixing issues early can stop bigger problems.
Visual Check

When it comes to ensuring your bike frame is in top shape, a visual check is your first line of defense. This simple inspection can reveal a lot about your bike’s condition. Here’s how to get started:
Check for Damage
Begin by giving your bike a thorough look-over. You want to spot any signs of damage that could affect performance. Here are some key indicators to watch for:
Clean the Frame: Start with a clean surface. Dirt and grime can hide cracks or dents.
Look for Marks: Inspect the carbon surface for any visible marks. These could be superficial, like scuffed paint, or more serious, like cracked carbon.
Check for Bends: Use a builder’s straight edge along the mainframe backbone to spot any bends. This can help you determine if the frame is still true.
Inspect Steering Components: Look at the steering stops for cracks or misalignment. Ensure the handlebars are straight and check for any crash damage.
Tip: If you notice any cracks or significant damage, it’s best to consult a professional. They can provide a more in-depth inspection.
Look for Gaps
Next, focus on the joints of the frame. Gaps between frame joints can indicate misalignment, which can lead to tracking issues while riding. Here’s what to do:
Examine the Joints: Look closely at where different parts of the frame connect. Any gaps suggest that components aren’t aligned properly.
Check for Paint Cracks: Regular inspections can reveal early signs of structural issues, such as cracks in the paint. These can indicate potential misalignment.
Use a String Line: Set up a string line from the rear wheel to check alignment. This method helps you see if the front and rear wheels are in line with each other.
By taking these steps, you can effectively assess your bike’s frame condition. Regularly checking frame alignment not only enhances your riding experience but also keeps you safe on the road.
Plumb Line Method
The plumb line method is a classic technique for checking your bike frame alignment. It’s simple, effective, and can help you spot any misalignments that might affect your ride. Let’s dive into how you can set it up and analyze the results.
Setting Up the Plumb Line
To get started, you’ll need a few basic items: a plumb line (which can be as simple as a weight tied to a string) and a flat surface to work on. Here’s how to set it up:
Find a Level Surface: Make sure your bike is on a flat surface. This ensures accurate results.
Attach the Plumb Line: Hang the plumb line from a fixed point on the bike, like the top of the seat post. The weight should dangle freely.
Position the Bike: Align the bike so that the front wheel is straight. This helps you get a clear view of the alignment.
Check the Vertical Line: The plumb line should fall straight down alongside the bike frame.
Tip: Make sure the bike is stable while you’re checking. You don’t want it to tip over!
Analyzing the Results
Once you have the plumb line set up, it’s time to analyze what you see. Here’s what to look for:
Alignment with the Frame: The plumb line should ideally align with the bottom bracket and the rear axle. If it doesn’t, your frame may be misaligned.
Knee Alignment: When your cranks are horizontal (at 3 and 9 o’clock), your forward knee cap should align vertically with the pedal axle. This alignment helps ensure balanced muscle recruitment and reduces the risk of knee strain.
Comparative Accuracy: While the plumb line method is straightforward, it’s important to note that it may not capture all individual variances as thoroughly as more advanced techniques. However, using a level and plumb line can significantly enhance bike alignment, which is crucial for reducing the risk of injury and discomfort during rides.
By following these steps, you can effectively check your bike frame alignment using the plumb line method. Regularly checking frame alignment not only improves your riding experience but also keeps you safe on the road. If you find significant misalignment, it might be time to consult a professional for a more thorough inspection.
Measuring Angles
Measuring the angles of your bike frame is very important. This helps make sure everything is aligned correctly. You should check both the head tube and seat tube angles. Here’s how to do it well.
Tools Needed
To start, gather these proper tools:
Tape measure: For basic measurements.
Digital angle finder: This tool gives exact angle readings.
Laser level: Good for advanced measurements.
Plumb bob: Helps measure angles accurately and easily.
Tool Name | Description |
|---|---|
Efficiently records and transfers a rider’s position on a bike, helping with proper setup and positioning. | |
Purely Custom Digital Seat Angle Tool | Measures saddle angle with a digital level and can also check handlebar and other frame angles. |
Purely Custom Plumb Bob | Made for stability and easy use, it helps in measuring angles accurately and quickly. |
Steps for Accurate Measurement
Follow these steps to measure your bike frame angles:
Put the rear wheel against a wall with the bike straight to the wall.
Measure from the saddle clamp center to the wall.
Subtract the two measurements to find the X dimension.
When measuring the head tube angle, look at the angle from the horizontal to the head tube. For the seat tube angle, measure from the horizontal to the line from the bottom bracket center to where the seat tube meets the top of the head tube.
If your measurements are outside the normal range—usually between 73 to 78 degrees for most bikes—you may need to adjust things. Misalignment can cause handling problems and discomfort while riding. If you’re not sure about making these adjustments, ask a professional for help. A bike mechanic can give you the expertise needed to fix everything.
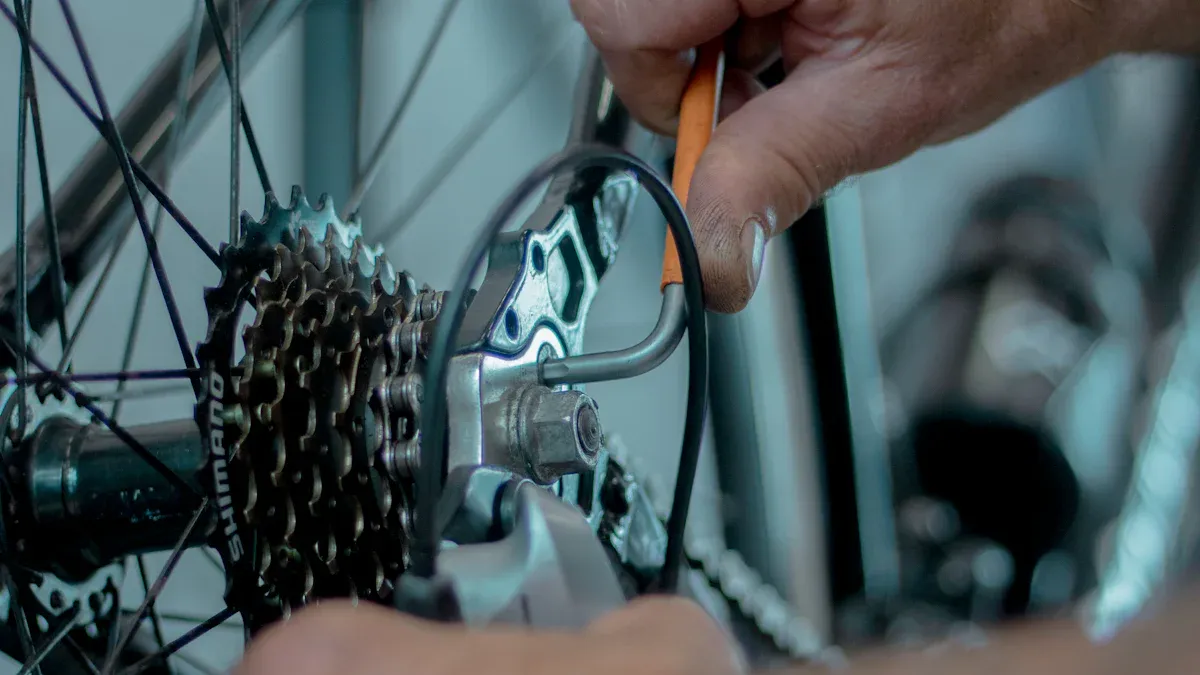
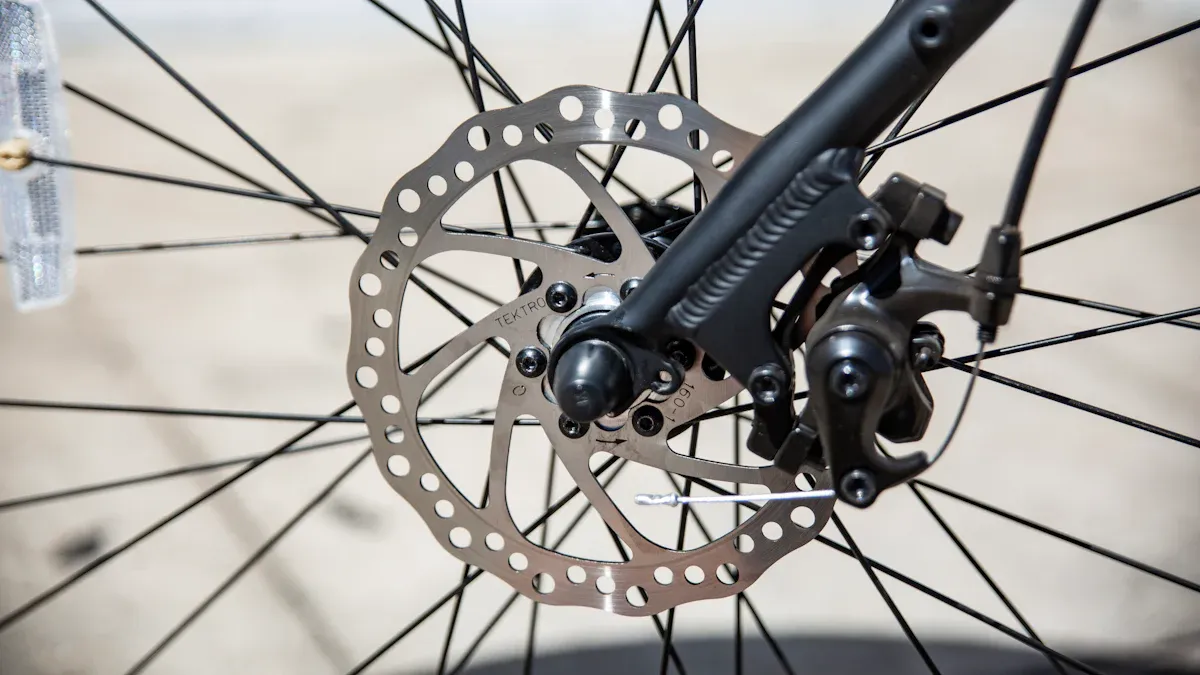
Checking Wheel Alignment
Checking your wheel alignment is very important for your bike’s performance and safety. If your wheels are not aligned, it can cause uneven tire wear. This makes your tires wear out faster and costs more to maintain. You might not see small misalignments, especially on mountain bikes, but they can change how your bike rides. For example, a slight twist in the frame shows up when you ride with no hands. Now, let’s look at how to check and fix your wheels.
Inspecting Wheel Position
Start by looking at where your wheels are positioned. Here are some good ways to do this:
Dishing Tool: This tool checks the distance between the rim and the hub. It’s the best way to see if the wheel is centered.
Visual Checks: Just look at how the wheel lines up with the bike frame. Check for any gaps or misalignment.
Measurement Scenarios: With a dishing tool, you can find three situations:
No gap (well-centered)
Big gap (needs fixing)
Negative gap (okay)
Adjusting the Wheels
If you see misalignment, follow these steps to fix your wheels:
Make sure the axle bolts are tight to hold the frame well.
Use a box wrench instead of an adjustable wrench for better grip.
For more leverage, put a short metal tube over the wrench.
When aligning the front wheel, don’t just line it up with the brakes; adjust the brakes instead. Ensure the wheel is properly dished, meaning the rim is centered with the hub. To tighten the front wheel better, stand in front of the bike, straddle the wheel, and push down on the handlebars while tightening the quick-release.
By checking and adjusting your wheel alignment often, you can improve your bike’s performance and enjoy a smoother ride. If you’re unsure, don’t hesitate to ask a professional for help.
Professional Help
Sometimes, even if you try hard, you may need a professional. Knowing when to ask for help can save you time. It also keeps your bike safe and working well. Here are some signs that mean you should see a mechanic:
Signs You Need a Mechanic
Unusual Noises: If you hear creaking or popping sounds while riding, it might mean frame problems.
Handling Problems: If your bike feels wobbly or pulls to one side, it could be misalignment.
Visible Damage: Cracks or bends in the frame show that you need a professional check.
Frequent Repairs: If you keep fixing the same problem, it’s time for a second opinion.
Tip: Don’t ignore these signs! Fixing them early can stop bigger problems later.
What to Expect
When you take your bike to a professional, expect a complete check. Here’s what usually happens during a bike frame alignment service:
Service Description | Details |
|---|---|
Frame Alignment Check | Uses a special flat frame alignment table to ensure precision within 12 thousandths of an inch. |
Tools and Techniques | Uses special tools and methods to avoid frame damage during the alignment process. |
Issue Resolution | Can fix problems like twist and bow in the frame. |
Pricing | A flat fee of $95 for the alignment check, with extra hourly charges for repairs if needed. |
Make sure the mechanic has the right skills. Look for someone with at least five years of experience. They should know about frame alignment, custom bike builds, and other important services.
By knowing when to get professional help and what to expect, you can keep your bike in great shape. Regular maintenance not only makes your ride better but also keeps you safe on the road.
In conclusion, checking your bike frame alignment is very important for safety and performance. Regular checks can help you avoid problems like less stability, uneven tire wear, and expensive repairs. Remember to:
Look for cracks and dents.
Use a torque wrench to tighten bolts correctly.
Check the saddle and handlebars for alignment.
By following these tips, you can keep your bike in good condition and have a smoother ride. Don’t hesitate to get professional help if you see any big misalignments. Your safety on the road relies on it!
FAQ
How often should I check my bike frame alignment?
You need to check your bike frame alignment often. Do this especially after crashes or long rides.
What tools do I need to check my bike frame alignment?
You will need a plumb line, tape measure, and digital angle finder. These tools help you get accurate measurements.
When should I seek professional help for my bike?
If you hear strange noises or have handling issues, see a mechanic. They can give your bike a complete check.
See Also
Three Simple Tips for Comfortable Bike Frame Fitting
Effective Strategies to Safeguard Your Bike Frame
Key Gas Bike Frame Insights for Every Builder