
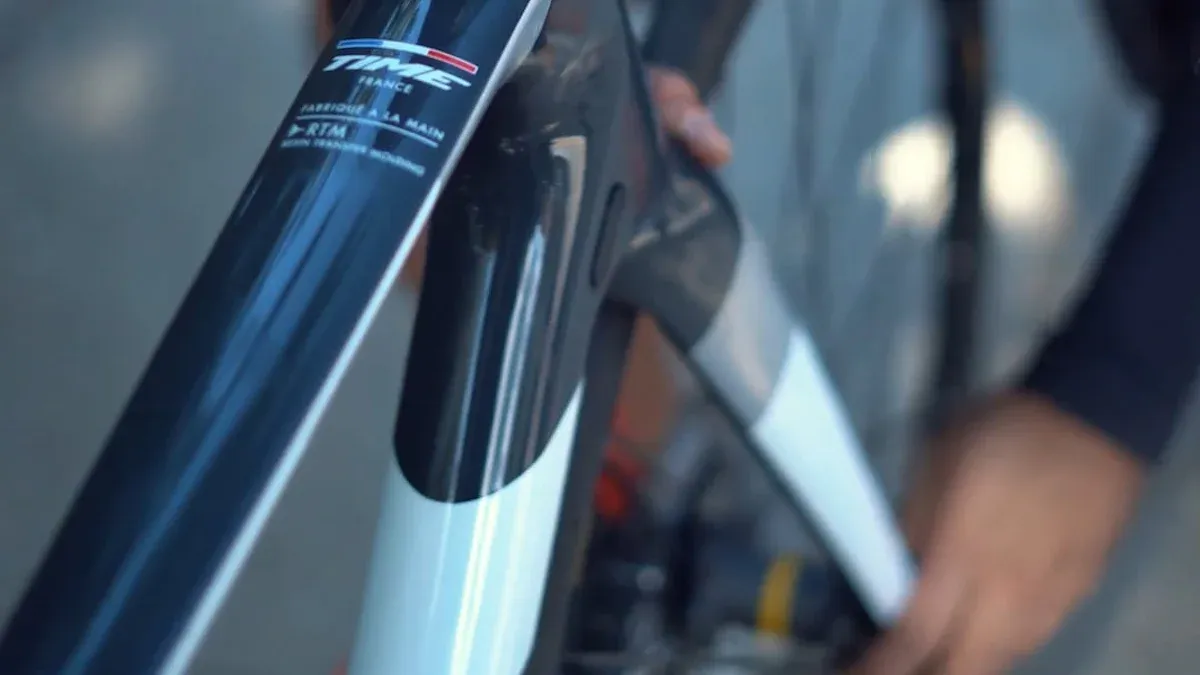
Chipped carbon bike frames happen more often than you think. A study by Cycle Inspect and the University of New South Wales shows how common damage is for cyclists. If you ignore those chips, you might face big problems.
“Damaged carbon isn’t safe. If the insurance company’s client hits you, it costs them the price of a new frame.”
This reminds us that ignoring repairs can lead to dangerous situations. Luckily, you have many ways to fix your chipped carbon bike frame and keep riding safely.
Key Takeaways
Chipped carbon bike frames are common. They can cause serious safety problems. Fix them quickly to avoid dangerous situations.
The epoxy repair method is a popular DIY choice. It makes a strong bond and saves money. But it needs skill and patience.
For big damage, think about using a carbon fiber patch method. This can bring back much of the frame’s strength if done right.
Professional repair services have experience and quality checks. They can fix serious damage but may cost more.
Preventative steps, like safe storage and regular care, can help keep your bike frame safe from future damage.
Epoxy Repair for Chipped Carbon Bike Frame
If you want to fix a chipped carbon bike frame, the epoxy repair method is a popular choice. This method works well for both looks and strength. Many cyclists use it. Let’s look at how to do it and what you need to know.
Process Overview
Here’s a simple guide to doing an epoxy repair on your chipped carbon bike frame:
Mask and Cover: First, cover the area around the chip to protect the rest of the frame.
Wet Sanding: Use wet sanding to smooth the damaged area. This helps take off paint and primer, showing the carbon underneath. Make sure there are no sharp edges.
Cut Patches: Cut two patches from carbon fiber. One should be small to cover the crack, and the other should be bigger to cover the first patch and the area around it.
Mix Epoxy: Mix the epoxy and hardener as the instructions say.
Clean the Area: Use alcohol wipes to clean the patch area well.
Apply Epoxy: Spread epoxy on the damaged area and soak the patches with it.
Layer the Patches: Put the small patch over the crack, then place the larger patch on top.
Wrap with Compression Tape: Use compression tape to hold the repair in place.
Heat the Tape: Use a hair dryer or heat gun to shrink the tape for a tight fit.
Cure Time: Let the epoxy cure for 24 hours.
Final Touches: After curing, take off the tape and any masking. You can sand and repaint the area if you want.
Safety Tip: Always wear an N95 or P100 respirator, safety glasses, and gloves when sanding and applying epoxy. Make sure there is good airflow to avoid breathing in dust and fumes.
Pros and Cons
Like any repair method, epoxy has its good and bad points:
Pros:
Strong Bonding: Epoxy makes a strong bond, which is important for fixing carbon bike frames.
Lightweight: The repair doesn’t add much weight, keeping the bike’s performance.
Cost-Effective: Doing it yourself can save you money compared to professional repairs.
Cons:
Not Always Permanent: If the damage is bad, epoxy may not last long. Some people say they need to replace the frame if cracks are big.
Quality Variability: How well the repair works can depend on the quality of the epoxy. Low-quality epoxy can fail.
Specialized Skills Required: While many can do it, the repair process needs some skill and patience for a good result.
Carbon Fiber Patch Method
If you want a good way to fix a chipped carbon bike frame, the carbon fiber patch method is a great choice. This method helps make the frame look better and keeps it strong. Let’s see how to use this method the right way.
Process Overview
Here’s a simple guide to using a carbon fiber patch:
Prepare the Area: First, tape off a six-inch area around the damage. This keeps the rest of the frame safe while you work.
Sand the Damage: Start with 220 grit sandpaper. Then switch to coarser 110 grit for better results. Keep sanding until the dust turns dark grey. This shows you reached the fiber level.
Fill the Hole: Mix epoxy with hardener in a 4:1 ratio. Add filler to make it thick like peanut butter. Put enough epoxy in the hole and spread it about 1/2 inch in each direction.
Apply the Patch: Wrap the carbon fiber fabric soaked in epoxy around the damaged area. Try to match the pattern as closely as you can.
Secure the Patch: Use black electrical tape to cover the fabric. This holds it in place while it cures.
Cure and Finish: After it cures, take off the tape. Lightly sand the area, then use heavier sandpaper to shape it.
Safety Tip: Always wear gloves and a mask when sanding and using epoxy. Good airflow is important to avoid harmful fumes.
Pros and Cons
The carbon fiber patch method has good and bad points:
Pros:
Effective for Structural Repairs: This method can bring back much of the frame’s strength. Tests show that some properties can return to almost perfect levels.
Durable: When done right, it gives a safe repair that can handle cycling well.
Cons:
Quality Concerns: Some people worry about how well repair kits work. If not done right, the patch may not stick well.
Trust Issues: Many cyclists doubt DIY repairs compared to professional checks.
Professional Repair Services
If your chipped carbon bike frame has serious damage, getting help from professionals is a smart choice. These experts have the right skills and tools to fix your bike well. Let’s see what you can expect from these services.
Process Overview
Professional repair services usually follow a clear process to make sure the repairs are done right. Here’s a simple outline of what they do:
Assessment: First, technicians will check the damage to find the best way to fix it.
Preparation: They will clean the area and get it ready for repair. This might mean sanding or taking off damaged parts.
Repair Application: Using special tools, they will put on the materials needed to fix the damage. This often includes high-quality epoxy and carbon fiber patches.
Curing: The repair needs time to cure properly. This helps create a strong bond.
Finishing Touches: Finally, they will sand and paint the area to match the rest of the frame. This makes it look brand new.
Tip: Professional services often use special tools to help with repairs. Here’s a quick look at some tools they might use:
Equipment | Purpose |
|---|---|
Heat guns | Used for applying heat to repair materials. |
Vacuum pumps | Important for creating a vacuum during repairs. |
Pressure clamps | Helps hold parts together while they cure. |
Pros and Cons
Using professional repair services has its own good and bad points:
Pros:
Expertise: Professionals have the training and experience to fix tough problems. They know how to check damage and use the right methods.
Quality Assurance: Many customers say they are happy with the quality of work. Reviews often say that repairs look great and work well.
Time-Saving: You can save time by letting experts do the repairs. This means you can ride your bike again sooner.
Cons:
Repair Cost: Professional repairs can be expensive. For example, small fixes, like a crack near the seat tube, usually cost about $200. Big repairs, like a broken chain stay, can cost up to $800. Most repairs typically range from $400 to $600, including paintwork.
Availability: Depending on where you live, it might take time to find a good repair service. Not all places have bike repair shops that specialize in this work.
DIY Carbon Repair Kits

If you want to fix your chipped carbon bike frame yourself, DIY carbon repair kits are a good choice. These kits have everything you need to fix small damage and keep your bike looking nice. Let’s see what’s in these kits and how to use them well.
Process Overview
Most DIY carbon repair kits have different parts to help you make good repairs. Here’s what you usually find:
Epoxy Matrix: This has epoxy and hardener, usually about 65cc total.
Carbon Fiber: You’ll get a piece of 3K, 2×2 twill carbon fiber fabric, usually 6 inches by 12 inches.
Compression Tape: About 2 yards of tape to hold everything while it cures.
Sandpaper: You’ll find wet/dry sheets in different grits (120, 220, and 320) to smooth the area before and after fixing.
Cups: Two plastic mixing cups for mixing the epoxy and hardener.
Gloves: A pair of nitrile gloves to keep your hands clean.
Wipes: Two acetone or alcohol wipes for cleaning the area.
Instructions: A printed guide and a link to video instructions to help you through the steps.
Using a DIY kit is easy. Here’s a quick list of the steps you’ll take:
Cut carbon pieces to cover the damaged area, leaving about 0.5 to 1 inch extra around the edges.
Mix the epoxy as the instructions say for the right ratios.
Put a thin coat of the epoxy/hardener mix on the repair area.
Soak the carbon pieces with the epoxy mix and place them on the repair area, matching the weave.
Wrap the repair area with compression tape and use heat to create compression.
Let the repair cure in a warm spot for 24 hours.
Unwrap and check the repair, then wet sand to blend it with the original frame.
Finish the repair with paint, clear coat, or decals.
Safety Tip: Always wear gloves and a mask when using epoxy. Good airflow is important to avoid harmful fumes.
Pros and Cons
DIY carbon repair kits are great for fixing cosmetic issues, like surface scratches and chips. They let you fix small problems without spending a lot. However, they might not work for structural repairs. Here’s why:
Pros:
Cost-Effective: You save money by doing it yourself.
Convenient: Kits have everything you need, making it easy to start.
Satisfying: It feels good to fix your bike yourself.
Cons:
Complexity: The repair process can be tricky, especially for beginners.
Limited Effectiveness: While DIY kits are good for cosmetic damage, structural repairs often need professional help. Structural issues require careful rebuilding to restore the frame’s strength, which DIY methods may not do.
Preventative Measures for Carbon Bike Frames
Taking care of your carbon bike frame is important. It helps keep it in good shape. You can stop chips and damage by doing a few simple things. Here’s how to protect your bike and make it last longer.
Process Overview
Washing Techniques: Use gentle washing methods. Don’t use harsh chemicals that can hurt the frame. A soft cloth and mild soap work well.
Protective Layers: Check the protective layers on your bike often. If they look worn, replace them to keep your frame safe.
Reapply Protection: After a few years, put on new protective coatings to keep them working well.
When you store and transport your bike, think about these tips:
Safe Storage: Keep your bike in a safe place to stop falls and bumps.
Careful Transportation: Use padding when moving your bike. This helps prevent damage during transport.
Use Protective Layers: Protect your bike from dirt and hits with protective layers.
Regular maintenance is also very important. Check all parts for signs of damage, like cracks or chips. Change any parts that look worn to stop more problems.
Tip: Wax your frame often to keep it looking nice. It also adds a layer of protection against scratches.
Pros and Cons
These preventative measures are helpful, but they have some limits. Here’s a quick look at possible downsides:
Factor | Description |
|---|---|
Crashes or bumps can crush or break the fibers. | |
Extreme temperatures | Long exposure to high or low temperatures can weaken the frame. |
Fatigue | Repeated stress or strain can cause damage over time. |
Incorrect use | Using the frame for things it’s not made for can cause problems. |
By following these tips, you can help protect your carbon bike frame from damage and enjoy many rides ahead!
To sum up, fixing a chipped carbon bike frame needs you to think about how bad the damage is. You can choose from DIY methods or professional help. Each choice has good and bad points, so pick what works best for you.
If you are not sure how bad the damage is, it’s smart to ask a bike shop for help. They can use ultrasound to check for delamination, which means the frame might be weak.
Also, remember that many manufacturers don’t like DIY repairs because of liability issues. Professional repairs often come with warranties, which help you feel better about how strong and safe the repair is.
Take your time to look at your situation and pick a repair method that matches your needs for cost, ease, and strength.
FAQ
What should I do if my carbon bike frame has a deep crack?
If you notice a deep crack, it’s best to consult a professional. They can assess the damage and recommend the right repair method to ensure your safety while riding.
How can I prevent chips on my carbon bike frame?
To prevent chips, store your bike safely, use protective layers, and avoid harsh cleaning methods. Regular maintenance helps catch issues early, keeping your frame in good shape.
Is it safe to ride with a chipped carbon bike frame?
Riding with a chipped frame can be risky. Chips may weaken the structure, leading to potential failure. Always repair damage promptly to maintain safety.
How long does a DIY repair take to cure?
Most DIY repairs require about 24 hours to cure fully. Make sure to follow the instructions in your repair kit for the best results.
Can I paint over a repaired area on my bike frame?
Yes, you can paint over a repaired area. Just ensure the surface is smooth and clean before applying paint. This helps blend the repair with the rest of the frame.
See Also
Easy Methods to Safeguard Your Bicycle Frame
Best Advice for Safely Painting Carbon Bicycle Frames
The Role of Science in Fixing Carbon Bike Frames