
Building your own road bike frame is a fun adventure. You get a special bike and learn important skills while you build a road bike frame that fits your body well. You can change things like handlebar width and saddle position for better comfort. Also, custom builds can help you perform better. Adjusting parts to match your riding style can make you faster and improve handling. Plus, you can save money by not paying extra for brand names. Take on the challenge and enjoy making something that is truly yours.
Key Takeaways
Making your own road bike frame gives you a perfect fit. This helps you feel comfortable on long rides.
Changing your bike can make it work better. You can adjust angles and lengths to fit your riding style.
Building a bike frame yourself can save you money. It costs less than buying brand-name bikes, but still gives you quality.
Getting the right tools and materials is very important for a good build. Spend money on reliable equipment for better results.
Always follow safety rules when welding and putting things together. This will help you have a safe and fun building experience.
Overview of the Project
Benefits of Building Your Own Frame
Making your own bike frame has many benefits. First, you get to choose the design. You can change everything to fit your likes and riding style. This makes the bike feel like part of you. Here are some main benefits:
Personal Fit: You can build a frame that fits your body perfectly. This helps you stay comfortable on long rides.
Performance Optimization: Custom shapes can improve how well you ride. You can change angles and lengths to match your style.
Cost Efficiency: Making your own frame can save you money. You skip the high prices of brand-name bikes while still getting good quality.
Skill Development: The process teaches you useful skills. You learn about materials, tools, and methods that help with future projects.
Understanding Frame Geometry
Frame geometry is very important for how your bike works. It affects how it handles, feels, and rides overall. When you design your frame, think about these key details:
Specification | Impact on Performance |
|---|---|
Affects how quickly you steer; steeper angles make it turn fast, while slacker angles make it stable. | |
Seat Tube Angle | Changes how you sit over the pedals; steeper angles help you push hard, while slacker angles are more comfy. |
Wheelbase | Longer wheelbases make it stable, while shorter ones help it turn easily. |
Knowing these parts helps you build a bike that fits your needs. For example, a steeper head tube angle and shorter wheelbase make it easier to turn quickly, which is great for tight corners. On the other hand, a slacker head tube angle and longer wheelbase give you stability at high speeds and on bumpy paths.
Essential Tools and Materials

Building a bike needs the right tools and materials. Having good equipment makes it easier and more fun. Below is a list of important tools and materials for your custom road bike frame project.
Tools You Will Need
To build a bike well, collect these tools:
Multitool: This should have allen keys, a screwdriver, a chain breaker, a spoke wrench, and Torx bits (T25 and T10).
Shock Pump: Use this to change suspension pressure.
Grease: Important for lubricating parts and stopping rust.
Bike Stand: A repair stand helps you work on your bike easily.
Portable Tire Pump: Useful for inflating tires anywhere.
Torque Wrench: This tool makes sure bolts are tightened safely.
Good Quality Hand Tools: Buy reliable hand tools for better results.
Floor Pump: A floor pump works better than weak portable pumps for tire inflation.
CO2 Tire Inflator: This lets you inflate tires quickly with spare cartridges.
Tip: Using a torque wrench is very important. It helps you get the right torque settings, which stops damage to your bike parts.
Here’s a table showing some key tools and what they do:
Tool Type | Key Features | Contribution to Efficiency and Accuracy |
|---|---|---|
Torque Wrenches | Accurate torque settings, compact design | Ensures correct fastening torque, preventing damage |
Hex Wrenches (Park Tool) | Ball end tip for hard-to-reach bolts | Helps reach difficult bolts, speeding up assembly |
Fine Adjustment Screwdrivers | Rubber grip, rotating handle for precise tuning | Allows small adjustments on delicate parts with accuracy |
Digital Calipers | Precise measurement capability | Enables exact sizing and fitting of parts |
Hardened Hex Bit Sets | Durable S2 steel, nickel plating | Long-lasting tools reduce risk of bolt damage |
Materials for Your Frame
Choosing the right materials is just as important as having the right tools. Here are the most common materials for custom road bike frames:
Steel: Known for being strong and giving a smooth ride.
Aluminum: Light, responsive, and cheap, with great stiffness.
Titanium: Balances strength and lightness, but costs more.
Carbon Fiber: Very strong and light, but also the most expensive.
Each material has its good and bad sides. Here’s a comparison of their features:
Material | Cost | Weight | Performance | Comfort | Durability |
|---|---|---|---|---|---|
Steel | Low | Heavier | Good | Excellent | Very Durable |
Aluminum | Moderate | Light | Good | Moderate | Good |
Titanium | High | Very Light | Excellent | Good | Very Durable |
Carbon Fiber | High | Extremely Light | Excellent | Poor | Moderate |
Note: When picking materials, make sure they meet safety rules. Check for compliance with ISO and EN tests, like the ISO 4210-6:2015 Fatigue Test and the EN 14781 Impact Test. These tests ensure your frame can handle stress and impacts.
By gathering the right tools and materials, you prepare yourself for success in building your bike. Enjoy the process, and have fun creating a bike that is truly yours!
Build Road Bike Frame Steps
Designing the Frame
The first step to build a bike is designing your frame. You must think about many things to make a bike that fits you. Start by talking about what you like. Discuss the material, how it will be made, and your budget. This talk helps you pick the right builder if you want one. Usually, builders ask for a 30-50% deposit to pay for materials and hold your order. They will also take specific measurements to make sure the frame fits you well.
To help with your design, you can use software tools. Here’s a table of good options:
Software | Description | Price |
|---|---|---|
BikeCAD | A special tool for framebuilding, used often by experts. | $750 CAD ($550 USD) |
Fusion360 | A flexible CAD software for hobbyists and small businesses. | Free for hobbyists, $535/year |
rattleCAD | Helps with the design and building of custom bicycle frames. | Free to download |
Tube Mitering
Next, you need to miter the tubes. A tight miter is very important. If the fit between the tubes isn’t perfect, the brazing won’t work well. This makes the joints weak. Here are the steps for a good miter:
Find the angle (Theta) where the downtube meets the headtube.
Use the closest holesaw to the middle of the intersection. If you are between sizes, pick the smaller one.
Make sure the miter notch is even for tight miters.
You can use different ways to miter. A cheap but slow way is using tin snips and hand files. A milling machine is more expensive but easier. Using a bicycle frame building jig is highly recommended. It holds all the tubes at the right angles for precise mitering and adjustments.
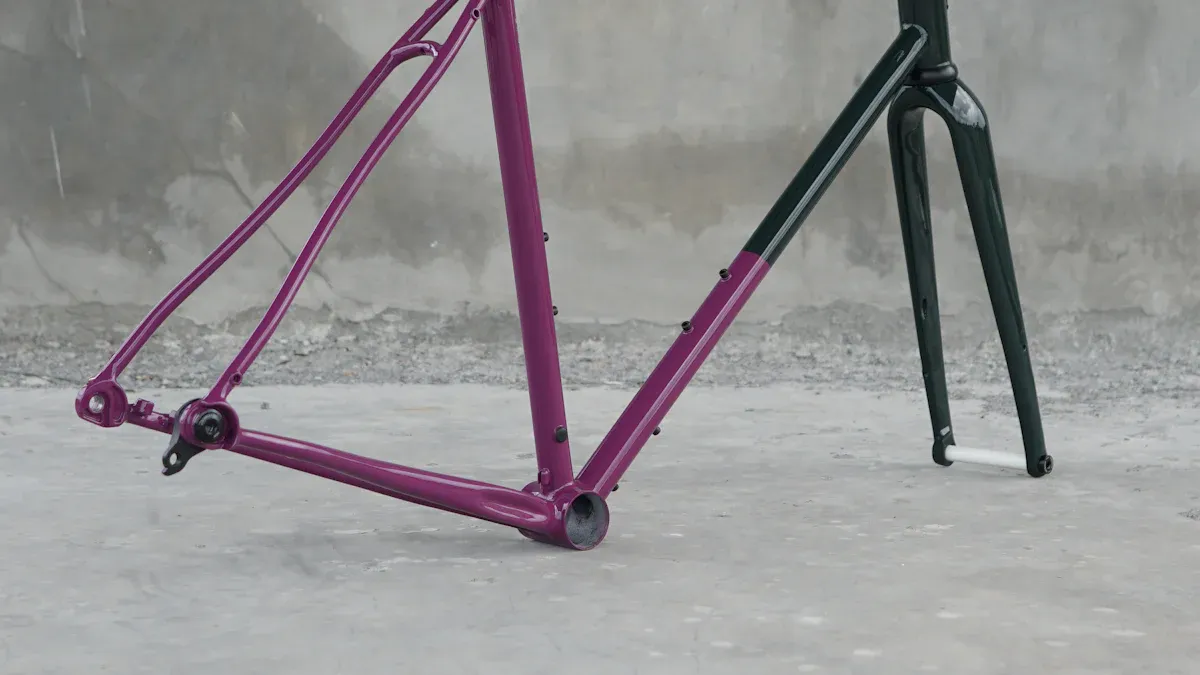
Welding the Front Triangle
After mitering the tubes, it’s time to weld the front triangle. TIG welding is the main method for making metal bike frames. This type of welding uses a tungsten electrode to create an electrical arc. TIG welding is precise and lets you join different materials like aluminum, titanium, and steel.
When welding, follow these safety tips:
Description | |
|---|---|
Ventilation | Make sure there is good airflow to remove harmful fumes. Use exhaust fans for safety. |
Protective Clothing | Wear flame-resistant gloves and gear to avoid burns. |
Fire Safety | Keep an ABC fire extinguisher nearby for electric and flammable materials. |
Eye Protection | Use special welding helmets or goggles to protect your eyes from sparks. |
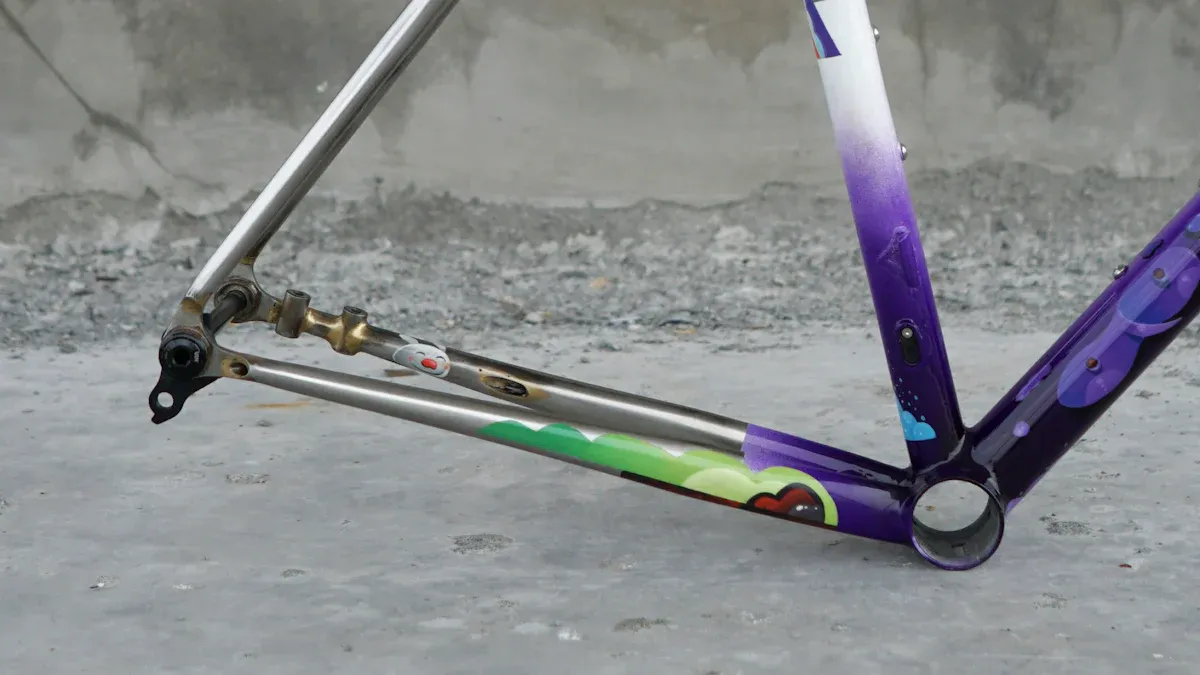
Attaching Chain Stays
After welding the front triangle, you will attach the chain stays. Here are the best practices for this step:
Put the frame back into the fixture. Don’t check alignment until the chainstays are welded.
Find out where the chainstays, chainring, tire, cranks, and disc rotor need to clear.
Dimple the chainstays if needed, but be careful as this can weaken the stay.
Miter the dropouts to the chainstays and tack them in place.
Load the stays into the chainstay fixture and miter to the bottom bracket shell.
Check that the stays are the same length and aligned. You may need to hand file.
Tack the stays to the bottom bracket shell in three spots on each side.
Weld the chainstays in order and check their alignment afterward.
Installing the Headset
The last step in building a bike frame is installing the headset. Follow these steps for a proper installation:
Install the crown race.
Clean the head tube and headset well.
Grease the top and bottom headset cups.
Press in the top cup.
Press in the bottom cup.
Put together the headset.
Insert the fork and tighten the top cap.
Go ride your bike!
By following these steps, you can build a bike frame that meets your needs. Enjoy building your bike and take pride in your custom creation!
Troubleshooting Common Issues
Misalignment Problems
Misalignment can hurt how your custom bike frame works. You might see some common misalignment problems:
Angular Misalignment: This happens when the frame angles are not the same.
Twist in the Head Tube or Seat Tube: A twist can cause handling issues.
Impact of Manufacturing Tolerances: Small mistakes during building can change how the bike rides.
A twist of just 1/2 degree can be easy to notice, especially when riding without hands. You might feel the bike pulling to one side or see it acting differently when turning.
To fix misalignment, think about these tools and methods:
Repair Stand: Use this to hold the bike while you measure.
FAI-2 Frame Alignment Indicator: Check if your frame is symmetrical.
DC-1 Digital Caliper: Make exact measurements during alignment.
FFS-2 Frame and Fork Straightener: This tool helps bend the frame if needed.
Bench Vise: Hold the bike securely while making adjustments.
Angle Finder: An extra tool for more measurements.
Dropout Alignment Tools (FFG-2): Check wheel dropout alignment after you adjust.
Material Weaknesses
Material weaknesses can cause frame failures. These problems often come from:
Bonding Different Materials: Bad bonding can create weak spots.
Stress Concentrations at Joints: Joints are key areas that can break under pressure.
Thermal Expansion Effects: Different materials expand at different speeds, causing stress.
To find material weaknesses, use these testing methods:
Tap Test: Tap the frame and listen for sound changes.
Flex Test: Apply pressure to see if it bends too much.
Acetone Wipe Test: Watch how acetone dries on the surface.
Dye Penetrant Testing: Use dyes to show surface problems.
Thermal/Infrared Imaging: Check heat patterns to find hidden defects.
Ultrasonic Testing: Use sound waves to find irregularities.
If you find weaknesses, think about these materials for your frame:
Material | Advantages | Disadvantages |
|---|---|---|
Steel | Unique ride feel, comfortable, can be light | Heavier than titanium and carbon fiber |
Titanium | Durable, corrosion-resistant, comfortable | More expensive than steel |
Carbon Fiber | Light, stiff, good vibration dampening | Less durable, may need extra systems for comfort |
By fixing misalignment and material weaknesses, you can make sure your custom road bike frame works well and lasts longer.
Building a custom road bike frame is a fun journey. You learn skills and make a bike that fits you well. Here are some long-term benefits you can enjoy:
Personalized Fit: Your frame fits your body just right.
Performance Optimization: You pick parts that improve your cycling style.
Cost Savings: A strong bike means you won’t need replacements often.
Sustainability: Good materials help your bike last longer.
Take on the challenge and feel proud of making something that is truly yours! 🚴♂️
FAQ
What tools do I need to build a custom road bike frame?
You need important tools like a multitool, torque wrench, bike stand, and a good hand tool set. These tools help you put together and adjust your bike frame correctly.
How long does it take to build a bike frame?
Building a bike frame can take a few days to several weeks. The time depends on how skilled you are, how complex the design is, and what materials you use.
Can I use different materials for my bike frame?
Yes, you can mix materials like steel, aluminum, titanium, and carbon fiber. Each material has special features that change weight, comfort, and performance. Choose based on what you like and your budget.
Is it safe to weld my bike frame at home?
Welding at home can be safe if you follow safety rules. Wear protective gear, make sure there is good airflow, and keep a fire extinguisher close. If you are unsure, think about getting professional help.
What should I do if my frame feels misaligned?
If your frame feels misaligned, check the angles and measurements using a repair stand. Use alignment tools to fix any problems. Proper alignment helps with better handling and performance while riding.
See Also
The Enduring Importance of Steel Frame Bikes in 2025
New Developments in Electric Bike Frame Technology for 2025
Creating Your Own Custom Stretch Bike Frame with Ease
10 Unique Custom Bike Frame Ideas to Ignite Your Imagination