
Choosing the right bike frame size is very important. It helps with your comfort and performance. A good fit can make riding more enjoyable. It can also help your health. If the size is wrong, it can cause discomfort or injury. To help you find the best fit, we will talk about important measurements. This includes the bike frame diameter that you should think about.
Key Measurements:
Rider-based method: Measure your inseam for the best frame size.
Bike-based method: Measure the frame of a bike that fits you well.
Knowing these measurements will help you pick the bike that is right for you.
Key Takeaways
Picking the right bike frame size is very important. Measure your height and inseam to find the best fit.
Knowing bike frame diameter affects your ride. A bigger diameter can make you go faster but may change how the bike handles. Think about this when choosing a bike.
Seat tube length affects how well you pedal. Make sure it lets you stand over the bike comfortably to improve your ride.
Trying out a bike is very important. Check the standover height and adjust the saddle for comfort to make sure it fits well before buying.
Talking to a professional bike fitter can really help your comfort and efficiency. They can help you avoid injuries and improve your performance.
Key Measurements

Bike Frame Diameter
The bike frame diameter is very important for your bike’s strength and how it rides. A bigger diameter usually means a stiffer frame. This can help you go faster, especially when riding quickly. But it can also change how the bike handles. For example, if the head tube angle is steep and the trail is low, the bike may steer too quickly.
Here’s a quick look at how different things work with bike frame diameter:
Factor 1 | Factor 2 | Interaction |
|---|---|---|
Geometry (head tube angle) | Trail | These two decide how the bike steers. A steep head angle with low trail makes steering feel ‘twitchy’. |
Load placement | Frame stiffness | Heavy loads in front on a flexible frame can cause ‘frame sway’ when braking or turning. |
Wheelbase | Turning radius | A longer wheelbase helps with straight riding but makes turning less sharp. |
When thinking about sizing, remember that the material used also affects how the bike performs. For example, aluminum frames need larger tubing to be stiff enough. This is because aluminum is less stiff than steel. This need can limit how the bike is shaped and change how it rides.
Seat Tube Length
Seat tube length is another key measurement that affects your ride. It decides how high or low your saddle can be. This directly impacts your comfort and how well you pedal. A good seat tube length gives you a comfortable standover height, which is important for pedaling well.
Here’s a typical range of seat tube lengths for different bike types:
Bike Category | Size | Seat Tube Length |
|---|---|---|
Hybrid Bike | XS | 320mm |
Hybrid Bike | S | 390mm |
Hybrid Bike | M | 470mm |
Hybrid Bike | L | 500mm |
Hybrid Bike | XL | 530mm |
Hybrid Bike | XXL | 570mm |
Road Bike | 47 | 71.0 – 75.0 cm |
Road Bike | 50 | 74.0 – 77.0 cm |
Road Bike | 52 | 76.0 – 79.0 cm |
Road Bike | 54 | 78.0 – 82.0 cm |
Road Bike | 56 | 81.0 – 85.0 cm |
Road Bike | 58 | 84.0 – 87.0 cm |
Road Bike | 60 | 86.0 – 90.0 cm |
Road Bike | 62 | 89.0 – 92.0 cm |
The right seat tube length helps you pedal better when climbing, making your pedaling more efficient.
Reach and Stack
Reach and stack measurements are important for knowing how a bike fits you.
Stack Measurement: You find this by subtracting the bottom bracket height from the head tube top height. For example, if the head tube top height is 870 mm and the bottom bracket height is 305 mm, the stack is 565 mm.
Reach Measurement: You get this by measuring from the head tube top to a wall and from the bottom bracket to the same wall. Then, subtract the smaller number from the bigger one. For instance, if the head tube distance is 1285 mm and the bottom bracket distance is 835 mm, the reach is 450 mm.
Both reach and stack affect how you sit on the bike and your comfort. A higher stack usually gives a more comfortable position, while a lower stack can help with speed, which is important for racing.
Knowing these measurements helps you choose the right bike size, making your ride more comfortable and fun.
Bike Sizing for Different Types
When choosing a bike, understanding how sizing varies between different types is crucial. Each bike type has unique characteristics that affect fit and comfort.
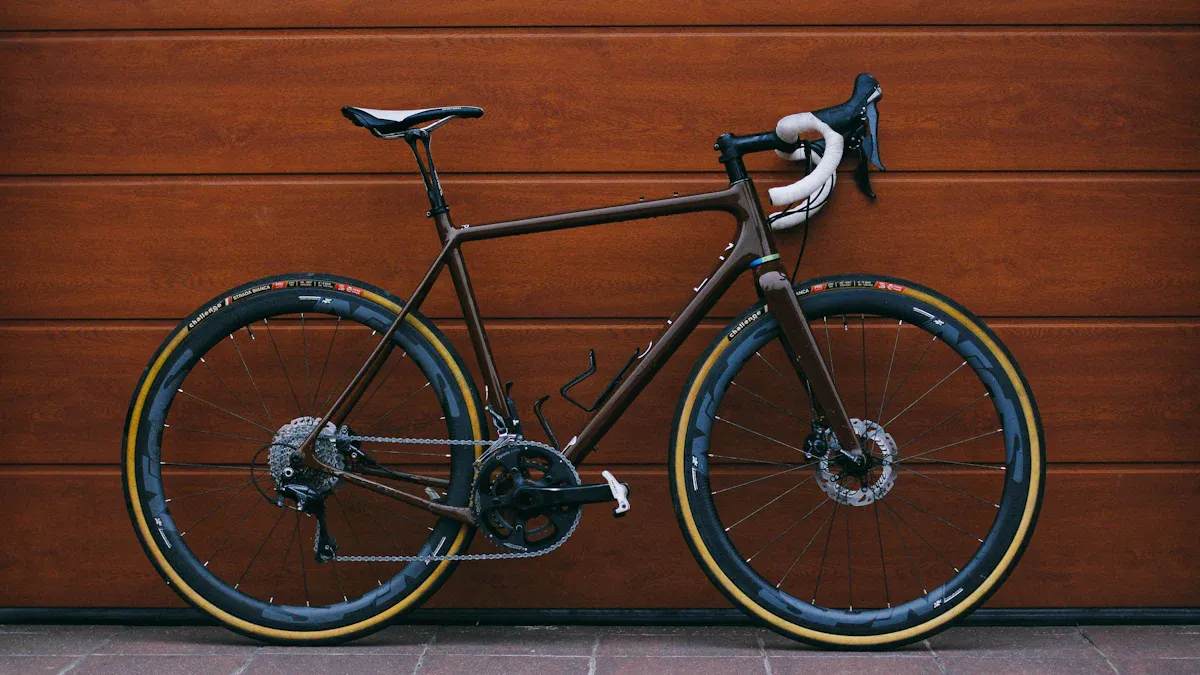
Road Bikes
Road bikes typically feature longer and slimmer frames. This design allows for speed and efficiency, making them ideal for paved roads. When sizing a road bike, you should focus on standover height. This measurement helps ensure you select a bike that fits well. Here’s a quick reference for common road bike sizes:
Size | Height (cm) | Height (ft) | Inseam (cm) | Inseam (in) |
|---|---|---|---|---|
47 | 152.0 – 158.0 | 4’11.8″ – 5’2.2″ | 71.0 – 75.0 | 28.0″ – 29.5″ |
50 | 158.0 – 163.0 | 5’2.2″ – 5’4.2″ | 74.0 – 77.0 | 29.1″ – 30.3″ |
52 | 163.0 – 168.0 | 5’4.2″ – 5’6.1″ | 76.0 – 79.0 | 29.9″ – 31.1″ |
54 | 168.0 – 174.0 | 5’6.1″ – 5’8.5″ | 78.0 – 82.0 | 30.7″ – 32.3″ |
56 | 174.0 – 180.0 | 5’8.5″ – 5’10.9″ | 81.0 – 85.0 | 31.9″ – 33.5″ |
58 | 180.0 – 185.0 | 5’10.9″ – 6’0.8″ | 84.0 – 87.0 | 33.1″ – 34.3″ |
60 | 185.0 – 190.0 | 6’0.8″ – 6’2.8″ | 86.0 – 90.0 | 33.9″ – 35.4″ |
62 | 190.0 – 195.0 | 6’2.8″ – 6’4.8″ | 89.0 – 92.0 | 35.0″ – 36.2″ |
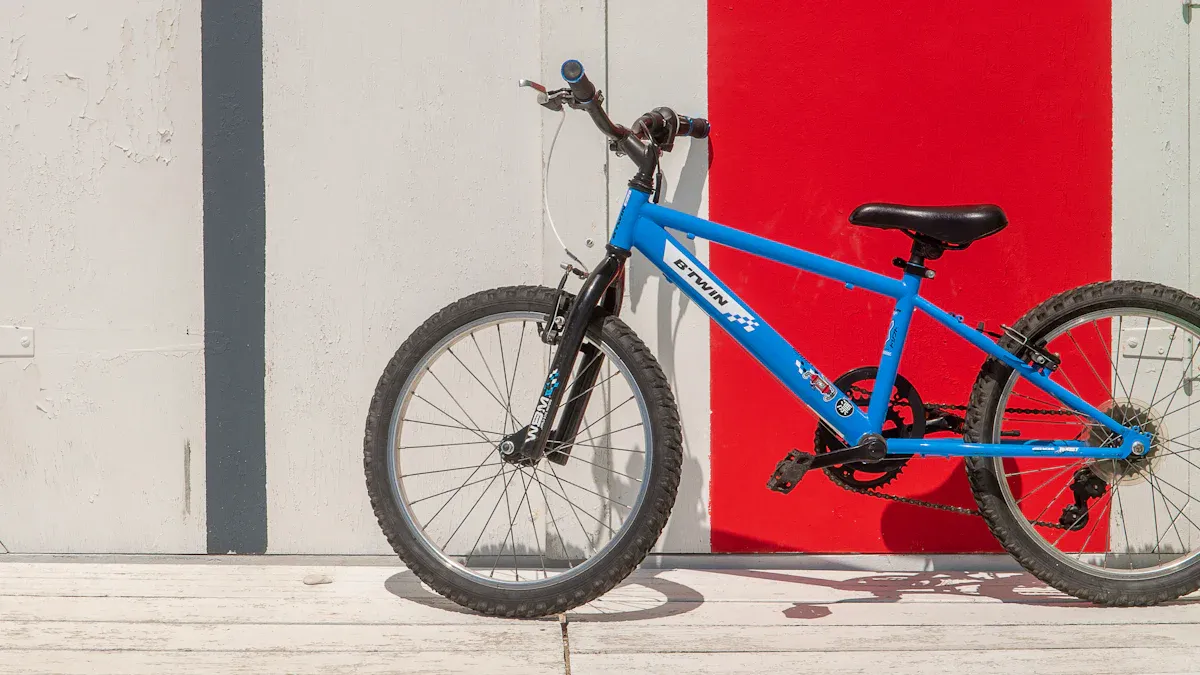
Mountain Bikes
Mountain bikes have shorter frames designed for quick handling and stability on trails. This sizing helps you maintain control on uneven ground. When selecting a mountain bike, consider the following:
Mountain bikes often use a size hierarchy (Small/Medium/Large).
Fit focuses on balance and movement relative to the ground.
Standover height is lower for easier mounting.
Here’s a table showing recommended frame sizes based on rider height:
Rider Height (ft/in) | Rider Height (cm) | Mountain Bike Size (in) | Mountain Bike Size (cm) |
|---|---|---|---|
4’10” – 5’2″ | 148cm – 158cm | 13″ – 14″ | 33cm – 36cm |
5’2″ – 5’6″ | 158cm – 168cm | 15″ – 16″ | 38cm – 41cm |
5’6″ – 5’10” | 168cm – 178cm | 17″ – 18″ | 43cm – 46cm |
5’10” – 6’1″ | 178cm – 185cm | 19″ – 20″ | 48cm – 51cm |
6’1″ – 6’4″ | 185cm – 193cm | 21″ – 22″ | 53cm – 57cm |
6’4″ and up | 193cm and up | 23″ and up | 58cm and up |
Electric Mountain Bike Frame Size
Sizing for electric mountain bikes (e-MTB) shares similarities with traditional mountain bikes. However, you must consider additional factors due to the extra weight from electric components. Here are some key points:
Saddle height affects power output and comfort.
Handlebar positioning is essential for control.
Understanding these factors will help you choose the right electric mountain bike frame size, ensuring a comfortable and enjoyable ride.
The following table summarizes the key differences in frame sizing standards:
Bike Type | Frame Characteristics | Purpose of Design |
|---|---|---|
Mountain Bikes | Shorter frames for quick handling and stability on trails and uneven ground. | Control on off-road terrains. |
Road Bikes | Longer and slimmer frames for speed and efficiency, allowing an aerodynamic position. | Speed and efficiency on paved roads. |
Electric Mountain Bikes | Similar to mountain bikes but may include additional weight for electric components. | Versatility for both on and off-road use. |
By understanding these differences, you can make informed decisions about bike sizing that cater to your specific needs.
How to Choose the Right Bike Size
Picking the right bike size is very important for your comfort and how well you ride. To make a good choice, you need to measure your height and inseam correctly. Here’s a simple step-by-step guide.
Measuring Height
Stand Straight: Find a wall and stand straight against it. Keep your back flat against the wall.
Remove Shoes: Take off your shoes to get a correct measurement.
Use a Measuring Tape: Measure from the floor to the top of your head. This measurement is key because it affects the frame size you need.
Record Your Height: Write down your height in centimeters or inches for easy reference.
After measuring your height, check a bike size chart. These charts show bike sizes based on rider height, making it easier to find a starting point. Remember, different bike types, like road or mountain bikes, have different sizing rules.
Inseam Measurement
Measuring your inseam is important for figuring out standover height and saddle height. Here’s how to measure your inseam correctly:
Stand Barefoot: Stand barefoot on a hard floor with your back against a wall.
Wear Appropriate Clothing: Avoid bulky pants; wear compression shorts or cycling shorts.
Use a Book: Take a large book and press it firmly between your legs against your sit bones.
Measure: Have someone measure from the top of the book to the floor. Make sure it’s accurate to the sixteenth of an inch or a millimeter.
Record the Measurement: Repeat the measurement several times, using the largest number as your inseam length.
This measurement helps you start choosing the right bike frame size. Most bike makers have size charts that link inseam length with the right frame sizes. However, these can differ between brands and models.
Interpreting Size Charts
Knowing your height and inseam measurements is key for picking the right frame size. Here are some tips for reading size charts well:
Refer to Specific Manufacturer Guidelines: Different bike types may have different size charts. Always check the specific manufacturer’s size chart for accuracy.
Consider Additional Measurements: Besides height and inseam, other measurements like reach and stack should also be looked at for a good fit.
Avoid Common Mistakes: Picking the wrong bike frame size can cause discomfort or safety problems. Make sure your standover height is less than your inseam measurement for safety and comfort when stopping.
By following these steps, you can confidently choose the right bike size that fits your body and riding style. This careful choice improves your comfort and efficiency, making your biking experience more enjoyable.
Practical Tips for a Proper Fit
Test Riding
Test riding is a great way to make sure your bike fits well. When you ride, notice how it feels. Here are some tips for a good test ride:
Check Standover Height: Stand over the bike. You need at least 1-2 inches of space between the top tube and your body.
Adjust the Saddle: The saddle should be high enough so your knee bends a little when the pedal is at the lowest point.
Ride Different Terrains: If you can, try the bike on different surfaces. This helps you see how it handles in various conditions.
Adjusting Components
Changing bike parts can really help your fit and comfort. Here are the main parts to focus on:
Saddle Height: This affects how much power you can use and your comfort. A good saddle height can help you ride better and lessen knee pain.
Handlebar Position: Changing the handlebars can affect your back, neck, and arms. For road bike racers, handlebars are usually lower than the saddle. Non-racers might like them level with or higher than the saddle.
Pedal Placement: Make sure your pedals are in the right spot for your feet to feel comfortable.
To get the best bike fit, do these steps:
Set the saddle height.
Change the saddle’s position using a level.
Adjust the handlebars/stem for comfort and advice.
When changing handlebars, focus on comfort. Use a string to check the saddle’s position. This small change can make your ride much better.
Consulting Professionals
Talking to a professional bike fitter can improve your riding experience. Here’s why you should think about it:
A pro can see if your bike matches your body and how you move.
They help make sure you can ride without pain or with less discomfort.
A fitting can make you feel more confident in tough situations.
Even beginner cyclists can gain from professional fittings. What you learn can help you ride better and feel more comfortable. A good bike fit makes riding easier, improves how you ride, and lowers the chance of getting hurt. Studies show that the right saddle height can boost your power by up to 9%.
Spending money on a professional bike fitting can really improve your riding experience.
Knowing bike frame sizes and measurements is very important for your comfort and how well you ride. A good fit can help you with:
Preventing injuries
Better pedaling
More power
Less tiredness
Take time to find the right fit for you. This will make your riding better, whether you ride for fun or in races. Remember to check this guide when buying a new bike. Changes in gear or how you ride might mean you need to check your fit again. For the best sizing info, look at trusted sources like Road Bike Size Chart and Mountain Bike Size Chart. Enjoy your ride! 🚴♂️
FAQ
What size bike frame do I need?
To find your bike frame size, measure your height and inseam. Use these measurements to consult the manufacturer’s size chart for the best fit.
How do I know if my bike fits properly?
You should have 1-2 inches of clearance between your body and the top tube when standing over the bike. Adjust the saddle height for comfort while pedaling.
Can I adjust my bike after purchase?
Yes! You can adjust the saddle height, handlebar position, and even the pedals to improve your fit and comfort.
What if I’m between two sizes?
If you fall between two sizes, consider your riding style. Choose the smaller size for more control or the larger size for comfort on longer rides.
Why is bike fit important?
A proper bike fit enhances comfort, improves pedaling efficiency, and reduces the risk of injury. It makes your riding experience more enjoyable overall.
See Also
Simplifying Large Sizing And Geometry For Mountain Bike Frames
Utilizing A Bike Frame Size Chart For Precise Measurements
Understanding Racing Bike Frame Size Charts For All Cyclists
Key Measurements Essential For Determining Your Bike Frame Size