
As you start your bike frame assembly, having the right tools is very important. Using the right tools makes the process easier and enhances your overall building experience. Whether you are working on a road bike, mountain bike, or any other type, the right tools help you assemble the bike frame smoothly. In 2025, with new bike technology emerging, it’s essential to know the best tools for bike frame assembly.
Key Takeaways
Use the right tools like multitools, torque wrenches, and bike stands. They help make bike frame assembly easier and safer.
Follow a clear step-by-step process. First, prepare the frame. Then, attach components carefully. Finally, make adjustments for the best performance.
Keep your tools clean and organized. This helps them last longer and work well every time.
Always follow the manufacturer’s instructions. This prevents damage, keeps your warranty valid, and makes sure your bike is safe to ride.
Use checklists to stay organized. This helps you avoid mistakes during assembly. It makes the process smoother and more enjoyable.
Essential Bicycle Tools
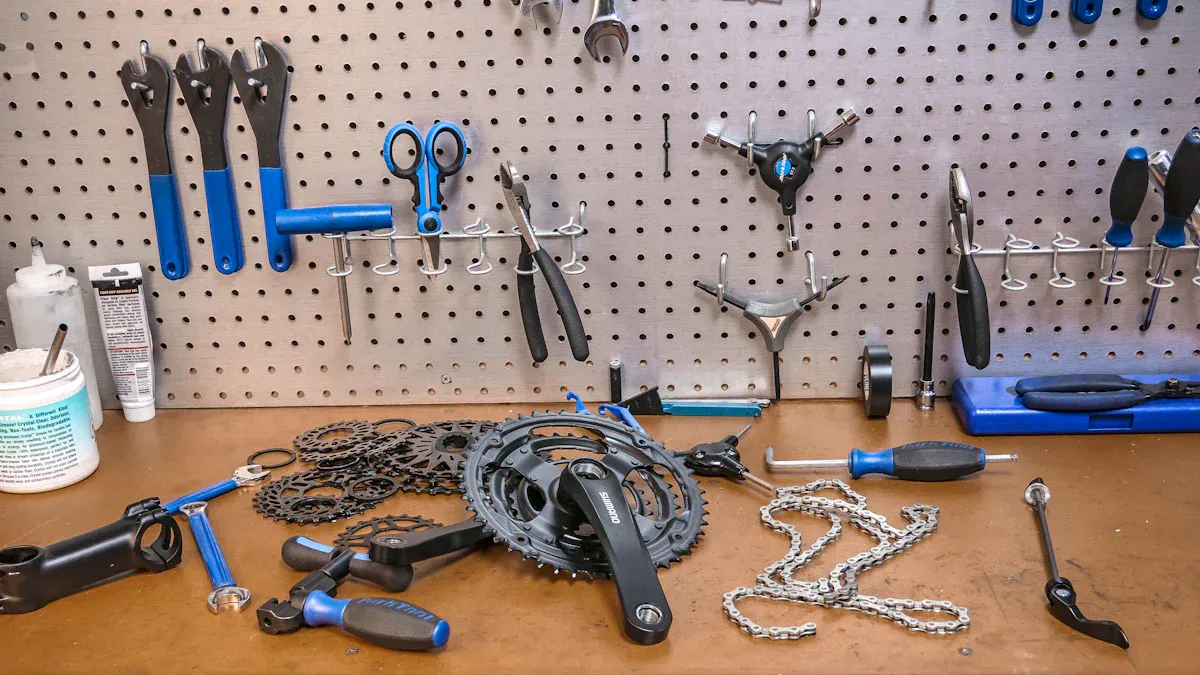
When you put together a bike frame, the right tools matter a lot. Here’s a list of important bicycle tools for your next assembly project.
General Tools
You need a good set of general tools for road and mountain bike assembly. Here’s a list of the common tools for bike assembly you should keep handy:
Multitool with allen keys, screwdriver, chain breaker, spoke wrench, and Torx bits (T25 and T10)
Shock pump
Grease
Bike stand (also called a repair stand)
Portable tire pump
Torque wrench (for safe bolt tightening)
Good quality hand tools
Floor pump (better than weak portable pumps for tire inflation)
CO2 tire inflator with spare cartridge (for quick inflation)
These bicycle tools help you safely and effectively assemble and tune bikes, whether they are mountain or road bikes.
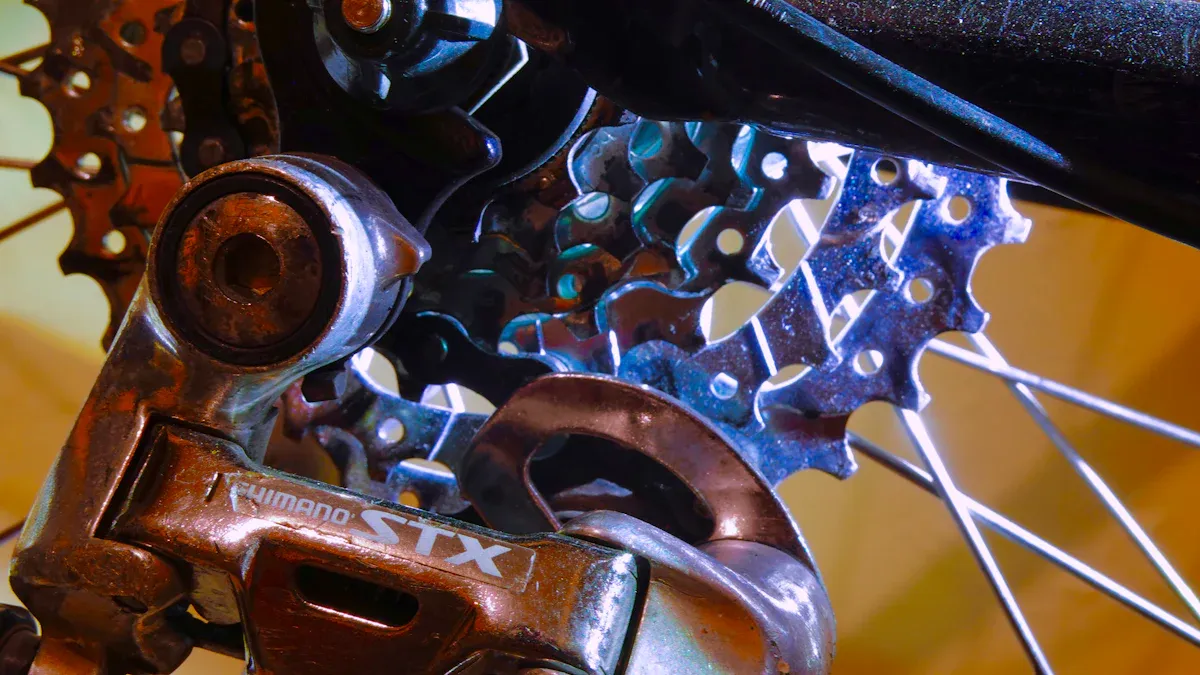
Specialized Tools
Specialized tools make your bike frame assembly faster and more accurate. Here’s a table showing some key specialized tools and how they help:
Tool Type | Key Features | Contribution to Efficiency and Accuracy |
|---|---|---|
Torque Wrenches | Accurate torque settings, compact design | Ensures correct fastening torque, preventing damage and errors |
Hex Wrenches (Park Tool) | Ball end tip for hard-to-reach bolts, ergonomic | Helps reach difficult bolts, speeding up assembly |
Fine Adjustment Screwdrivers | Rubber grip, rotating handle for precise tuning | Allows small adjustments on delicate parts with accuracy |
Digital Calipers | Precise measurement capability | Enables exact sizing and fitting of parts |
Hardened Hex Bit Sets | Durable S2 steel, nickel plating | Long-lasting tools reduce risk of bolt damage, protecting parts |
Using these specialized tools makes your assembly process quicker and more precise. They also protect parts from damage, improving the accuracy of your bike frame assembly.
Optional Tools
While not needed, optional tools can make your assembly experience better. Here’s a list of basic tools you might need for advanced assembly tasks:
Metric hex (Allen) wrenches
Chain breaker (like Park Tool CT-5 or CT-3.2)
Cassette tool for the bike’s cassette lockring (like Park Tool FR-5 for Shimano)
Chain whip (needed to take off cassettes)
Cable and housing cutter (like Park Tool CN-10)
Spoke wrench
Tire levers
Bottom bracket tools for the bike’s bottom bracket type
Torque wrenches
Steel ruler for measuring chain wear
Crank puller (if the bike does not have self-extracting cranks)
Cone wrenches (depending on hub type)
Optional tools like multi-tools with Allen keys and different screwdrivers help with precise adjustments and proper torque. A bike stand gives stability during assembly, making it safer and easier. These tools help you follow manufacturer instructions correctly, keeping the bike’s design intact.
In 2025, expect bike assembly tools to focus on ease of use and quality control. As bikes get more complex, having the right tools will be key for a smooth assembly experience.
Bike Frame Assembly Process
When you start your bike frame assembly, following a clear process helps you build it well. This section will show you the important steps: getting the frame ready, adding parts, and making final tweaks.
Preparing the Frame
Before you begin putting your bike together, you need to prepare the frame. This step is very important to make sure all parts fit right and work well. Here are the main steps to take:
Tapping: Clean and re-thread the frame’s threaded areas, like the bottom bracket shell and derailleur hanger. This step clears away dirt like flux and paint, making sure everything fits perfectly.
Facing: Machine the bottom bracket shell faces to be straight and even with the shell’s thread axis. This alignment is key for putting in the bearings correctly, which helps avoid early wear.
Reaming the Seat Tube: After brazing, the seat tube might change shape a bit. Reaming it to the right size makes sure the seat post fits well.
Frame Alignment: Adjust the frame so that the wheels, frame, and rider are in a straight line. Good alignment stops energy loss and helps shifting work better.
These steps make sure the frame goes together easily and works well for a long time.
Attaching Components
After your frame is ready, you can start adding parts. This part needs careful attention to avoid mistakes. Follow these steps for a smooth assembly:
Install Fork: Put the fork into the head tube and secure it with the headset. Make sure the fork is facing the right way, with logos pointing forward.
Install Bars: Attach the handlebars to the stem. Set the height and angle for your comfort, then tighten the bolts to the right torque.
Install Headset: Make sure the headset is seated right and adjusted for smooth steering. Check for any play in the headset and tighten if needed.
Install Cranks: Attach the crank arms to the bottom bracket. Use a torque wrench to tighten them to the manufacturer’s specs.
Install Pedals: Screw the pedals into the crank arms, making sure they are facing the right way. Tighten them well.
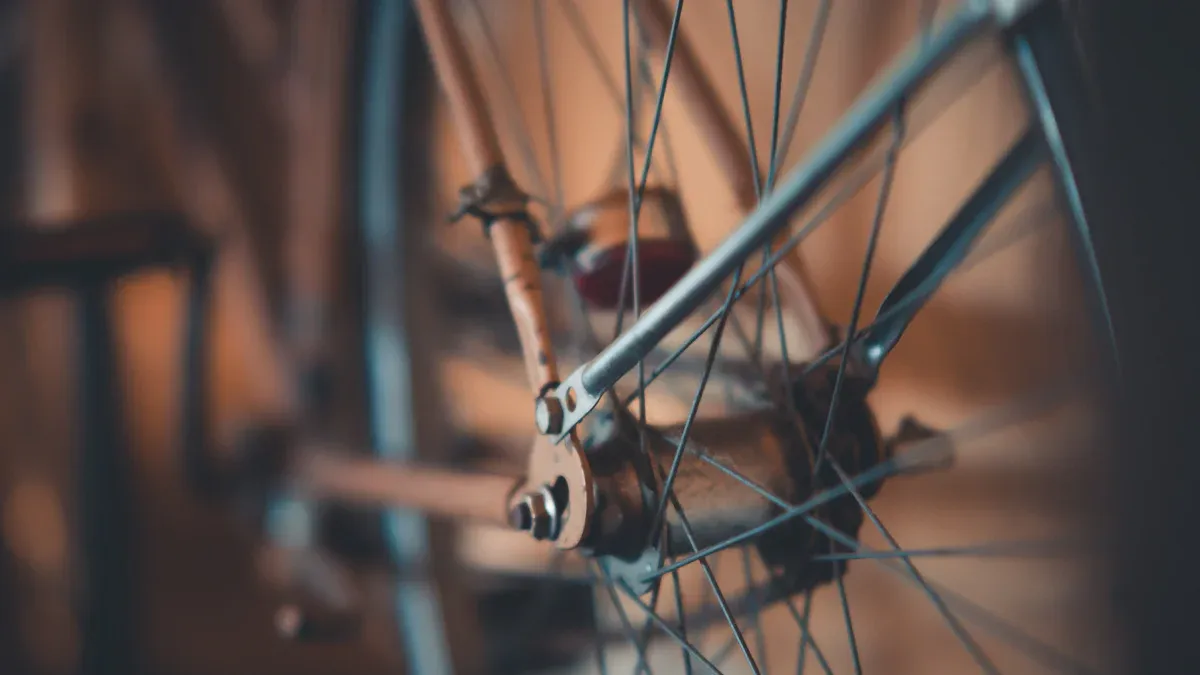
Wheel Installation: Put the wheels into the dropouts. Make sure they are centered and lined up before tightening the axle nuts or quick-release levers.
Brake and Derailleur Setup: Attach the brake calipers and derailleurs. Adjust cable tension and alignment for the best performance.
Here are some common mistakes to avoid during this phase:
Make sure the wheel is centered between the forks to stop steering issues.
Adjust the derailleur right to avoid bad gear changes.
Check brake pad tension for even braking.
Final Adjustments
After adding all parts, you need to make final adjustments for safety and performance. Follow these steps:
Saddle Height: Change the saddle height so your legs stay slightly bent while pedaling. Make sure the dropper post hose moves freely without kinks.
Cockpit Setup: Adjust the handlebar height, tilt, and brake lever angle for comfort. Tighten bolts evenly to the right torque.
Tire Pressure: Set tire pressure based on how you ride and the terrain. Try different pressures to find what works best.
Suspension Settings: Fine-tune suspension settings, including SAG and damping, to match your weight and riding style.
Final Safety Check: Before your first ride, check that all bolts are tightened to the right torque. Make sure brakes and shifting work properly.
Test Ride: Take a test ride on easy terrain to get used to the bike and check your adjustments.
Professional Inspection: Think about having a qualified mechanic check your bike before your first ride to make sure everything is set up right.
By following these steps, you can confidently put together your bike frame and enjoy a safe and smooth ride.
Assembly Checklist
Tool Checklist
Before you start putting your bike frame together, gather all the tools you need. Here’s a complete tool checklist to make sure you have everything:
Workbench or counter space
Vise to hold parts
Protective apron and rubber gloves
Eye protection (goggles)
Lubricants, thread adhesives, and anti-seize compounds
Cleaning solvents, alcohol, rags, and hand cleaner
Zip-ties and chain-cleaning kits
Regular hand tools:
Screwdrivers (flat and Phillips)
Combination wrenches (7-17mm)
Pliers (regular, needle-nose, Vise-Grip)
Adjustable wrenches
Hammers (ballpeen and mallet)
Hacksaw, files, punches, calipers, awl, knife, scissors
Special bicycle tools based on bike type (like bottom bracket tools, cable cutters, chain tools)
Having this assembly checklist helps you not forget steps or make mistakes. You can focus on each task without worrying about missing important tools.
Step-by-Step Checklist
Use this step-by-step checklist to help you with the bike frame assembly:
Check frame alignment.
Install the bottom bracket.
Attach cranks and pedals.
Install the headset and fork.
Secure the stem and handlebars.
Attach derailleurs and brakes.
Install wheels and check alignment.
Connect cables and chain.
Adjust saddle height and position.
Make final adjustments and safety checks.
Following this checklist makes sure you finish each step in order. This way, you lower the chance of mistakes and make your assembly process better. Just like in high-risk jobs, sticking to a clear plan helps you stay focused and avoid distractions.
By keeping these checklists close, you can have a smoother and more successful bike assembly experience.
Tool Maintenance Tips
Maintaining your tools is crucial for ensuring they last and perform well. Proper cleaning and storage can prevent rust and damage, while regular inspections help you catch issues early.
Cleaning and Storage
After each use, clean your tools to keep them in top condition. Here are some effective cleaning tips:
Wipe down tools with a clean cloth to remove dirt and grease.
Use a mild detergent for stubborn grime, then rinse and dry thoroughly.
Apply a light coat of oil to metal parts to prevent rust.
For storage, consider using a dedicated bike tool chest or box. This keeps your tools organized and protected. Here are some excellent storage solutions:
G-Storage Pro: An adjustable wall storage system made from industrial-grade steel and aluminum. It supports up to 500 lbs and features PVC-coated hooks and a built-in pegboard for organized tool storage.
G-Bike + Shelf: A versatile wall system that holds up to 300 lbs. It includes rubber-coated hooks for bikes and a shelf for helmets, shoes, and tools.
You can also create custom tool walls using materials like pre-coated marine plywood. This allows you to tailor your storage to your needs. Foam cut-outs in drawers can help you keep track of each tool, making it easy to spot missing items.
Regular Inspections
Regularly inspect your tools to ensure they remain in good working order. Here’s what to check:
Look for Rust: Check metal parts for rust. If you find any, clean it off immediately.
Check for Damage: Inspect handles and grips for wear. Replace any damaged parts to maintain safety.
Test Functionality: Ensure all moving parts work smoothly. Lubricate as needed to keep them functioning well.
By following these maintenance tips, you can extend the life of your bicycle tools and ensure they are always ready for your next assembly project.
Importance of Manufacturer Instructions
Following manufacturer instructions when putting together a bike frame is very important for many reasons. First, these guidelines help you use tools the right way, especially torque wrenches. Using the right torque settings keeps bolts from being too loose. Loose bolts can make parts fall off. They also stop bolts from being too tight, which can hurt the frame or strip threads. By following these instructions, you keep the bike strong, safe, and working well. This lowers the chance of unsafe riding and expensive repairs.
Not following manufacturer guidelines can cause serious problems. Here are some possible issues:
Warranty Issues: Not following assembly instructions can void your warranty. Manufacturers often do not cover improper assembly.
Safety Hazards: Wrong assembly raises the risk of accidents. Problems with the bike’s structure or handling can cause injuries.
Authorized Assembly: Manufacturers want bikes to be put together by authorized retailers. This makes sure they are safe and work properly.
Assembly Errors: Buying bikes assembled outside authorized places increases the chance of mistakes that can lead to accidents.
Professional Assembly Benefits: Professional assembly includes checks for safety gear and orientation, which are very important for rider safety.
Using the wrong tools or skipping steps can also damage parts. This can create unsafe bike setups. Also, ignoring local laws about e-bike rules can lead to fines and legal issues. Changes that go beyond design limits put extra stress on the frame and parts, increasing the chance of accidents. Such changes often void warranties and can lead to personal responsibility in accidents.
In conclusion, using the right tools is very important for building a bike frame well. Key tools like a metric Allen key set, torque wrench, and tire pump are essential for your project. You should also follow a clear assembly process to keep everything safe and working right.
Remember, taking your time while assembling makes it more enjoyable. Have fun with it, and ask for help if you need it. Choosing the right tools and following the manufacturer’s instructions will help you have a safe and fun ride. Happy building! 🚴♂️
FAQ
What tools do I need for basic bike assembly?
You need a multitool, torque wrench, bike stand, and a portable tire pump. These tools help you put together and adjust your bike well.
How can I maintain my bike tools?
Clean your tools after each use. Keep them in a dry place. Check for rust or damage often to make sure they work properly.
Why is following manufacturer instructions important?
Manufacturer instructions help you use tools the right way. They stop damage and keep you safe. Following them also keeps your warranty safe.
Can I assemble my bike without special tools?
You can put together a bike without special tools, but it may take longer. Special tools make it more accurate and easier.
How often should I check my bike after assembly?
Check your bike after the first ride and then regularly. Look for loose bolts, brake function, and tire pressure to keep it safe and working well.
See Also
Key Supplies Needed To Construct A Custom Bike Frame
New Advances In Electric Bike Frames Coming In 2025
How To Craft A Stretch Bike Frame With Basic Tools