
Choosing the right bike frame size is crucial for your comfort and performance on the road or trail. When your hard rock bike frame fits well, you’ll find it easier to control your ride and enjoy longer journeys without discomfort. A proper fit can make all the difference, allowing you to focus on the adventure ahead instead of adjusting your position every few minutes. So, take the time to find the right size; your body will thank you later!
Key Takeaways
Measuring your height correctly is very important for picking the right Hardrock bike frame size. Use a flat wall, a measuring tape, and a book to measure your height accurately.
Check the sizing chart to match your height and inseam length with the right bike frame size. This helps you have a comfortable and fun ride.
Learn about the bike frame shape, like top tube length and seat tube angle. This information helps you pick a frame that fits your riding style.
After choosing your bike size, adjust the seat and handlebars if needed. Making these adjustments improves comfort and control while you ride.
Try out your bike with a short ride. Notice how you sit and feel, and make more adjustments if needed for the best experience.
Height Measurement
When it comes to finding the right bike frame size, measuring your height accurately is essential. Your height plays a significant role in determining the best fit for your Hardrock bike. A proper measurement helps you avoid discomfort and ensures a more enjoyable ride. Here’s how to get it right!
Tools for Measurement
To measure your height accurately, you’ll need a few simple tools:
A flat wall: This will serve as your backdrop.
A measuring tape: A flexible tape works best for this task.
A book or a flat object: You can use this to mark your head’s highest point.
Recommended Height Ranges
Once you have your height measured, you can refer to the recommended height ranges for Hardrock bike frames. Here’s a quick guide to help you out:
Frame Size | Recommended Height Range |
|---|---|
Small | 5’0″ – 5’4″ |
Medium | 5’4″ – 5’8″ |
Large | 5’8″ – 6’0″ |
X-Large | 6’0″ – 6’4″ |
To measure your height, follow these steps:
Stand straight against the wall with your heels touching it.
Keep your feet together and look straight ahead.
Place the book or flat object on your head, ensuring it’s level.
Mark the wall where the bottom of the book touches.
Measure the distance from the floor to the mark using your measuring tape.
By following these steps, you’ll get an accurate height measurement that will guide you in selecting the right bike frame size. Remember, a well-fitted bike frame can significantly enhance your riding experience!
Hard Rock Bike Frame Geometry

Understanding the geometry of your hard rock bike frame is key to enjoying a comfortable ride. Frame geometry refers to the angles and lengths of various parts of the bike. These measurements affect how the bike handles and feels when you ride. Let’s break down some key terms and see how they impact your experience.
Key Terms Explained
Top Tube Length: This is the distance between the seat tube and the head tube. A longer top tube can give you more stability, while a shorter one allows for quicker turns.
Seat Tube Angle: This angle affects your position on the bike. A steeper angle can help you climb better, while a slacker angle offers more comfort on descents.
Head Tube Angle: This angle influences how the bike steers. A slacker head tube angle provides stability at high speeds, while a steeper angle allows for sharper handling.
Impact on Riding Experience
The geometry of your hard rock bike frame can significantly affect your riding experience. Here’s how:
Smaller Frames: If you choose a smaller frame, you might find it easier to maneuver. Smaller frames often feel more agile, making them great for tight trails. However, they can feel cramped if you’re taller.
Larger Frames: On the other hand, larger frames offer more stability, especially on rough terrain. They can provide a more comfortable ride for taller riders, but they may feel sluggish in tight turns.
When selecting your bike, consider how you plan to ride. Do you prefer speed and agility, or do you want stability and comfort? Understanding these differences will help you choose the right hard rock bike frame that suits your style.
Sizing Chart for Hardrock Bikes
Finding the right bike size can feel overwhelming, but it doesn’t have to be! A good sizing chart simplifies the process. Here’s a detailed sizing chart for Hardrock bike frames that you can use as a reference:
Frame Size | Recommended Height Range | Inseam Length (inches) |
|---|---|---|
Small | 5’0″ – 5’4″ | 25″ – 29″ |
Medium | 5’4″ – 5’8″ | 28″ – 32″ |
Large | 5’8″ – 6’0″ | 30″ – 34″ |
X-Large | 6’0″ – 6’4″ | 32″ – 36″ |
Frame Size Options
When you look at the chart, you’ll notice that each frame size corresponds to a specific height range and inseam length. To find your correct size, start by measuring your height and inseam.
Height Measurement: Stand straight against a wall and measure from the floor to the top of your head.
Inseam Measurement: Stand with your feet shoulder-width apart. Measure from the ground to your crotch. This gives you the inseam length.
Once you have these measurements, match them to the chart. For example, if you’re 5’6″ tall with a 30″ inseam, a medium frame would be your best bet!
Size Indicators on the Frame
Most Hardrock bikes have size indicators on the frame itself. These indicators often appear as a label or sticker near the bottom bracket or on the seat tube. You might see sizes labeled as S, M, L, or XL.
Tip: Always double-check the size indicator against the sizing chart. Sometimes, manufacturers may have slight variations in sizing, so it’s best to confirm.
When you choose the right bike size, you set yourself up for a more comfortable and enjoyable ride. A well-fitted bike allows you to maintain better control and reduces the risk of injury. So, take your time with this step!
Testing for Fit and Comfort
Once you have your hard rock bike frame size selected, it’s time to make adjustments for the best fit. Proper adjustments can enhance your comfort and control while riding. Here’s how to get started!
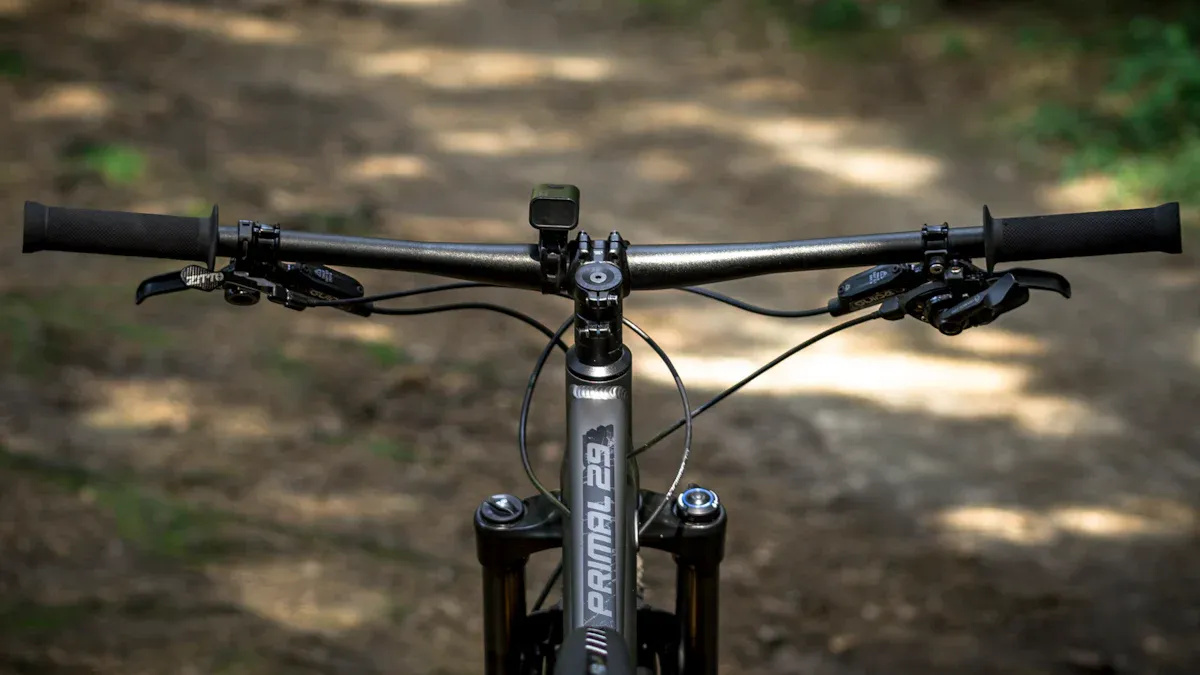
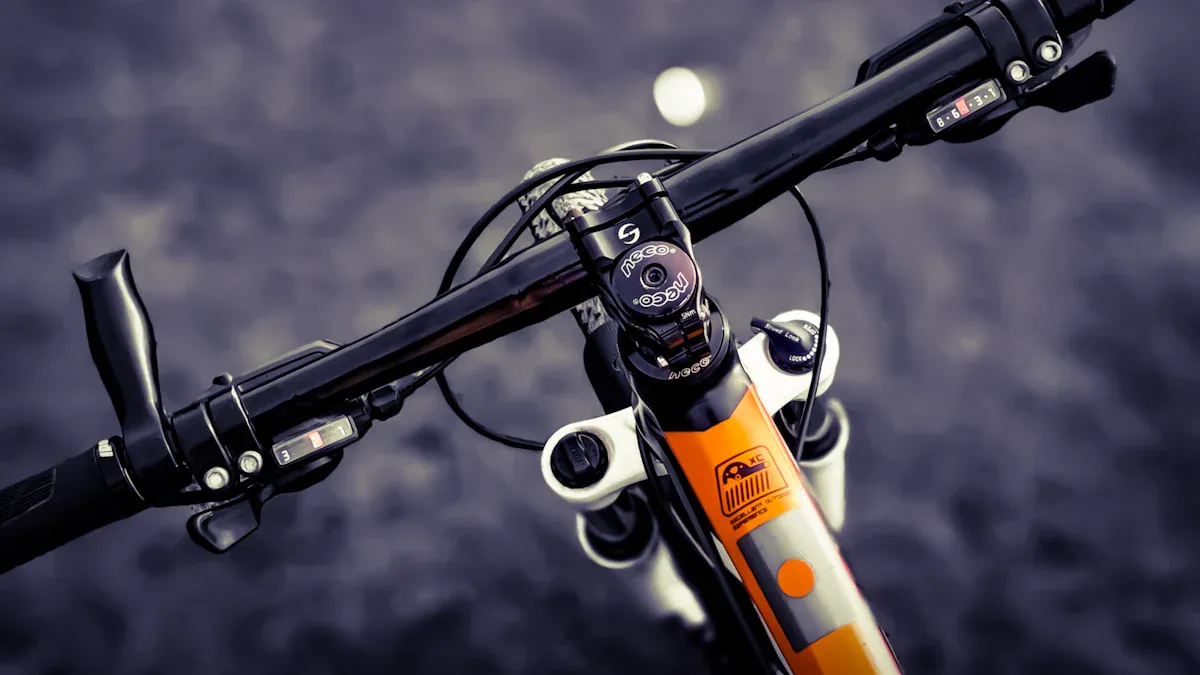
Adjusting Seat and Handlebars
Start with the seat. You want it at a height where your leg is almost fully extended when the pedal is at its lowest point. Here’s how to adjust it:
Loosen the seat post clamp: Use an Allen wrench or a quick-release lever.
Raise or lower the seat: Adjust it so that your leg has a slight bend when the pedal is down.
Tighten the clamp: Make sure it’s secure before you ride.
Next, adjust the handlebars. They should be at a height that feels comfortable for your back and arms. If you feel too hunched over, raise them. If you’re reaching too far, lower them.
Tip: A good rule of thumb is to have the handlebars at or just below the level of the seat for a balanced riding position.
Evaluating Comfort During a Ride
Now that your bike is adjusted, it’s time for a test ride! Here are some tips to evaluate your comfort:
Take a short ride: Start with a 10-15 minute ride on familiar terrain. This helps you gauge how the bike feels.
Pay attention to your posture: Are you leaning too far forward or feeling cramped? Adjust the seat or handlebars as needed.
Check your legs: Your knees should not hit the handlebars. If they do, consider raising the seat or adjusting the handlebars back.
Listen to your body: If you feel discomfort in your back, neck, or wrists, it’s a sign that further adjustments are necessary.
Remember, finding the right fit takes time. Don’t rush the process. A well-fitted bike can make all the difference in your riding experience!
Picking the right Hardrock bike frame size is very important for your comfort and how well you ride. Make sure to measure your height and inseam correctly. Learn about the bike’s shape and check the sizing chart to find what fits you best.
Tip: Don’t rush through this! A bike that fits well can change how you ride. Have fun on your journey, and happy cycling! 🚴♂️
FAQ
What if I’m between two frame sizes?
If you are stuck between two sizes, think about how you ride. Pick the smaller frame for quick moves and the larger frame for comfort and balance. If you can, try both sizes to see which one feels better.
How do I know if my bike fits?
A bike that fits well lets you reach the pedals easily. Your knees should have a slight bend when you pedal. Your arms should reach the handlebars without feeling tight.
Can I adjust my bike after buying it?
Yes, you can! You can change the seat height, handlebar height, and even the stem length. These changes help you get a fit that feels better for you.
What if I still feel uncomfortable after adjustments?
If you still feel uncomfortable, think about getting help from a bike expert. They can give you special adjustments and advice based on your body and how you ride.
How often should I check my bike fit?
It’s smart to check your bike fit often. Do this especially after long rides or if you change how you ride. Regular checks help you stay comfortable and in control while riding.
See Also
Easily Determine Your Perfect Downhill Bike Frame Size
Understanding The Importance Of Road Bike Frame Size
How To Choose The Right Bike Frame For You