
Installing a bike rack frame mount the right way is very important. It keeps your bike safe and helps you feel relaxed. A good bike rack stops damage while you transport it. It also makes loading and unloading much easier. Frame-mounted racks give strong support. They help keep your bike safe on the road. To begin, collect your tools. Then, follow the instructions step by step. Finally, check everything again before you go out on the trails.
Key Takeaways
Get important tools like a torque wrench and Allen wrenches for a good bike rack setup. – Follow clear steps to make sure your bike rack is tight and straight. – Check your bike rack often before each trip to find any loose parts or safety problems. – Use strong locks to keep your bike safe and secure while you travel. – Take your time when setting it up; a good bike rack keeps you safe and lasts longer.
Tools for Proper Installation
When you start to install your frame-mounted bike rack, having the right tools is very important. Here’s a list of the tools you might need.
Essential Tools
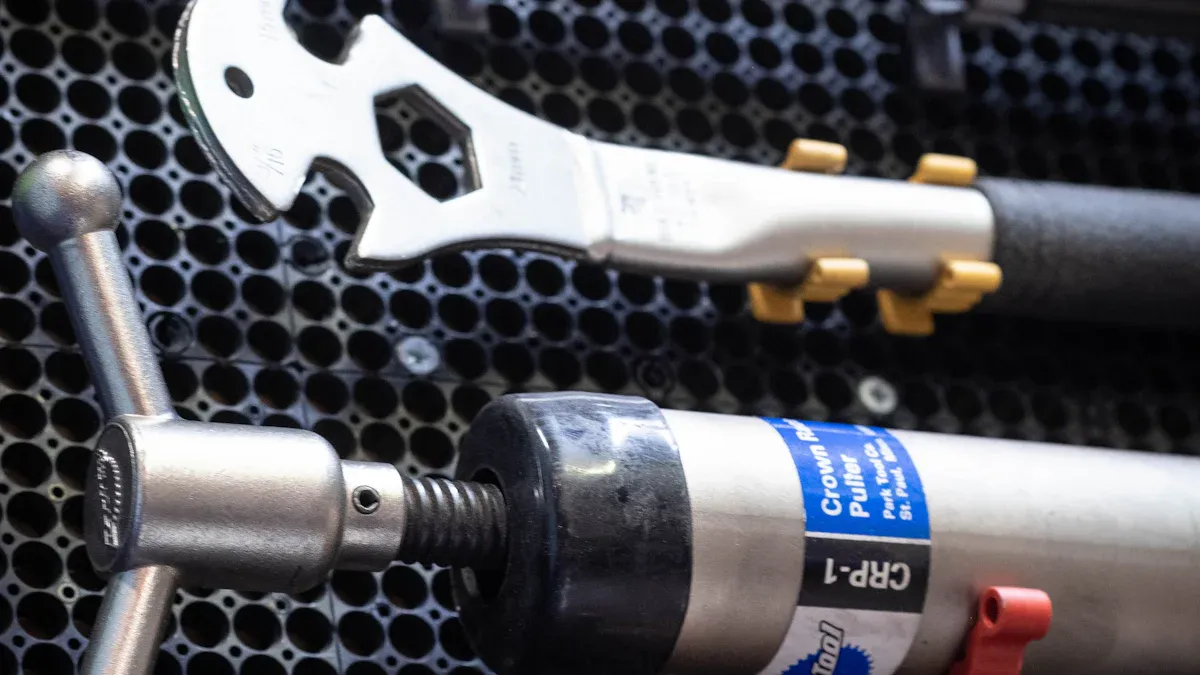
To make sure you have a proper installation, gather these must-have tools:
Torque Wrench: This tool helps you apply the right force to bolts. Using the correct torque stops damage from over-tightening. It keeps parts secure. This is very important for carbon-fiber bikes, where the frame needs to stay strong.
Allen Wrenches: Most bike racks use hex bolts. A set of Allen wrenches will help you tighten everything well.
Screwdrivers: A flathead and Phillips screwdriver will be useful for different screws you may find.
Measuring Tape: Accurate measurements make sure your bike rack fits well on your vehicle.
Level: This tool checks that your rack is straight. This is important for safe transport.
Tip: Always check your bike rack’s manual for specific tool needs. Each model may need different tools.
Optional Tools
While the essential tools will help you start, these optional tools can make the installation easier:
Rubber Mallet: If you need to adjust or fit parts tightly, a rubber mallet can help without hurting the parts.
Pliers: These can help you grip and twist when you need more strength.
Cable Ties: Use these to keep any loose cables or straps neat and tidy.
Lubricant: A little grease can help moving parts, making adjustments easier.
Using the right tools not only makes installation easier but also helps keep your bike rack safe and lasting longer. Remember, proper installation is key to stopping problems like stripped threads or loose fasteners, which could cause failure when you use it.
Bike Rack Frame Mount Installation Steps
Installing your bike rack frame mount might look hard. But if you break it into smaller steps, it gets easier. Follow these steps to make sure your installation is safe and secure.
Attaching the Rack
Prepare the Area: Clear space around your vehicle. This gives you room to work easily.
Create Holes for the Legs: Make a hole for each leg of the rack. Each hole should be at least 6 inches wide. This size helps keep it stable.
Insert Anchor Rods: Put the anchor rods from the manufacturer into the holes at the bottom of the leg(s).
Position the Legs: Put the leg(s) into the hole(s). Make sure they are straight and lined up correctly.
Suspend the Fixture: Hold the rack in place. This checks that it is straight and in the right position. This step is very important for good alignment.
Pour Concrete: Fill the holes with concrete and let it set. This keeps the rack firmly in place.
Tip: Always check your bike rack’s manual for special installation needs.
Securing the Rack
After attaching the rack, it’s time to make it stable. Here are some ways to keep your bike rack secure:
Lock the rack arms onto the wheels, not the frame. This stops damage to your bike’s frame.
Pick racks that work with high-security U-locks. Look for ones that let you lock both the frame and wheels for extra safety.
Always follow the manufacturer’s instructions. Before each trip, check that all connections are tight.
Final Checks
Before you go, do these last checks to make sure everything is okay:
Check Type | Description |
|---|---|
Make sure the bike rack is tightly attached using all straps, with hooks over metal edges. | |
Correct Positioning | Set the rack with carry arms tilted slightly up to keep bikes away from the road. |
Regular Inspections | Check straps, hooks, and the frame for wear before each use to keep safe. |
Pre-Use Checks | Look at all parts for signs of damage or stretching before every use. |
By following these steps, you can install your bike rack frame mount with confidence. This keeps your bike safe during transport. Remember, taking your time while installing is worth it!
Common Issues and Troubleshooting
When you install your frame-mounted bike rack, you may face some common problems. Don’t worry! Knowing how to fix these issues can help you save time. It also keeps your bike safe while you drive.
Misalignment Problems
Misalignment can happen if you don’t place the rack right. If the rack is not straight, it can cause uneven weight. This might make your bike wobble or even fall off while driving. To fix this, check the alignment before you secure everything. Use a level to make sure the rack is straight. If you see any misalignment after you install it, loosen the bolts and adjust the position again.
Loose Connections
Loose connections are a common problem that can make your bike rack unsafe. Properly fitted P clips are very important for mounting a rear rack. Make sure the P clips fit the size of the stays. If the clips are not tight, they can cause loose connections.
To avoid this, try these tightening tips:
Use UV-resistant ties to handle outdoor conditions.
Choose reusable ties for easy adjustments.
Pick ties that are the right size and strength for your needs.
If you see any looseness, tighten the connections right away. Check your bike rack often to find any problems early.
Safety Concerns
Safety should always come first. Common safety issues include less visibility and the chance of the rack or bikes coming loose. Blocked tail lights and rear windows can increase the risk of accidents. To solve these problems, follow these tips:
Safety Concern | Description |
|---|---|
Make sure your bike rack doesn’t block tail lights or rear windows. | |
Potential for Rack or Bikes to Come Loose | Always check that your rack is securely attached before each trip. |
Unsecured Loads Causing Road Hazards | Ensure everything is tightly secured to stop items from falling off your vehicle. |
By being careful and fixing these common issues, you can have a safer and more reliable bike transport experience. Remember, taking time to troubleshoot can help you avoid accidents later on.
In short, putting your frame-mounted bike rack on right is very important for safety and how well it works. Here are some main things to keep in mind:
Carefully following the steps helps keep your bike safe while you drive.
Getting the area ready and picking the right way to mount can make your rack last longer.
Having a professional install it can help avoid problems and make sure everything is straight.
Taking your time when you install is worth it. A good bike rack not only keeps your bike safe but also makes riding safer. So, get your tools, follow the steps, and enjoy your rides without worry! 🚴♂️
FAQ
What is a frame hook, and why is it important?
A frame hook is a part of your bike rack that secures your bike’s frame. It keeps your bike stable during transport. Using a frame hook helps prevent damage to your bike, especially if you own a carbon-fiber model.
How do I know if my bike rack is installed correctly?
Check that the frame hook is tight and secure. Ensure the rack is level and doesn’t wobble. You can also refer to your bike rack’s manual for specific installation checks.
Can I use a frame hook on any bike?
Most bike racks come with adjustable frame hooks. However, check your bike’s frame design. Some unique shapes may not fit well with standard frame hooks. Always consult the manufacturer’s guidelines.
How often should I inspect my bike rack?
Inspect your bike rack before each trip. Look for loose connections, especially around the frame hook. Regular checks help ensure your bike stays safe and secure during transport.
What should I do if my frame hook is damaged?
If your frame hook is damaged, replace it immediately. A broken frame hook can lead to accidents. Contact the manufacturer for replacement parts or visit a local bike shop for assistance.
See Also
Effective Strategies for Safeguarding Your Bicycle Frame
Learn Easy Techniques to Perfectly Draw Bike Frames
Exploring the Ups and Downs of Wooden Bike Frame Construction
Achieving a Perfect Finish with Bike Frame Decal Application