

Customizing bike frames is a fun trend for bike lovers. One popular technique is the hydro dip bike frame method, which lets you showcase your personality and style with cool, unique designs. Hydro dipping helps you create amazing patterns on your bike frame easily. Imagine turning your bike into a piece of art right in your garage! The best part? You can achieve a professional look without spending too much money or having to go anywhere.
Key Takeaways
Clean your bike frame and remove old paint. This helps the hydro dip film stick better.
Create a safe workspace. Have all your materials ready. You will need base paint, hydrographic film, activator, and safety gear like gloves and masks.
Slowly dip your bike frame at an angle. This helps avoid bubbles and wrinkles. If you are new, practice on smaller items first.
Protect your design with several layers of clear coat. This keeps it safe from scratches and fading. Make sure to let it dry well.
Be patient and careful during the process. If you make mistakes, don’t worry. Just re-prep and try again.
Materials for Hydro Dipping
Before you start hydro dipping your bike frame, get the right materials. Having everything ready will make it easier and more fun. Here’s what you need:
Essential Supplies
Base Paint: Pick a good base paint that sticks well to your bike frame. Metal frames need a proper base coat so the hydrographic film stays on.
Hydrographic Film: This is where the fun begins! Choose a design that shows your style. Make sure the film works with the base paint.
Water: You need a big container filled with water for dipping. It should be deep enough to cover your bike frame completely.
Activator: This chemical helps the film stick to the surface. Follow the instructions closely for the best results.
Clear Coat: After dipping, put on a clear coat to protect your design. This step is very important for making it last and resist scratches.
Tip: For the best results, think about using powder coating or Cerakote as your clear coat. These choices give great protection against damage.
Safety Gear
Safety is very important! Here’s what you need to keep yourself safe while hydro dipping:
Gloves: Use chemical-resistant gloves to keep your hands safe from strong chemicals.
Mask: A respirator mask will protect you from fumes while dipping. It’s important for your health.
Goggles: Keep your eyes safe from splashes and chemicals. Safety goggles are very important.
Ventilated Area: Work in a space with good airflow to reduce exposure to harmful vapors.
By getting these materials and safety gear, you prepare yourself for a great hydro dipping experience. Now, you’re ready to get your bike frame ready!
Prep Your Bike Frame
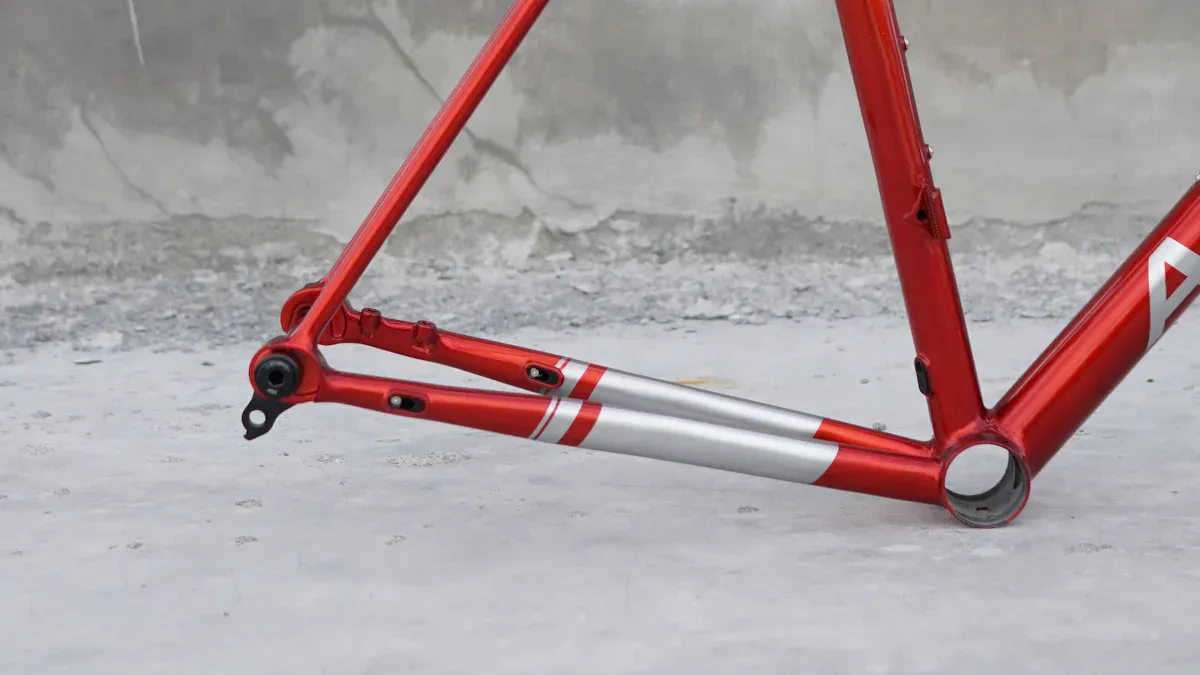
Before you start hydro dip painting your bike frame, you need to prep it properly. This ensures that the hydro dipping process goes smoothly and that your design looks fantastic. Here’s how to get your bike frame ready:
Cleaning the Frame
Cleaning your bike frame is the first step. A clean surface helps the hydrographic film adhere better. Here’s how to do it:
Pre-rinse the Frame: Start by rinsing your bike frame with water to remove any loose dirt.
Use Bike-Specific Soap: Apply a high-quality soap designed for bikes, like SILCA Ultimate Bike Wash. Avoid dish soaps like Dawn, as they can cause corrosion. This soap protects the frame finish by encapsulating dirt and preventing residue.
Let It Sit: After applying the soap, let it sit for a few minutes. This helps break up any stubborn dirt.
Scrub and Rinse: Use a soft scrub brush to remove dried residues. Rinse thoroughly to ensure no soap remains.
Dry the Frame: Use compressed air to dry metal components. This reduces the risk of rust and corrosion.
Tip: Make sure to clean every nook and cranny. A clean frame is essential for a successful hydro dip.
Stripping Old Coatings
If your bike frame has old paint or coatings, you’ll need to strip them off. This step is crucial for achieving a smooth finish. Here’s how to do it effectively:
Use Chemical Paint Stripper: Apply a chemical paint stripper in multiple coats. This will loosen the old paint from the frame.
Protect Yourself: Always wear chemical-resistant gloves to protect your skin from harsh chemicals.
Apply Evenly: Use paint brushes to apply the stripper evenly across the frame.
Let It Work: Allow the stripper to bubble and slough off the paint. You may need two coats, letting each sit for about two minutes.
Scrub Off Residue: Use 3M stripping pads (both coarse and fine) to scrub off the loosened paint. For tight areas, employ razors for detailed scraping.
Precision Cleaning: Use q-tips for precision cleaning around intricate areas like the headset and brake arch.
Final Clean: After removing the main paint, clean the frame with mineral spirits and scrub pads to eliminate any residual paint and stripper.
Work Outdoors: Always perform chemical stripping outdoors due to dangerous fumes and flammability.
By following these steps, you’ll ensure your bike frame is clean and ready for the hydro dipping process. A well-prepped frame leads to a stunning final result!
Hydro Dip Bike Frame
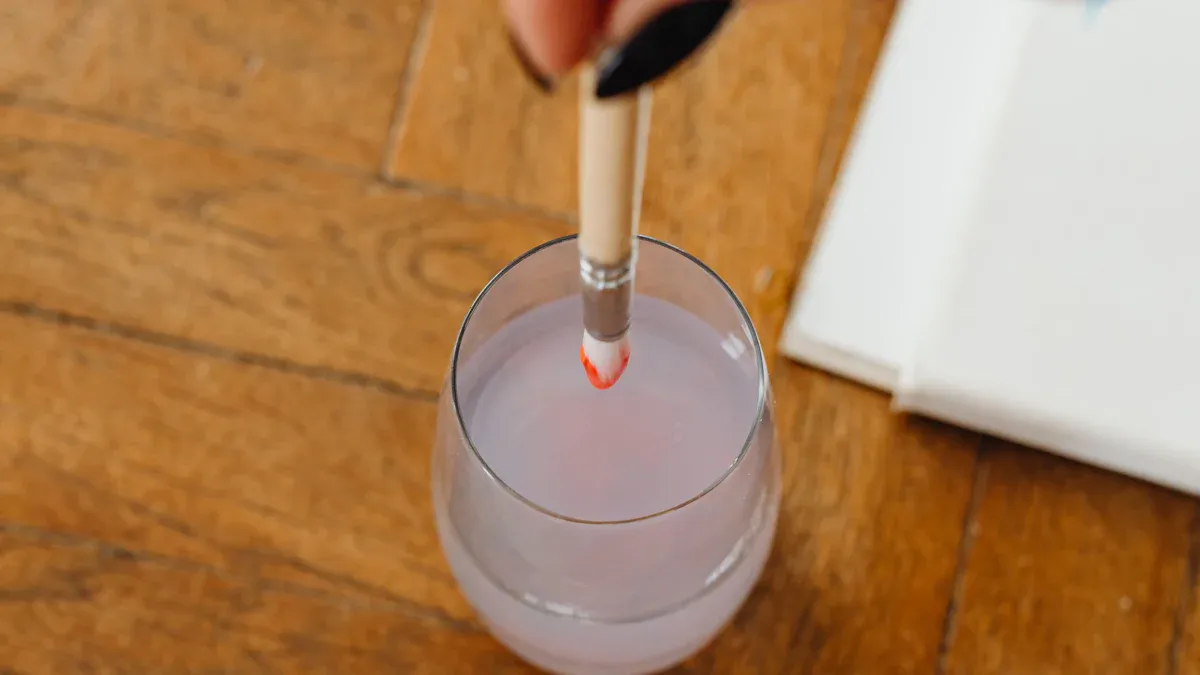
Now that your bike frame is prepped and ready, it’s time to dive into the exciting part: hydro dipping! This section will guide you through setting up your dipping station and the techniques you’ll use to achieve a stunning finish.
Setting Up the Dipping Station
Creating a proper dipping station is crucial for a successful hydro dip bike frame project. Follow these steps to set up your workspace:
Clean the Bike Parts: Start by washing all bike parts thoroughly. Use a strong dish soap like Dawn to remove dirt and grease.
Choose Your Paint Colors: Select the acrylic paint colors you want to use for hydro dipping. Think about how they’ll blend together.
Remove Parts and Stickers: Take off any removable parts and carefully peel off stickers. Clean the surfaces again to ensure they’re free of residue.
Apply a Base Coat: Use a bright color for your base coat. Let it dry completely before moving on to the next step.
Gather Supplies: Collect everything you need, including long rubber gloves, a large waterproof container (like a trash can lined with a trash bag), a garden hose, and cardboard or paper for drying.
Fill the Container: Fill your container with water, leaving about 6 inches from the top. This will be your water bath for dipping.
Create Your Paint Pattern: Spray paint onto the water surface in alternating colors to create a unique pattern.
Dip the Bike Parts: Slowly dip the bike parts into the water, allowing the paint to swirl and adhere to the surface.
Clean the Water Surface: After each dip, remove any leftover paint from the water surface before starting the next part.
Apply Clear Gloss: Once everything is dry, apply two coats of clear gloss to protect your design.
Reassemble and Clean Up: Put your bike parts back together and clean any paint residue from your skin using fingernail polish remover.
Tip: Take your time during each step. Rushing can lead to mistakes, like air bubbles or wrinkles in the film.
Dipping Techniques
Now that your station is set up, let’s talk about the techniques you’ll use during the hydro dipping process. Here are some tips to help you get the best results:
Control Your Speed: When dipping, do it slowly and steadily. This allows the paint to wrap around the frame evenly.
Angle Matters: Dip at a slight angle rather than straight down. This helps the paint flow smoothly over the surface.
Watch for Bubbles: If you see air bubbles forming, gently tap the frame to release them before pulling it out of the water.
Practice Makes Perfect: If you’re new to hydro dipping, consider practicing on smaller items first. This will help you get a feel for the technique.
By following these steps and techniques, you’ll be well on your way to creating a stunning hydro dip bike frame. Remember, patience is key, and don’t hesitate to experiment with different patterns and colors!
Finishing Touches
After you hydro dipped your bike frame, it’s time for the last steps. This part is very important to make sure your design stays nice for a long time.
Sealing the Design
Sealing your hydro dipped design keeps it safe from scratches and fading. Here’s how to do it right:
Choose the Right Clear Coat: Pick an automotive-grade clear coat. This type gives great UV protection and stops scratches.
Apply Evenly: Use a spray can or paint gun to put on the clear coat. Hold it about 12 inches away from the surface to stop drips.
Multiple Coats: Put on at least two to three coats for the best protection. Let each coat dry completely before adding the next one.
Tip: Always follow the manufacturer’s instructions on drying times and how to apply. This helps you get the best results.
Curing and Drying
After sealing your design, let it cure and dry. Proper curing is key for your hydro dip to last. Here’s what to remember:
Drying Time: Let the clear coat dry for at least 24 hours in a well-ventilated area. This helps the coating harden well.
Avoid Direct Sunlight: Keep your bike frame out of direct sunlight while it dries. Sun can make the clear coat cure unevenly.
Final Inspection: After drying, check your bike frame for any flaws. If you see spots that need touch-ups, add more clear coat as needed.
To keep your hydro dipped bike frame looking good for a long time, follow these best practices:
Prepare the bike frame surface by cleaning, sanding, and priming well to help the hydro dip film stick.
Use high-quality hydro dip films with strong inks that resist fading from the sun.
Choose and use the right activator that works with the film to keep colors bright and ink working well.
After dipping and drying, put on an automotive-grade clear coat to give UV protection, stop scratches, and add durability.
Store all materials properly to keep them effective for later use.
By sealing and curing your design the right way, you’ll have a great bike frame that stands out and lasts. Now, you’re ready to ride with your newly customized bike!
Troubleshooting Tips
Hydro dipping is fun, but sometimes it doesn’t go as planned. Here are some common problems you might face and how to fix them.
Common Issues
When you hydro dip your bike frame, you may see a few issues. Here’s a quick look at some common problems:
Explanation | Effect on Hydro Dip Film | Suggested Solution | |
|---|---|---|---|
Insufficient dissolution time | Film not dissolved long enough in water before dipping | Wrinkles in the pattern | Increase dissolution time for better film activation |
Excessive dissolution time | Film dissolved too long, causing pattern degradation | Blurred pattern | Shorten dissolution time |
Excessive activator spray | Too much activator applied during transfer printing | Pattern flows or distorts | Reduce activator amount |
Thick or uneven topcoat painting | Uneven or heavy topcoat application, especially on corners | Yellowing of topcoat, poor adhesion | Apply thinner and more even topcoat |
Solutions for a Better Finish
If you run into problems, don’t worry! Here are some tips to help you get a better finish:
Take Your Time: Rushing can lead to mistakes. Give the film enough time to dissolve properly.
Practice Your Technique: If you’re new to hydro dipping, try it on smaller items first. This helps you learn how the film works in water.
Adjust Your Environment: Work in a well-ventilated area. This helps with drying and reduces fumes affecting your work.
Inspect Your Work: After each dip, check for any mistakes. If you see something wrong, redo that part.
By keeping these tips in mind, you can fix common issues and improve your hydro dipping skills. Remember, practice makes perfect, so don’t get upset if things don’t turn out right the first time! Happy dipping!
You’ve learned how to hydro dip a bike frame like a pro! To recap, remember these key steps:
Preparation: Clean and treat your bike frame for the best adhesion.
Priming/Painting: Use a compatible primer and base coat.
Cutting the Film: Cut the hydrographic film with extra padding.
Placing Film on Water: Lay the film carefully on the water.
Spraying Activator: Apply activator for quality results.
Dipping: Submerge the frame steadily to avoid bubbles.
Rinsing: Rinse off residual film.
Drying: Let the frame air dry.
Clear Coating: Protect your design with a clear coat.
Now, don’t hesitate to experiment with different colors and patterns! The joy of customizing your bike frame is unmatched. You’ll feel proud every time you ride it, knowing you created something unique.
FAQ
What is hydro dipping?
Hydro dipping is a method of applying designs to surfaces using water. You place a special film on water, spray it with activator, and then dip your item, allowing the film to wrap around the surface.
How long does the hydro dip last?
With proper preparation and sealing, a hydro dip can last for years. Using high-quality materials and following the right steps helps ensure durability against scratches and fading.
Can I hydro dip any bike frame?
Most bike frames can be hydro dipped, but ensure the surface is clean and free of old paint. Metal frames work best, while plastic or carbon fiber may require special considerations.
Do I need special skills to hydro dip?
You don’t need special skills, but practice helps! Start with smaller items to get comfortable with the technique. Following the steps carefully will lead to great results.
What should I do if I make a mistake?
If you make a mistake, don’t worry! You can strip the paint and start over. Just follow the prep steps again to ensure a clean surface for your next attempt.
See Also
Simple Guide To Achieving Perfect Powder Coated Bike Frames
Step By Step Method To Apply Bike Decals Smoothly
Proven Techniques To Remove Rust From Your Bike Frame