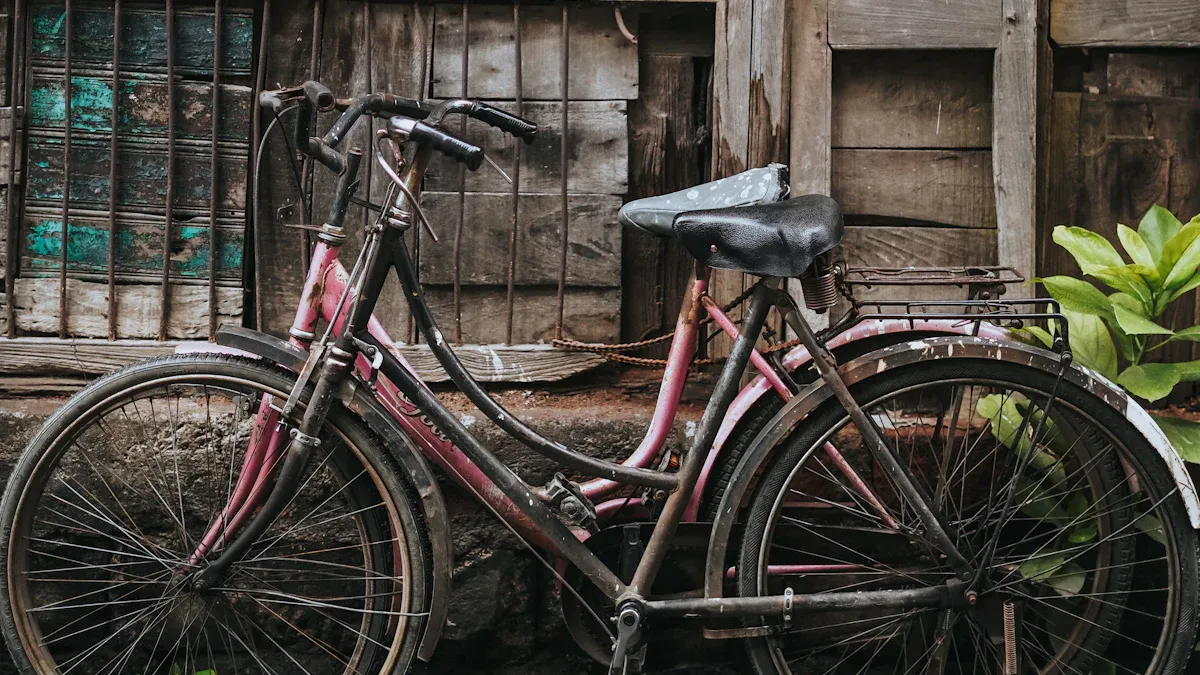
Painting your own bike frame is a thrilling way to express your creativity, especially when you choose to DIY paint bike frame. You can save money too! For instance, DIY costs can range from €60 to €170, while professional services might set you back €100 to €500. With DIY paint bike frame, you can customize your ride exactly how you want. So, grab your tools and get started—you’ve got this!
Key Takeaways
Get your bike frame ready by taking off all parts. Clean it and sand it well. This makes a smooth surface for painting. It also stops problems like peeling.
Pick the right materials. Use paint types like acrylic enamel or 2K paint. Gather important tools like masking tape and cleaning supplies. Good materials give better results.
Put on thin layers of paint. Use a clear coat for protection. This makes it last longer and keeps your bike looking new for years.
Preparation

Before you start painting your bike frame, getting ready is very important. This step includes taking off parts and cleaning and sanding the frame well. Doing these things helps make painting easier and gives you a great final look.
Stripping Components
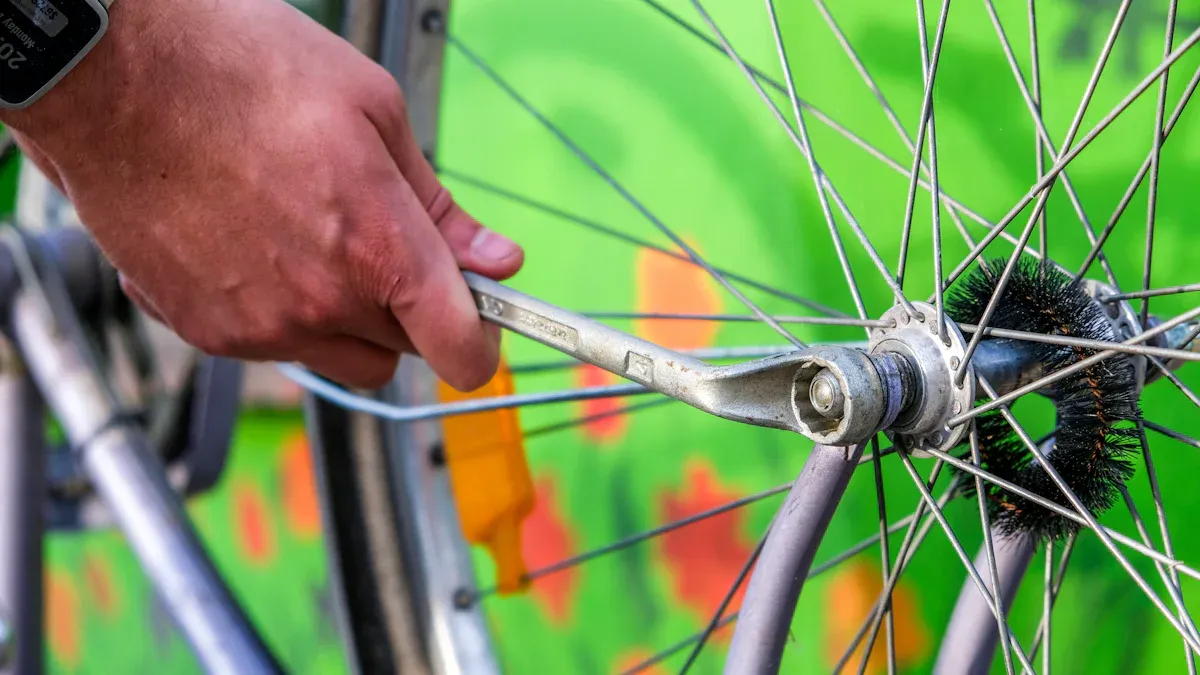
First, you must take the bike apart to just the frame. This means you need to remove all parts like the groupset, bottom bracket, seatpost, handlebars, and cables. Here’s how to do it safely:
Remove all parts from the bike frame to stop damage from paint stripper.
Wear gloves to keep your skin safe from paint stripper.
Work in a well-ventilated area, preferably outside, to avoid breathing in fumes.
Taking everything apart carefully is very important. You don’t want to lose any parts, so think about organizing and storing them safely. This way, you can put your bike back together easily later. Remember, all parts on the frame must be taken off, so pay close attention to make sure they can be put back correctly.
Cleaning and Sanding
After you’ve taken the bike apart, it’s time to clean and prepare the bike frame. Start by getting rid of any grease, dirt, or old paint. Here are some good cleaning agents and sanding methods:
Description | |
|---|---|
Abrasives (e.g., sandblasting) | Commonly used to take off old paint from steel frames, but it can slightly wear down the steel. |
Glass bead blasting | A gentler choice than sandblasting, good for delicate frames. |
Solvent cleaners | Great for removing grease and oil; recommended products include PPG DX330, Sherwin Williams R7K156, and DuPont 3919S. |
Derusters | Should be washed off with water to avoid residues before blasting. |
Masking materials | Duct tape can protect areas from abrasives and paint during prep. |
Getting the surface ready is very important. It stops problems like paint peeling and uneven surfaces. Sanding makes a smooth surface for better paint sticking, which helps reduce peeling or chipping. Wet sanding is best to cut down on dust and get a finer finish, making the paint look better and last longer.
When you’re cleaning and masking, cover areas with threads to stop paint from messing up how they work. Mask off any parts you want to keep shiny, and clean the bike well to get rid of oils. This careful work will help a lot in the end.
Remember, being patient is very important during this step. Taking time to prepare the bike well will make painting easier and give you a nicer finish.
Choosing Materials for DIY Paint Bike Frame
When you decide to paint a bike, picking the right materials is crucial. Let’s break down the essentials you’ll need to make your DIY project a success.
Types of Paint
You have several options when it comes to paint. Here are some popular choices:
Acrylic Enamel: This paint dries quickly and offers a glossy finish. It’s great for vibrant colors.
2K Paint: Known for its durability, this paint requires a hardener. It’s perfect for a long-lasting finish but needs careful application.
Spray Paint: Brands like Spray.Bike offer specific formulations for bike frames. They’re easy to use and come in various colors.
Here’s a quick cost breakdown for the different types of paint you might consider:
Paint Type | Cost per Can | Quantity Used | Total Cost |
|---|---|---|---|
2K Primer | $25-$35 | 1 can | $25-$35 |
Basecoat Main Color | $25-$35 | 2 cans | $50-$70 |
Basecoat Accent Color | $25-$35 | 1 can | $25-$35 |
$25-$35 | 2 cans | $50-$70 | |
$180 |
Essential Tools
To get started, gather these essential tools:
Masking tape for protecting areas not to be painted
QTips for filling bottle cage bosses
A well-ventilated area for painting
Dowels or string for suspending the frame
Cleaning supplies for the nozzle and workspace
These tools will help you achieve a clean and professional look when you paint a bike.
Safety Gear
Safety should always come first. Here’s what you need to protect yourself:
Masks to guard against harmful fumes
Goggles to shield your eyes from splashes and dust
Gloves to prevent skin contact with toxic materials
Coveralls to protect your clothing and skin
By using the right safety gear, you can enjoy your DIY paint bike frame project without worrying about health risks.
Tips for Painting a Bike

Painting your bike frame can be fun and rewarding. But you need to know some things to do it well. Here are tips to help you get a great paint job.
Application Techniques
To paint evenly, follow these steps:
Prepare the Frame: First, use a gas torch and wire brush to remove old enamel. Then, polish the frame with emery cloth to make it smooth.
Clean Thoroughly: Wash the frame in a potash or soda solution to get rid of oil and dirt. Rinse it well and dry it in an oven to make sure it’s clean.
Set the Oven Temperature: Preheat your oven to 250 degrees Fahrenheit before you apply the enamel. This helps the paint stick better.
Apply the Enamel: Use a spray can or paint gun to apply the enamel evenly and thinly. Don’t use heavy coats, as they can cause drips and uneven spots.
Gradually Increase Temperature: After the first coat, raise the oven temperature to 300 degrees and keep it there for thirty minutes. Then, increase it to 375 degrees for another thirty minutes.
Cool Down: Let the oven cool before taking out the frame. This stops the enamel from cracking.
Repeat for Second Coat: Rub down the frame with curled hair and pumice stone before adding a second coat. Repeat the baking steps for the best results.
Finishing Coat: For the last coat, bake the frame for one hour at 375 degrees, slowly raising the temperature from 250 to 375 degrees.
Using Primer and Thin Coats
Using primer is very important for a good paint job. It helps the paint stick and protects against rust. Here’s how it works:
Step | Purpose |
|---|---|
Surface Pre-Treatment | Sandblasting or chemical cleaning |
ED Coating / Primer | For rust protection and adhesion |
Top Coat (Powder or Liquid) | Color and finish layer |
Optional Clear Coat | UV and scratch protection |
Applying thin coats is also key. Thin layers dry faster and lower the chance of runs or drips. Aim for at least one coat of primer and two to three thin coats of your color. Remember to let each coat dry enough—usually, two hours for colors and up to 24 hours for top coats. For the best results, let the paint cure for about seven days before putting your bike back together.
Common Mistakes to Avoid
Even experienced DIYers can make mistakes. Here are some common problems and how to avoid them:
Insufficient Paint Coverage: Buying just one can of paint can leave thin spots. Always make sure you have enough paint for full coverage.
Poor Workspace Preparation: A messy garage can cause overspray. Set up a clean area or a paint booth to work in.
Inadequate Materials: Skimping on quality can cause issues. Buy good supplies to ensure they last and work well.
Improper Preparation: Not cleaning the base metal can cause paint failure. Always make sure the surface is clean and ready.
Incorrect Application Methods: Rushing between coats can create problems. Wait for the recommended drying times to avoid issues later.
By following these tips, you can avoid common mistakes and get a beautiful paint job that you’ll be proud to show off.
Finishing Touches and Maintenance
After all your hard work painting your bike frame, it’s time to add the final touches. You also want to make sure it stays looking great. A clear coat is very important for protecting your work. Good maintenance will help it shine for years.
Clear Coating
Putting on a clear coat is a key step in your bike painting project. It acts like a shield, protecting your paint from rust and making it look better. Here are some good things about using a clear coat:
Makes the paint look nicer.
But remember, clear coats can have some problems. They might turn yellow or peel over time. They can also make it harder to repaint later.
To pick the right clear coat, think about these options:
UV Resistance | Chemical Resistance | Additional Benefits | |
|---|---|---|---|
Polyurethane | Strong | Excellent | Keeps frame shiny |
Epoxy | Good | Excellent | Stops discoloration |
Ceramic | Excellent | Limited data | Long-lasting protection |
Acrylic | Good | N/A | Great UV protection |
Choosing a good clear coat will help keep your bike’s custom look while protecting it from damage.
Caring for Your Frame
Once your bike frame is painted and clear-coated, you want to keep it in great shape. Here are some tips to care for your painted frame:
Regular Gentle Cleaning: Use warm water and mild soap to clean dirt without hurting the paint.
Apply Protective Wax or Sealant: This helps protect against UV rays and dirt.
Use Frame Protectors: Put these in spots that might get scratched to absorb hits.
Invest in Quality Touch-Up Paint: Fix small flaws quickly to stop rust.
Store Your Bike Properly: Keep it inside or covered to avoid damage.
Inspect and Maintain: Check for damage often and fix problems quickly.
Avoid Abrasive Cleaners and Tools: Use soft materials to clean the bike.
Consider Ceramic Coatings: These are very durable and make cleaning easier.
Handle with Care: Use padded transport options to avoid scratches.
Cleaning your bike frame after every ride is a smart habit. Wipe down the frame with a cloth and check for any signs of wear, like cracks or dents. This simple routine will help you find any issues early and keep your bike looking fresh.
By following these tips, you’ll make sure your painted bike frame stays a source of pride and joy for many rides to come!
You’ve learned how to paint your bike frame step by step. Take pride in your DIY project! Personalizing your bike can boost your mood and spark creativity. Plus, riding a freshly painted frame feels amazing! 🎨✨
We’d love to hear about your experiences. Share your results and tips with us!
FAQ
What type of paint is best for bike frames?
Acrylic enamel or 2K paint works great for bike frames. They offer durability and a glossy finish.
How long does the paint take to dry?
Typically, allow 2 hours between coats and up to 7 days for full curing before reassembling your bike.
Can I paint over old paint?
It’s best to strip old paint first. This ensures better adhesion and a smoother finish for your new paint job.
See Also
Learn Simple Techniques to Perfectly Draw Bike Frames
Essential Advice for Safely Painting Carbon Bike Frames
Steps to Perfectly Apply Decals on Bike Frames
