
You can build a stretch bike frame with just simple tools and a bit of creativity. Making your own custom bike lets you shape comfort, style, and performance to fit your needs. Many people start by using old or used frames. This not only gives you a chance to practice but also helps the planet in several ways:
Repurposing old frames keeps bikes out of landfills and saves resources.
Using steel or aluminum again means less energy is needed to make new parts.
Custom builds often inspire others and support local communities.
When you build a bike from scratch, you learn new skills and feel proud every time you ride your custom bike.
Key Takeaways
Making a stretch bike frame lets you have a special bike. It will fit how you like to ride and look the way you want. – You can use simple tools and things like 4130 chromoly steel or old frames. This makes the project cheaper and better for the environment. – If you measure, cut, and weld carefully, your frame will be strong and safe. It will also line up well and ride smoothly. – You can add wider tires, suspension, and comfy parts to your bike. This will make it nicer to ride and work better. – Wear safety gear and go slow at each step. This helps you build a good bike and keeps you safe.
Stretch Bike Frame Basics
What Is a Stretch Bike Frame?
A stretch bike frame has a longer top tube than a standard bike. This means the distance from the front of the bike to the seat is much greater. You sit farther back, and your body stretches out more. The frame sits lower, and the handlebars reach out wider. This design gives you a unique riding position that feels different from a regular bike.
Geometry Aspect | Stretch Bike Frame Characteristics | Standard Frame Characteristics |
|---|---|---|
Reach | Longer, stretches you forward | Shorter, keeps you upright |
Effective Top Tube | Much longer, aerodynamic position | Shorter, more comfort |
Stack | Lower, puts you closer to the ground | Higher, more upright |
Wheelbase | Longer, adds stability | Shorter, easier to turn |
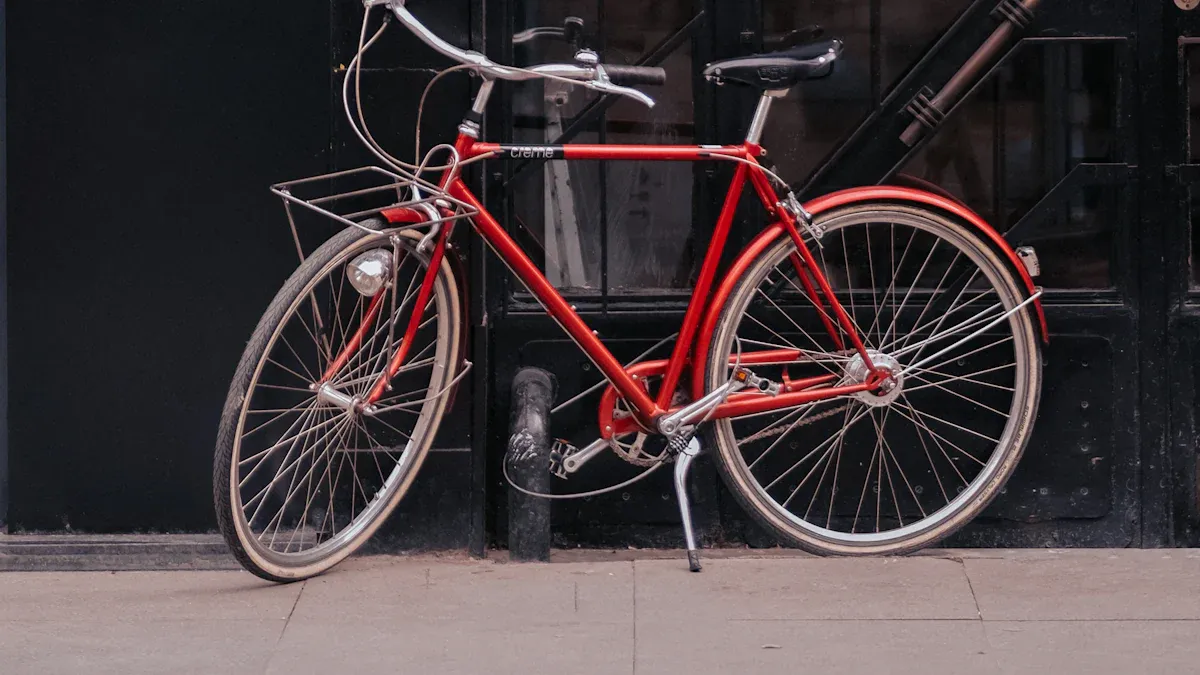
A stretch bike frame often looks like a chopper motorcycle. You get a racier, more aerodynamic feel compared to a standard bike.
Why Build a Bike Like This?
You might want to build a stretch bike frame for several reasons. First, it gives you a chance to create a bike that fits your style. You can choose the frame length, handlebar shape, and even the wheel size. Many riders enjoy the stretched-out position because it feels cool and different. The longer frame also makes the bike stable at higher speeds. If you like to cruise on flat roads or along the beach, this type of bike feels smooth and comfortable.
Tip: Building your own stretch bike frame lets you experiment with comfort and design. You can try different setups until you find what works best for you.
Popular Styles and Uses
You will find many styles of stretch bike frames in cycling communities. Some look like classic cruisers with wide tires and low seats. Others have features for light trail riding, such as thicker tires and stronger frames. Most stretch bikes use simple gearing, often just one speed, which makes them easy to ride and maintain.
Stretch cruiser bikes work well for city streets, boardwalks, and beach paths.
Many riders add padded saddles and adjustable handlebars for extra comfort.
Some bikes use wider tires for better grip and shock absorption.
These bikes are popular for group rides, bike shows, and casual cruising.
You can use a stretch bike frame to create a bike that stands out and feels great to ride.
Frame Design and Material
Planning Your Custom Bike
You start with a clear plan for your custom frame design. Think about how you want your bike to look and feel. You choose a frame type that matches your style and any features you want to add, such as wider tires or special handlebars. Safety matters, so you inspect the frame for cracks or damage before you begin. You also match the wheels and tires to the frame size to keep the bike balanced.
Tip: Routine checks help you keep your bike safe. Look at wheel alignment, tire pressure, and brakes often. Comfortable handlebars and seats make your ride better.
Here are some key points to remember when planning:
Pick a frame style that fits your needs and ideas.
Check the frame for damage before you start building.
Make sure wheels and tires match the frame size.
Add safety accessories like lights and mirrors.
Choosing Materials (4130 Chromoly, etc.)
When choosing the right material for your stretch bike, you have two main options. You can use new 4130 chromoly steel tubing or repurpose an old frame. Each choice has benefits.
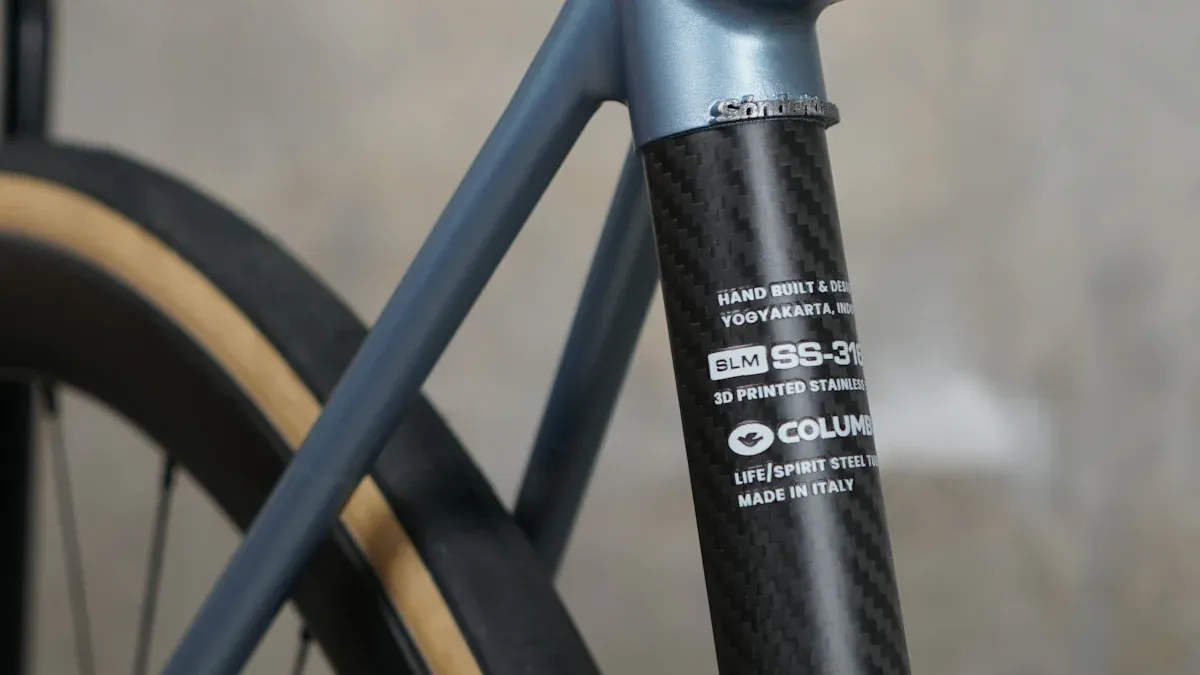
4130 chromoly steel tubing bends and flexes before it breaks. This makes your bike strong and comfortable. You can shape the tubing to get the stiffness or flex you want. Many budget-friendly bikes use this frame material because it is light, strong, and easy to work with.
Repurposed old frames, like classic Surly models, give you vintage style and proven durability. These frames may need repairs or repainting, but they offer a smooth ride and a unique look. Old chromoly steel frames last a long time and work well with modern parts.
Note: High-quality steel, especially 4130 chromoly, is a top choice for custom builds. It absorbs shocks and stays strong for years.
Tools and Safety Gear
You need simple tools to work with your chosen frame material. Use blue tape to mark where you will cut the tubes. This helps you make precise cuts and keeps your project neat. You also need a hacksaw or tubing cutter, files, and a welder if you plan to join new pieces.
Safety gear is important. Always wear gloves, safety glasses, and a mask when cutting or welding. Work in a well-ventilated area to protect yourself from fumes.
Tool | Use |
|---|---|
Blue tape | Marking cuts |
Hacksaw/cutter | Cutting tubes |
File | Smoothing edges |
Welder | Joining frame material |
Safety gear | Protecting yourself |
You make better progress when you measure carefully and use the right tools. Safety comes first in every step of your frame design and material process.
How to Build a Stretch Bike Frame
Measuring and Marking the Frame
You start by measuring and marking your tubes with care. Accurate measurements help you keep your frame geometry correct and safe. Follow these steps for best results:
Gather joint specifications. Write down tube diameters, joint angles, and any offsets.
Use a torpedo level and a flat file to mark a centerline on each tube. This centerline helps you keep everything straight.
Create a paper pattern for each joint. Specialized software can help you print out the exact miter shape.
Align the paper pattern with the centerline. Mark the cut lines using a marking pen or fast-drying spray paint.
Use calipers or micrometers to check tube diameters and angles. Angle finders help you verify the correct angle for each joint.
Mark all cut lines clearly. Double-check your measurements before you cut.
Tip: Careful marking and measuring make your build a bike project easier and more accurate.
Cutting and Preparing Tubes
Cutting steel tubing requires patience and the right tools. You want each tube to fit snugly at the joints. Here are some tools and methods you can use:
Hacksaw or angle grinder for basic cuts.
Mill or drill press with hole saws for precise mitering.
Frame fixture or jig to hold tubes steady while you cut.
After rough cutting, use hand files to shape the ends. Angle finders and bluing help you spot high spots and get a perfect fit. Always test fit each tube before moving on.
Note: A frame building jig keeps your tubes at the correct angles and helps you maintain frame geometry.
Welding and Assembly
You join the tubes using welding techniques. TIG welding is the most popular method for DIY bike builders. It works well for thin, high-quality tubing and gives you strong, clean joints. If you use thicker steel or old frames, stick welding or MIG welding may work, but TIG welding is best for precision.
Practice welding on scrap steel before you start your main project. You can also try fillet brazing with oxy-acetylene and brass filler for thicker tubes. Always inspect your welds for cracks or gaps.
Safety Alert: Wear gloves, a welding mask, and safety glasses. Work in a well-ventilated area.
You may need to add gussets or brackets to reinforce high-stress joints. Place gussets near the head tube and top tube/down tube junctions. Smooth, continuous weld beads and fishmouth-shaped tube ends help spread stress and prevent cracks.
Checking Alignment
Frame alignment is critical for safety and ride quality. You want your wheels and tubes to line up perfectly. Use these best practices:
Rest the bottom bracket shell on a flat plate to check alignment.
Use adjustable standoffs and digital height gauges to set the seat tube and head tube parallel.
Keep miters tight and follow a welding sequence that minimizes heat distortion.
Avoid twisting the frame. Angular alignment of the wheels is very important.
Use squares and torpedo levels to check centerlines and alignment.
Some builders use laser scanning and CAD models for precise alignment, but you can achieve good results with careful manual methods. Always check alignment before and after welding.
Finishing Touches
After welding, you need to smooth the joints and prepare the frame for painting. Use these finishing tools:
Files (including jeweler’s files) for tight spots.
Emery cloth for smoothing welds.
Sandpaper, belt sanders, and die grinders with sanding cones.
Dremel tools for detailed work.
Smooth transitions between fillets and tubing help prevent stress risers and make your frame last longer. Take your time to avoid undercutting or damaging the frame. Hold the frame securely while you work for better results.
Tip: Practice welding and finishing on scrap pieces before you build a bike frame. This reduces cleanup and improves your skills.
You may want to add gussets or brackets for extra strength. Use flat gussets near high-stress joints and design them to spread loads. CAD software and 3D printing can help you create custom lugs and gussets if you want to experiment.
Before painting, make sure all welds are smooth and the surface is clean. Avoid leaving sharp edges on fillets. A well-finished frame looks great and lasts longer.
Common Stretch Lengths and Their Effects
Stretch bike frames often use longer chainstays and wheelbases. The most common stretch length is about 6 inches, but you can adjust this to fit your style. Longer chainstays increase stability and comfort, especially for cruising and long rides. Shorter chainstays make the bike more responsive and nimble.
Bike Type | Typical Chainstay Length (mm) | Impact on Ride Quality and Handling |
|---|---|---|
Road Bike | Quick, nimble, better for sprinting and climbing. | |
Cyclocross / Hardtail MTB | ~420 | Balanced stability and responsiveness. |
All-Road / Commuter | ~450 | More comfort and stability for longer rides. |
Mountain Touring Bike | Up to 515 | Maximum stability and comfort for touring and bikepacking. |

You should consider your riding style and needs when choosing your stretch length. Adjust the frame geometry to match your comfort and handling preferences.
Customizing a Stretch Cruiser Bicycle
Modifying for Comfort and Style
When you start customizing a stretch cruiser bicycle, you can make many changes to improve comfort and style. You might want to ride longer distances or just enjoy a smoother ride. Here are some ways you can upgrade your bike:
Upgrade the suspension system. Front suspension forks with 80-120mm travel help absorb bumps. You can pick coil springs for strength or air springs for lighter weight and easy adjustments. Rear suspension adds comfort on rough roads.
Choose the right wheels and tires. A 26-inch wheel gives you good comfort and control. Larger wheels, like 27.5 or 29 inches, roll over obstacles more easily. Wider tires, from 2.0 to 4.0 inches, offer more stability and a softer ride.
Pick a frame material that fits your needs. Steel frames absorb vibrations well, which helps with comfort and ergonomics. Aluminum frames are lighter but do not absorb shocks as well.
Adjust the handlebar shape and position. Wide, swept-back handlebars let you sit upright and relax your arms. You can also raise or lower the handlebars to match your riding style.
Upgrade your saddle and grips. A wide, cushioned saddle supports your sit bones. Grips made from rubber or leather with ergonomic shapes reduce hand strain.
You can also personalize your bike with custom paint, decals, or unique accessories. Many riders add lights, mirrors, or racks for extra style and function.
Popular Options / Features | Purpose / Benefit | |
|---|---|---|
Frame Design and Material | Steel, Aluminum, Carbon Fiber, Titanium | Durability, weight, ride comfort, corrosion resistance |
Comfort and Ergonomics | Saddle shape/material, handlebar shape/height, grips | Rider comfort, posture, control |
Wheels and Tires | Wheel sizes (26″, 27.5″, 29″), tire width (2.0-4.0 inches), tread patterns | Comfort, stability, traction, durability |
Adjusting for Wider Hubs or Tires
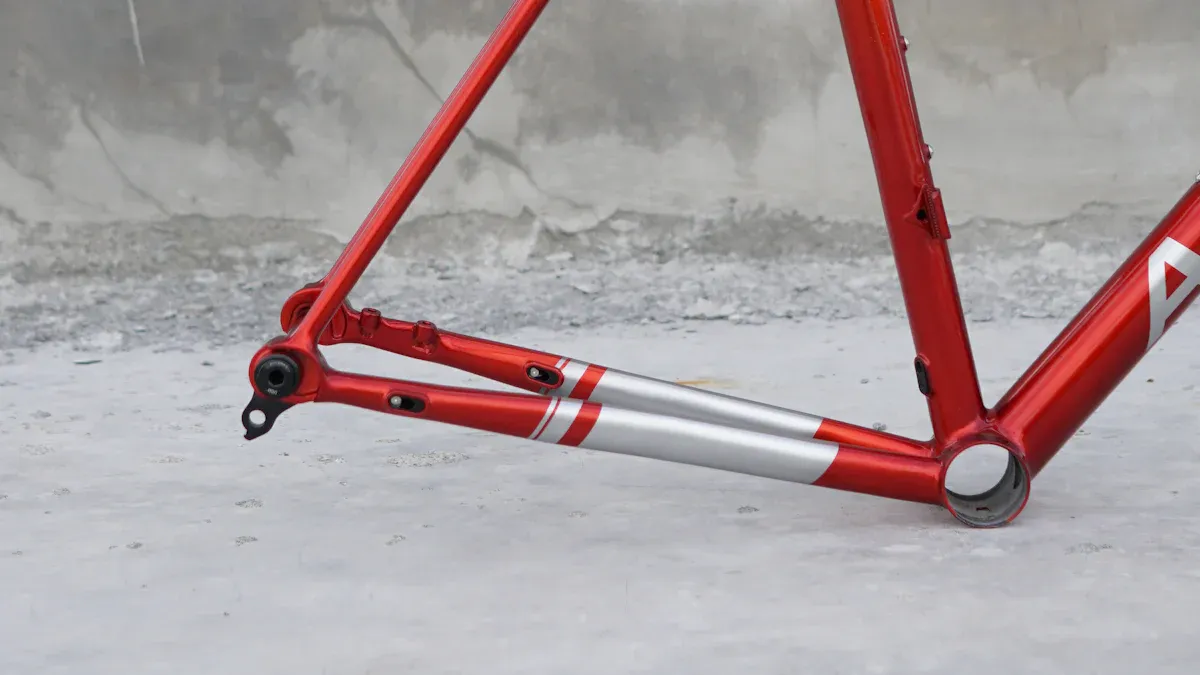
If you want to fit wider tires or hubs on your stretch cruiser, you need to make some changes to the frame. You can stretch or redesign the rear triangle to create more space. This lets you use tires up to 4 inches wide and hubs up to 157mm. You may also need to select a bottom bracket that matches the wider hub, such as an 83mm model. Make sure the frame stays clear the chainring and allow enough room for the tire. Some cranksets help you keep a good chainline and a comfortable Q-factor, even with wide tires.
You might need to relocate axle hangers or add gussets for extra strength. These changes help your bike handle the extra width and keep it safe for riding.
Adding Functional Features (Brakes, Cable Routing)
Adding functional features makes your custom bike safer and easier to use. You can upgrade the braking system to hydraulic disc brakes for better stopping power. Choose the right rotor size for your needs, such as 160mm or 180mm. Plan your cable routing so that brake and gear cables stay neat and out of the way. You can use clips or guides to keep cables secure.
When you finish your build, protect your frame with a strong paint job. Start by cleaning and sanding the frame. Use a primer that matches your frame material. Apply several thin coats of paint, then finish with a clear coat for shine and protection. Powder coating is another durable option, especially for steel frames. Regular cleaning and waxing help keep your bike looking new.
Tip: Customizing a stretch cruiser bicycle lets you create a ride that matches your style and needs. Take your time with each step for the best results.
You have learned the basic steps to make a stretch bike frame. Planning ahead helps you do a better job. Wearing safety gear keeps you safe while you work. Take your time and be patient with each step. Some people use CAD software like SolidWorks or Fusion 360 for design. BikeCAD Pro is good for making bike frames. Mesh2Surface can turn 3D scans into models. You can join online bike groups to talk and get help. Try out new ideas and have fun building. Riding your custom bike shows your skills and creativity.
FAQ
How long does it take to build a stretch bike frame?
You can finish a basic stretch bike frame in one weekend if you have all your tools and parts ready. More complex designs may take a few weeks. Take your time to measure and weld carefully.
What tools do you need for a beginner build?
You need a hacksaw, blue tape, files, and a welder. Safety gear like gloves and goggles protects you. A simple frame jig helps you keep everything straight.
Tip: Start with basic tools. Upgrade as you learn new skills.
Can you use an old bike frame for your project?
Yes, you can use an old steel frame. Remove paint and rust before you start. Check for cracks or damage. Repurposing old frames saves money and helps the environment.
Frame Type | Easy to Modify | Durable |
|---|---|---|
Steel | ✅ | ✅ |
Aluminum | ❌ | ✅ |
Is welding the only way to join tubes?
Welding works best for strength. You can also use brazing with brass filler for some joints. Practice on scrap metal before you work on your bike frame.
Safety Alert: Always wear a welding mask and gloves when you join metal tubes.
See Also
Key Supplies Needed To Assemble A Custom Bike Frame
Learn Simple Methods To Perfect Bike Frame Sketching
Understanding The True Expenses Of Crafting A Bike Frame