
Before you start any bike project, always think about safety first. You need to know what type of bike you have and what material makes up the frame. Some bikes use steel, while others use aluminum or carbon. Each material reacts differently when you try a bike frame modification. Gather the right tools for your bike work, like wrenches and a bike stand. Set up a clean workspace with good light. Wear gloves and goggles every time you work on your bike. Only try changes that keep your frame strong and safe.
Key Takeaways
Make sure you know what your bike frame is made of before you start. This helps you pick safe ways to work on it. Use the correct tools for your project. Set up your workspace so it is clean and bright. Wear safety gear like gloves and goggles. Try easy changes like painting or adding mounts. You can also adjust cables to keep your bike strong. Do not cut, drill, or bend aluminum or carbon frames at home. This can hurt your bike and make it unsafe. After you finish, look at your bike closely for cracks or if things do not line up. If you are not sure, ask a professional for help.
Assessing Your Bike Frame
Frame Material Types
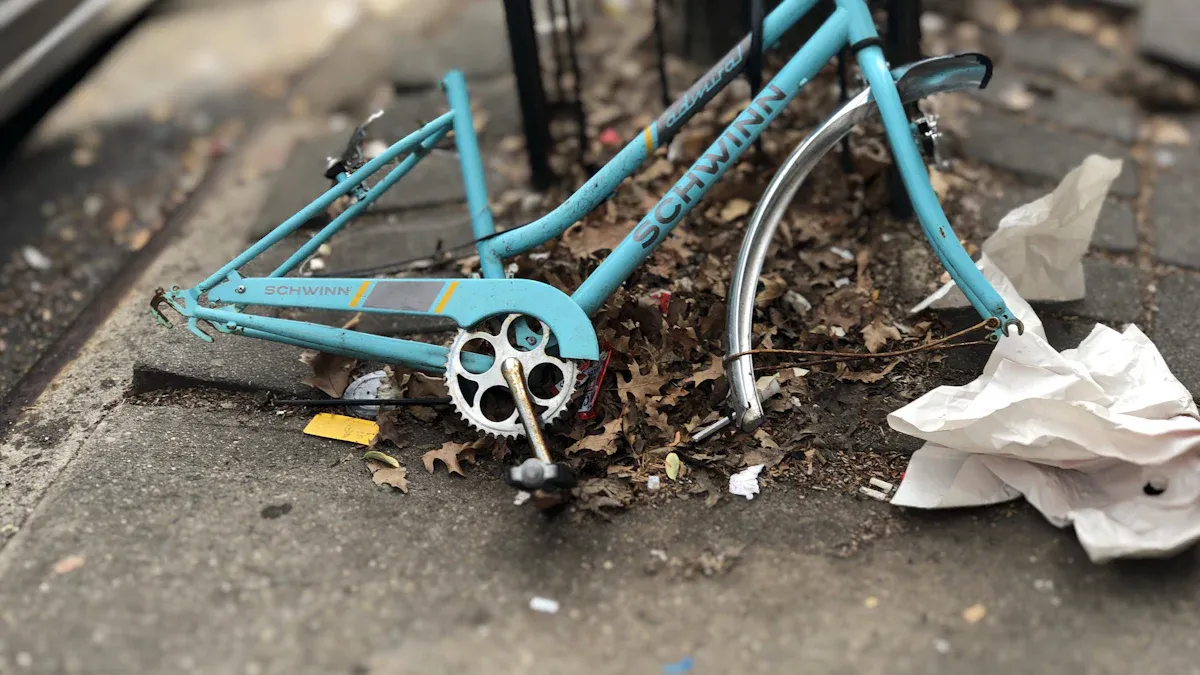
When you look at your bike, first check the frame material. Most bikes use one of four main materials.
Steel is tough and lasts a long time. You can fix steel easily. Chromoly steel is lighter and stronger than regular steel.
Aluminum is light and costs less. It is stiff but can wear out faster.
Titanium is very strong and light. It costs a lot and is found in fancy bikes.
Carbon fiber is super light and stiff. People use it for racing bikes. It can break if you hit it hard.
Material | What It’s Like | |
|---|---|---|
Aluminum | Light, cheap, stiff | Most regular bikes |
Carbon Fiber | Very light, high-performance, breaks easier | Racing and mountain bikes |
Chromoly Steel | Strong, lasts long, absorbs bumps | BMX, racing, mountain bikes |
Titanium | Light, very strong, costs a lot | Fancy custom bikes |
Suitability for Modification
Not every bike frame is easy to change at home. Steel frames are best for home projects. You can cut, weld, or fix steel with simple tools. Steel is strong and does not break easily. Aluminum is harder to change. It needs special welding and can get weak if you do it wrong. Titanium is even harder and needs expert tools. Carbon fiber is not good for home changes. It needs special glue and molds. If you want to change your bike frame, use steel for safety.
Tip: Always look at tube thickness and design before you start. Some frames have thin walls. They can break if you cut or drill them.
Safe DIY Changes
You can make some safe changes to your bike at home. Painting, adding mounts, or changing cable routes are good ideas. Do not cut or weld unless you know the risks. Never change the main shape of the frame. Do not use parts that do not match the frame material. Always test your bike after you make changes. Make sure it is safe to ride. If you are not sure, ask a bike expert for help.
Bike Tools & Workspace
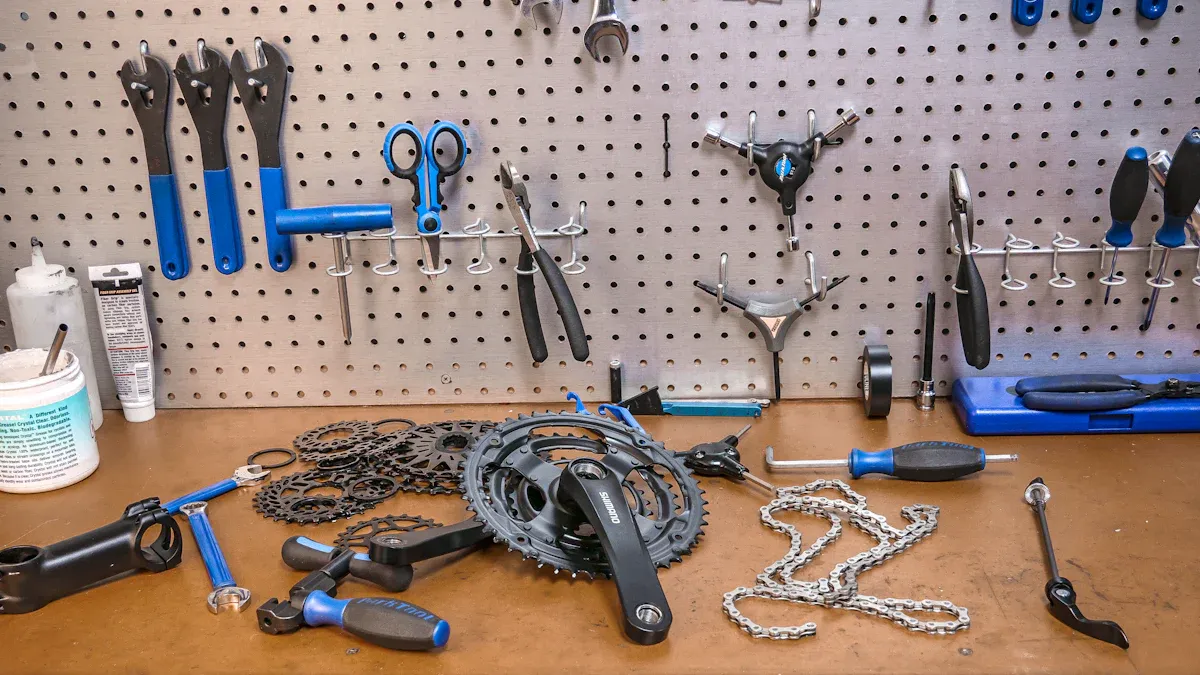
Essential Tools
You need the right tools to work on your bike safely and well. Start with a sturdy bike stand. This holds your bike steady while you work. Use a hex wrench set for most bolts. A T25 Torx wrench helps with disc brakes and some frame bolts. You may need a bottom bracket wrench for crank work. An angle grinder can help with metal frames, but use it only if you know how. Always measure twice before you cut or drill. Use a tape measure, ruler, and angle square for marking lines and checking alignment.
Common Tools for Bike Frame Projects:
Bike stand
Hex wrench set
T25 Torx wrench
Bottom bracket wrench
Angle grinder (for metal frames)
Measuring tape and angle square
Tip: Keep your tools clean and organized. This helps you find what you need and keeps your bike safe from scratches.
Workspace Setup
Set up your workspace in a spot with good light and fresh air. A garage or shed works well. Keep your area tidy. Lay out your tools so you can reach them easily. Use a mat or old towel under your bike to catch small parts. Open a window or use a fan if you plan to paint or sand your bike. Good airflow keeps you safe from dust and fumes.
Safety Gear
Protect yourself every time you work on your bike. Wear gloves to keep your hands safe from cuts and chemicals. Use safety goggles to shield your eyes from dust and flying bits. A dust mask helps when you sand or paint. You can also protect your bike frame with special tapes. Clear polyurethane helicopter tape, 3M Scotchgard film, and honeycomb frame guards all help prevent scratches and wear. Thick Shelter Tape works well for high-impact spots. Wet the frame before you apply tape to avoid bubbles. Cover places where straps or cables rub, like the head tube, seatpost, and fork blades.
Protective Tape Type | Best Use | Application Tip |
|---|---|---|
Helicopter Tape | General frame protection | Wet application prevents bubbles |
3M Scotchgard Film | Paint and finish protection | Cut to fit, apply wet |
Honeycomb Frame Guards | Easy, stylish frame coverage | Stick on clean, dry surface |
Shelter Tape | High-impact areas, carbon frames | Use on down tube, chain stay, or top tube |
Note: Replace Velcro straps with rubber straps to be gentler on your bike frame. Choose frame bags with padding to avoid damage from hard items.
Planning Modifications
Choosing Modifications
There are many ways to change your bike at home. Some people weld on extra frames to make tall bikes with banana seats. Others bolt a second fork to the front axle. You can make custom seats using crutch handles and cushions. Some use chair arms to make springy seatposts or fenders. Riders often change handlebars by sliding pipes into headsets and using bolts. Painting your frame with spray paint and wire brushes can protect it. Masking tape helps you paint neat lines. These ideas let you change your bike’s style and comfort. They do not make your bike unsafe.
Tip: Try easy projects first, like painting, adding mounts, or moving cables. These changes keep your bike safe and simple to ride.
Measuring & Marking
You must measure carefully before you change your bike. Calipers help you measure inside and outside parts. Use micrometers for small or curved pieces, like bearing balls. Stein seat-tube gauges check if seat posts will fit. Open-end wrenches measure outside sizes by matching the part. Adjustable wrenches and vise-grip pliers help compare sizes when measuring is hard. Always mark your frame with pencil or tape before cutting or drilling. Use a square or yardstick to line things up. This keeps your changes neat and safe.
Tool | Best Use |
|---|---|
Caliper | Internal/external measurements |
Micrometer | Small/curved parts |
Stein Gauge | Seat tube diameter |
Open-end Wrench | External diameters |
Adjustable Wrench | Size comparison |
Prepping the Frame
Get your bike ready before you paint or wrap it. Clean the frame to get rid of oil and dirt. This helps paint or vinyl stick better. Put 3M Knifeless tape where you want sharp edges. Measure the frame to see how much vinyl you need. Cut vinyl on a clean table and peel it off slowly. Use a squeegee and heat to shape vinyl around curves. Make small cuts so vinyl fits without pulling. Trim the edges for a neat look. Cut out holes for hardware so vinyl does not peel. Wipe the wrap for a smooth finish. If you paint, let the frame dry for three days before adding parts. Be gentle with the frame after one day to stop scratches.
Note: Careful prep helps your changes last longer and look nicer.
Bike Frame Modification Techniques
Painting & Wrapping
Painting and wrapping are easy ways to change your bike’s look. They also help protect the frame from damage. You can use these methods for style or to keep your bike safe. Both are good for bike mods and customization.
Painting Steel and Carbon Frames:
Clean the frame with soft abrasives like glass bead blasting for steel. Do not use sandblasting because it can hurt the tubing.
Cover important parts like the bottom bracket and headset with tape or plugs.
Take off rust from steel frames with phosphoric acid or electrolysis.
Use a primer with zinc to stop rust before you paint.
Powder coating is good for steel and metal frames. It uses powder and heat at about 250°F. This makes a strong, smooth finish and is better for the environment.
Never use powder coating on carbon frames. The heat can hurt them, and carbon does not carry electricity.
For carbon frames, do not use strong chemicals or rough sanding. Sand the old paint lightly and think about getting a pro to refinish it.
Always wear a mask and goggles when painting to stay safe from fumes.
Tip: Use heat-resistant tape when masking for powder coating. Make sure the frame is clean before baking.
Vinyl Wrapping for Protection and Style:
Vinyl wrapping gives your bike a new look and keeps the paint safe. You can take off or change the wrap if it gets scratched. This makes it a good choice for bike frame modification. Good wraps, like 3M, stick well and do not bubble. Do not leave your bike in the sun for too long. Clean the wrap with soft soap and a microfiber cloth. You can put a paint protection film over the wrap to make it last longer. Check the wrap often for damage and do not use strong water sprays.
Note: Vinyl wrapping is a cheap and easy way to try new bike mods. It does not make permanent changes.
Adding Mounts
Adding mounts lets you put water bottles, racks, or gear on your bike. This makes riding easier and more fun. The best way to add mounts depends on your frame material.
Steel frames have thicker tubes. You can add rivnuts to these frames. Drill slowly and do not drill into thin spots.
Aluminum frames, like racing bikes, have thin walls. Drilling can make them weak. Only drill if you check the thickness first.
Using steel rivnuts in aluminum frames can cause rust. Use the same material if you must use rivnuts.
For aluminum or carbon frames, use zip ties, hose clamps, or SKS Anywhere adaptors. These do not need drilling and keep the frame safe.
Always put something soft under clamps or ties to stop scratches.
Callout: Never drill into carbon frames. It is too risky. Only use mounts that do not need holes.
Frame Material | Safe Mounting Method | Risk Level |
|---|---|---|
Steel | Rivnuts, careful drilling | Low (if careful) |
Aluminum | Non-invasive clamps, adaptors | Low |
Carbon | Non-invasive only | High |
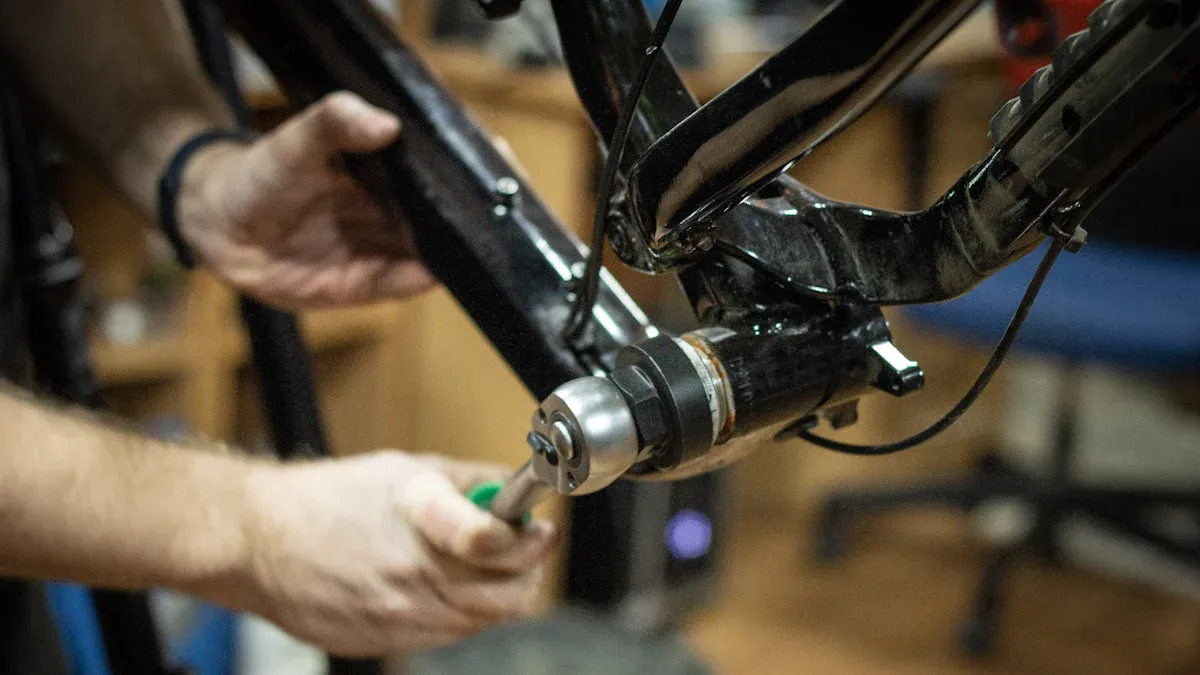
Cold Setting
Cold setting means bending the frame a little to fix it. You might do this to fit a new wheel or fix a small bend. Only use cold setting on steel frames. Steel can bend a bit without breaking.
Modern frames use thin tubes. Cold setting these can break the frame. Do not cold set aluminum or carbon frames. These do not bend well and can snap.
Always check the frame’s thickness and shape before cold setting. Make small changes and be careful. If you need big changes, ask a pro for help. Good framebuilders use careful fitting and brazing so cold setting is not needed.
Warning: Never cold set butted or thin-walled tubes. This can make the frame weak and unsafe.
Safety Tips for All Bike Frame Modification Techniques:
Wear gloves, goggles, and a mask when you cut, weld, or paint.
Never cut or drill into butted parts of the frame. These are thin and weak.
Always check your measurements and alignment before making changes.
If you are not sure, ask a pro or look for good guides and videos.
Pro Tip: Many people share their bike mods and customization tips online. Look for step-by-step guides to help you learn safe and smart bike frame modification.
Bike Safety Checks & Mistakes
Inspecting Frame
After you finish any modification, you need to check your bike carefully. Look for cracks, dents, or rust, especially near welds and joints. Use a flashlight to see small details. Tap the frame with a hard object and listen for changes in sound. A dull sound can mean hidden damage. Carbon fiber bikes need extra care. Sometimes, damage hides inside and does not show on the outside. You should ask a professional to inspect your bike if you notice anything strange or if you had a crash. Experts use special tools like ultrasonic thickness gauges to find problems that you cannot see. This step helps you avoid accidents and keeps your bike safe.
Tip: Always check your bike after any impact, even if you do not see damage.
Testing Modifications
Before you ride, test your bike to make sure it works well. Start by checking the alignment of the wheels. Make sure the wheels sit straight and do not rub against the frame. Try flexing the bike gently to see if anything feels loose or weak. You can perform simple tests at home, but professional labs use advanced methods. These include fatigue tests, dynamic impact tests, and load capacity checks. These tests help find weak spots and make sure your bike can handle stress. If you made big changes, ask a bike shop to run safety checks. They use standards like DIN 79010 and EFBE Tri-Test to test bikes for strength and safety.
Common Safety Tests:
Fatigue test: Checks for cracks after repeated use.
Impact test: Simulates crashes and rough terrain.
Load test: Measures how much weight your bike can carry.
Common Errors
Many people make mistakes when modifying their bikes. Poor measurement and bad alignment cause problems with handling and shifting. Wheels may not line up, making your bike hard to ride. Misaligned parts can lead to cracks and even frame failure. Trying to fix bent tubes by bending them again can make things worse, especially with thin aluminum or carbon fiber. Over-tightening bolts can damage parts, while drilling holes increases rust risk. Forgetting to grease bolts or seal openings lets water in and causes rust. Using the wrong tools or skipping steps leads to unsafe bikes.
Mistake | What Can Happen |
|---|---|
Poor measurement | Bad handling, shifting problems |
Unsafe cuts/drilling | Weak spots, rust, frame failure |
Misalignment | Off-center wheels, cracks |
Over-tightening bolts | Broken parts, unsafe rides |
Skipping maintenance | Rust, stuck seat posts, damage |
Note: Plan your project, make a checklist, and ask for help if you need it. Staying organized helps you avoid mistakes and keeps your bike safe.
You keep your bike safe by planning each step. Use the right tools for every job. Always check your work when you finish. If a repair is hard, ask a professional for help. Some repairs, like rebonding carbon or aluminum, are risky. Experts say these repairs are not usually a good idea. You can protect your frame by painting it. Check your bike often to find problems early. Many people learn a lot from DIY projects:
Description | |
|---|---|
Mechanical Skills | You get better at putting on headsets and fixing parts. |
Tools Knowledge | You learn how to use special tools for each task. |
Problem-Solving & Patience | You practice fixing problems and knowing when to ask for help. |
Remember, every project helps you learn. Stay safe, keep learning, and have fun riding! 🚲
FAQ
Can you modify an aluminum bike frame at home?
You should avoid major changes to aluminum frames. Aluminum needs special welding tools. Drilling or bending can make the frame weak. You can add mounts with clamps or adaptors. Always check the frame thickness before you try anything.
What is the safest way to paint a bike frame?
You can use spray paint for steel frames. Clean the frame first. Use primer to help paint stick. Wear a mask and goggles. Let the paint dry for three days before you ride. Powder coating works best for steel, not carbon.
How do you check if your bike frame is still strong after a modification?
You can look for cracks, dents, or rust. Tap the frame and listen for changes in sound. Check wheel alignment. If you see anything strange, ask a bike shop to inspect it. Safety comes first.
What tools do you need for basic bike frame modifications?
You need a bike stand, hex wrenches, a T25 Torx wrench, measuring tape, and safety gear. For steel frames, you can use an angle grinder. Keep your workspace clean and organized.
Can you drill holes in a carbon fiber frame?
Never drill holes in a carbon fiber frame. Carbon can break easily. Use non-invasive mounts like zip ties or clamps. If you need more mounts, ask a professional for help.