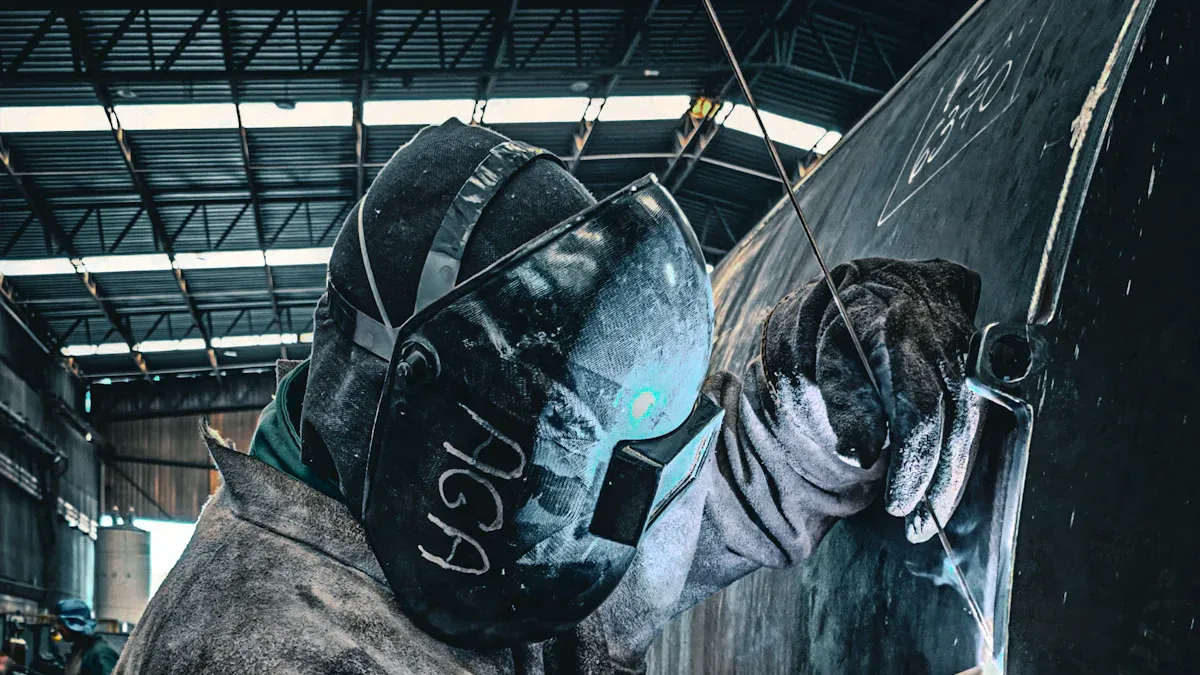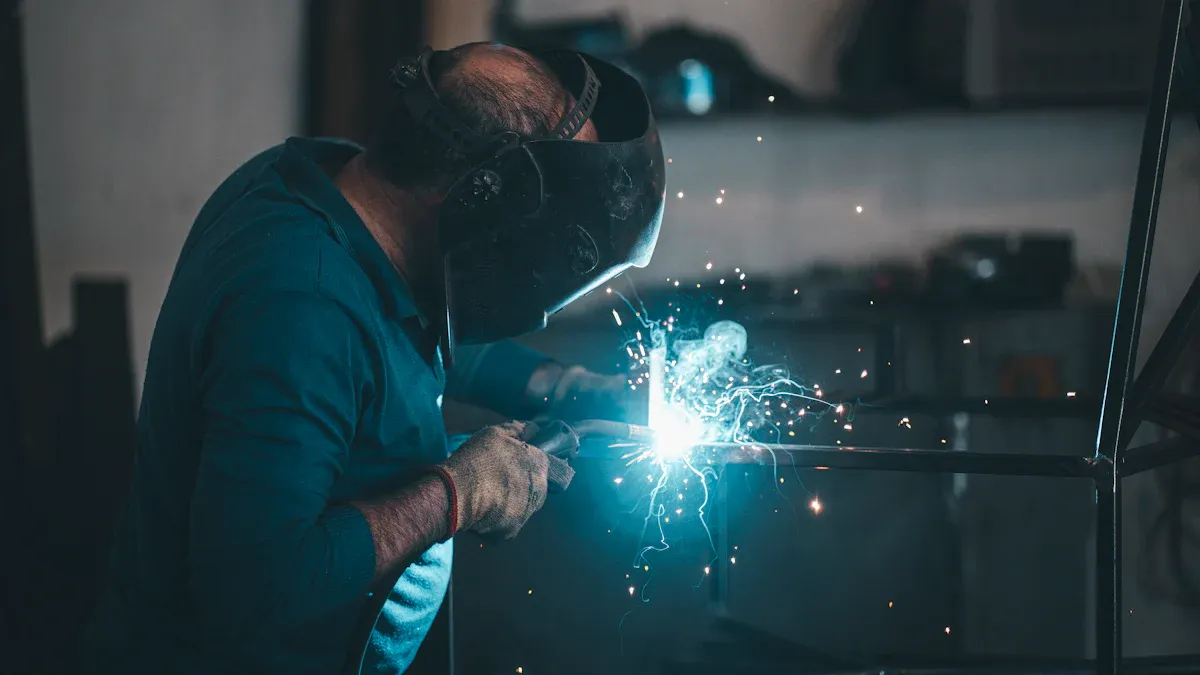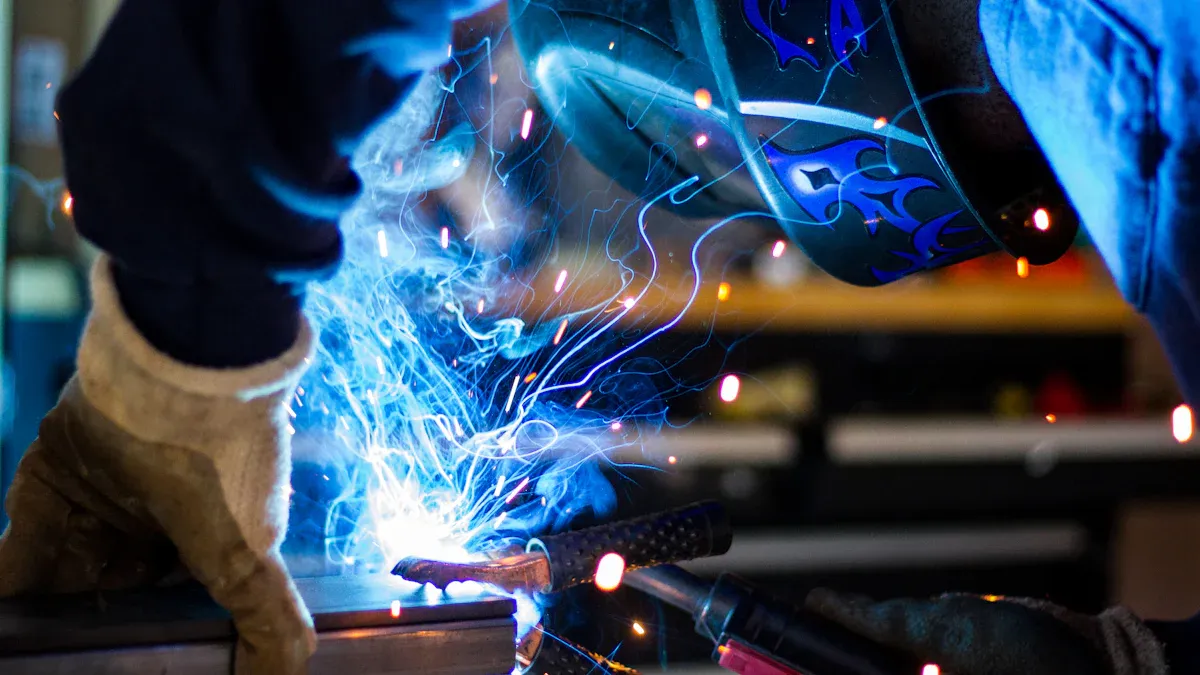
Welding bike frames is not just about joining metal. It is also about safety and performance. Using the right techniques can change how your bike rides. It can also help it last longer. However, many welders have problems like uneven welds and choosing materials. Learning these skills helps your work and builds your confidence. Remember, spending time to learn the right techniques is worth it. This way, you can make custom bike frames that last.
Key Takeaways
Pick the right steel and filler rods. This helps make strong and lasting bike frames that work well.
Use TIG welding for clean and strong welds. This is important for thin materials like chromoly steel.
Get your metal parts ready carefully. Keep a steady hand to make good welds.
Check your welds closely after welding. Look for problems and make sure it is safe before finishing.
Practice often and learn from your mistakes. This will help you get better at welding and build better bike frames.
Welding Materials

When you weld bike frames, the materials you pick are very important. They affect how well your bike works and how long it lasts. Let’s look at the types of steel used and the filler rods that help you make strong welds.
Types of Steel
Different steels have special features that can improve your bike frame’s performance. Here’s a quick look at some popular types:
Steel Type | Description | Ultimate Tensile Strength (UTS) (MPa) | Special Characteristics |
|---|---|---|---|
Reynolds 953 | This is a strong stainless steel alloy. It has high strength and resists wear. | 1750 – 2050 | It has high impact strength and a great strength-to-weight ratio. |
Columbus XCR | This is a stainless steel with chromium and nickel. It has seamless tubes. | 1250 – 1350 | It welds well, resists wear, and stays stable at high temperatures. |
Reynolds 853 | This is a heat-treated steel that hardens in the air. | 1250 – 1400 | It gets stronger after welding, allows thin walls, and is lightweight. |
Reynolds 631 | This is a cold-worked steel similar to 853 but not heat-treated. | 800 – 900 | It makes durable frames that are good for touring and mountain biking. |
These steel types are liked by builders because they balance strength, weight, and how easy they are to weld. For example, chromoly steel like Reynolds 853 is popular for making lightweight and strong frames. This makes it great for road and mountain bikes.
Filler Rods
Picking the right filler rod is just as important as choosing the steel. Here are some common options to think about:
TIG Welding: This method uses a tungsten electrode and inert gas. For steel, you usually use DC current. Aluminum needs AC or square wave current.
Filler Rods for Steel: Common choices are ER70S-2 and Weldmold 880. These rods are strong and work well with different steel types.
Filler Rods for Aluminum: If you work with aluminum frames, the 5356 filler rod is a good choice. It hardens over time, so you don’t need heat treatment.
Tip: Always use the right shielding gas for TIG welding. This gas keeps the weld clean, which is very important for strong joints.
Using the right filler rod affects how strong your welds are and how your custom frame looks. A clean weld can really improve the final look of your bike.
Welding Processes

When you want to weld bike frames, you can pick between two main methods: TIG welding and MIG welding. Each method has its own pros and cons. Knowing these can help you choose the best one for your project.
TIG Welding
TIG welding, which stands for Tungsten Inert Gas welding, is popular with bike frame builders. This method uses a tungsten electrode that does not get used up to make the weld. You control the heat and add filler material separately. This gives you a lot of precision. Here are some important benefits of TIG welding:
Precision: You have great control over the weld. This means you can make clean, precise joints. This is very important for bike frames where looks and strength matter.
Strength: TIG welding makes high-quality welds with excellent fusion. This reduces defects and creates strong joints that can handle cycling stress.
Versatility: You can use TIG welding on many materials, including thin-walled chromoly tubing, which is common in high-end bike frames.
Most modern bike frames, except for the very low or high-end models, are TIG welded. This method gives better durability and looks compared to MIG welding. With TIG, you can make cleaner and stronger welds, making it the top choice for custom bike frames.
MIG Welding
MIG welding, or Metal Inert Gas welding, is another popular method, especially for mass production. This process uses an electrode that also acts as the filler material. While MIG welding is easier to learn and faster, it has some downsides for bike frame building:
Speed: MIG welding is quicker, making it good for high-volume production. But this speed can reduce precision.
Less Control: You have less control over the heat, which can cause spatter and distortion. This makes it less ideal for thin-walled tubing often used in bike frames.
Applications: MIG welding is usually used for low-end bicycles and thicker materials. It’s not the best choice for custom or high-end frames because of the technical challenges.
Here’s a quick comparison of TIG and MIG welding based on key points:
Aspect | TIG Welding | MIG Welding |
|---|---|---|
Precision | Manual process with great control, makes precise, clean welds with little spatter and distortion. Good for fine details and tight tolerances. | Faster, semi-automatic, creates more spatter and less polished finishes. Less precise for detailed work. |
Strength | Makes strong, high-quality welds with excellent fusion and low defect rates. Reduces heat-affected zones and distortion. | Creates strong weld joints good for thicker materials and structural uses but with more spatter and possible distortion. |
Suitability for Bike Frames | Best for thin materials and aesthetic, high-end uses like custom bike frames due to precise control and minimal warping. | Better for thicker materials and high-volume production; not ideal for thin or detailed bike frame building. |
Skill Level | Needs more skill and practice to master hand-eye coordination and filler rod use. | Easier to learn and more beginner-friendly because of automated wire feed. |
Production Speed | Slower travel speed, not suited for bulk production. | Faster travel speed, good for high-volume projects. |
Welding Tips for Quality
Welding bike frames needs careful work and control. Here are some important tips to help you make strong welds.
Positioning and Control
Good positioning is key for clean welds. Here are some tips to help you control the welding better:
Thorough Preparation: Always cut, fit, sand, and clean your metal parts before welding. This makes sure no gaps or dirt affect your weld.
Use Clamps: Use clamps to hold your parts in place. This stops movement during welding, which can cause misalignment.
Steady Hand Positioning: When TIG welding, keep one hand steady while the other adds filler wire. This helps keep a steady arc and improves weld quality.
Practice Dry Runs: Before welding, practice your hand positions without the torch. This helps you find the best angles and movements.
Tip: For aluminum frames, use enough filler material. This stops weak welds that can crack under stress.
Tack Welding Techniques
Tack welding is a good way to ensure alignment and strength. Here are some useful techniques:
Clean Surfaces: Clean the surfaces well to help make defect-free welds. Sandblasting or chemical cleaning works well.
Prepare Edges: Get the edges of your joints ready. This lowers the chance of cracks or weak spots.
Use Jigs: Use jigs or holding tools to keep precise alignment. This stops shifting during welding.
Control Heat Input: Watch your heat carefully to avoid distortion. Use sensors to check heat levels and temperatures.
Post-Weld Inspections: After welding, check your work using non-destructive testing methods. This ensures your welds are strong and free from defects.
By following these tips and techniques, you can greatly improve your welds and make bike frames that are safe and strong.
Post-Welding Considerations
After you finish welding your bike frame, it’s very important to check everything. Proper inspection and finishing can really help your bike last longer and be safer. Let’s see what you need to do.
Inspecting Welds
You should always check your welds to find any problems early. Here are some good ways to inspect:
Visual Inspection: Look for surface problems and make sure the welds are clean and even.
Dimensional Checks: Make sure the frame shape and alignment are correct.
Material Inspection: Check that you used the right materials for the frame.
Weld Inspection: Look for cracks or weak joints that could make it less strong.
Load Testing: Test the frame’s strength under stress to see if it can handle real use.
Functionality Checks: Test the brakes, handlebars, wheels, and overall stability to make sure everything works well.
These steps help you keep high standards and make sure your bike frame is safe to ride.
Finishing Techniques
After checking your welds, focus on finishing techniques. Good finishing not only makes your bike look better but also protects it from rust. Here are some tips:
Post-Weld Heat Treatment: This is very important for aluminum frames. It helps reduce leftover stresses and keeps the weld area strong.
Non-Destructive Testing: Use methods like dye penetrant or ultrasonic testing to find hidden problems without hurting the frame.
Smooth Weld Beads: Carefully finish your weld beads to avoid weak spots. Tapering weld ends and strengthening high-stress areas can stop future problems.
Regular Maintenance: Keep your bike clean and dry. Wipe down the frame often to catch any damage early.
By following these inspection and finishing techniques, you can make sure your welded bike frames are strong and reliable for many years. Remember, a little extra care can really help keep your work in good shape!
Welding bike frames is a skill that needs time and practice to get good at. Keep these important points in mind:
Pick the right materials and filler rods for strong welds.
Always check your welds and finish them well.
To get better, practice on scrap metal before working on your bike frame. Start with MIG welding because it’s easier, then move to TIG for more detail. Don’t be afraid to ask experienced welders or look for help online, like on YouTube. Keep learning and be patient. This will help you make bike frames that are safe and look nice.
Tip: Keep practicing, and don’t worry about making mistakes. Each mistake helps you become a pro!
FAQ
What is the best welding method for bike frames?
TIG welding is often the best choice for bike frames. It offers precision and creates strong, clean welds. This method helps ensure your bike is both safe and visually appealing.
How do I choose the right filler rod?
Choose a filler rod that matches your frame material. For steel, ER70S-2 works well. If you’re working with aluminum, consider using the 5356 filler rod for better strength and durability.
Can I weld aluminum bike frames?
Yes, you can weld aluminum bike frames. Use TIG welding for the best results. This method provides better control and creates strong joints that can handle the stresses of cycling.
How do I prevent warping during welding?
To prevent warping, control your heat input carefully. Tack weld first to hold parts in place. Also, use clamps to secure your workpieces and minimize movement during the welding process.
What should I do after welding?
After welding, inspect your joints for cracks or defects. Perform a visual check and consider load testing your frame. Proper finishing techniques, like smoothing welds, will enhance durability and appearance.
See Also
Learn Simple Methods To Perfect Bike Frame Drawing
Important Gas Bike Frame Advice For Every Builder
Step-By-Step Welding Guide For Drift Trike Frames
