
A fresh chrome finish can really transform your bike’s look while protecting it from rust and wear. Imagine riding a bike that not only shines but also stands out in a crowd! Taking on a DIY project like rechroming your bike frame can be incredibly satisfying. Plus, you can save money compared to professional services. For example, rechroming various bike parts can cost around $580 if you do it yourself. With the right tools and steps, you can easily rechrome your bike frame and achieve stunning results.
Bike Part | Cost |
|---|---|
Chainwheel | $110 |
1-piece crank | $135 |
Stem | $90 |
Fork truss rods (2) | $80 |
Fork truss brackets (2) | $65 |
Total | $580 |
Key Takeaways
First, clean your bike frame very well. Use good cleaners to get rid of dirt and grease for a smooth look.
Remove the old chrome using safe ways like sandblasting or chemical strippers. Always wear safety gear to stay safe.
Shine the frame to make it look great. Use the right polishing products and methods for a shiny finish.
Rechrome the frame by adding a nickel layer and using electroplating. This gives you a strong and nice chrome finish.
Check the chrome finish to make sure it is good. Put your bike parts back together carefully. Take your time to make sure everything is tight and ready to ride.
Prepare Bike Frame
Before you start the rechroming process, you need to prepare your bike frame properly. This step is crucial for achieving a smooth and shiny finish. Let’s break it down into two main tasks: gathering your tools and cleaning the frame.
Gather Necessary Tools and Materials
First, you’ll want to gather the right tools and materials. Here’s a handy table to help you out:
Tool/Material | Purpose/Use |
|---|---|
Flux | Coats surfaces to be brazed, removing oxides for a good bond. |
Brazing alloy (brass) | Used during brazing to join frame components. |
Sandblaster | Prepares the frame surface by removing old paint and contaminants. |
Taps | Cleans and aligns threads in the bottom bracket and shifter bosses. |
Bottoming tap | Ensures threads reach the bottom of the shifter boss holes. |
Reamer | Adjusts the inside diameter of the seat tube for a proper fit with the seat post. |
Having these tools on hand will make your job much easier.
Clean the Frame Thoroughly
Next, you need to clean your bike frame thoroughly. This step removes dirt and grease, ensuring the new chrome adheres well. Here are some effective cleaning agents you can use:
Cleaning Agent | Effectiveness Description |
|---|---|
Pine-Sol | Effective with elbow grease for general cleaning. |
WD-40 | Great degreaser when sprayed on a rag. |
Simple Green | Good for heavier grease, followed by soap and water. |
PB Blaster | Dissolves hard grease quickly without damaging metals. |
Dawn | Works best when soaking, especially with a nylon brush. |
Start by applying your chosen cleaner to the frame. Use a cloth or brush to scrub away any grime. Make sure to pay attention to hard-to-reach areas. Once you’ve cleaned the frame, rinse it off and let it dry completely.
By taking these steps, you’ll set yourself up for success when you rechrome your bike frame. A clean surface is essential for a professional-looking finish!
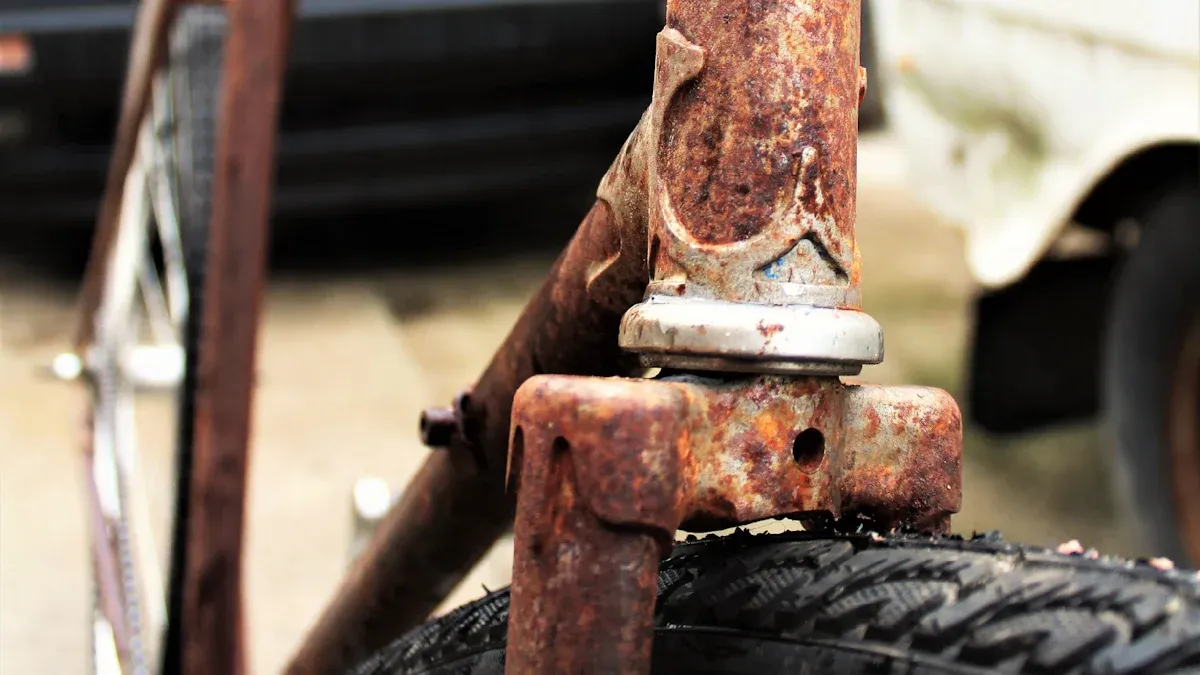
Strip Old Chrome
Removing old chrome from your bike frame is an important step in rechroming. You need to pick the right method so you don’t hurt the frame. Here are some common methods you can use:
Chemical Strippers: These strong acids and salts can take off chrome. But they might also remove brazing material. Be careful when using them!
Sandblasting: This method uses high-pressure air to blast off the old chrome. It works well but can be tough on the frame.
Grinding: This method can be accurate, but it might create uneven surfaces if not done carefully.
Tip: Always think about what your bike frame is made of. For example, carbon frames can get weaker if stripped the wrong way. Aluminum needs good paint strippers to stay strong.
Safety is very important when using chemical strippers. Here are some key safety tips to remember:
Safety Precaution | Description |
|---|---|
Use of gloves | Important to keep hands safe from chemicals. |
Safety glasses/goggles | Should be worn to protect eyes from splashes. |
Work in a ventilated area | Always work outside or in a well-ventilated space to avoid breathing in fumes. |
Use of a fan | Good to improve airflow while using chemical strippers. |
Organic vapor rated inhaler | Recommended for extra protection against harmful vapors. |
Specific glove type | Some rubber gloves may not block methylene chloride; check before using. |
Using the wrong stripping methods can cause serious problems. If you don’t prepare the frame right, you could have issues like hydrogen embrittlement. This can weaken the frame. A well-prepared frame with the right layers is key to preventing corrosion and making it last longer.
By following these tips, you can safely remove the old chrome and get your bike frame ready for a shiny new finish.
Polish Frame for Shine
Now that you’ve stripped the old chrome, it’s time to polish your bike frame to a brilliant shine. This step is crucial for achieving that mirror-like finish you desire. Let’s dive into the tools and techniques you’ll need to make your bike frame sparkle!
Select Appropriate Polishing Tools and Compounds
Choosing the right polishing tools and compounds can make all the difference. Here’s a handy table to guide you:
Technique/Product | Description |
|---|---|
Meguiar’s number 7 | Recommended for initial polishing to achieve a good shine. |
Meguiar’s Cleaner Wax | A gentler option compared to polishing compounds. |
Meguiar’s Ultimate Compound | Used with a thick belt leather for rough work to even out the polish. |
Wet sanding with 1500-3000 grit | Suggested for smoothing the surface before applying fine compound polish. |
Car polishing compound | Effective when used on a long wet strip of cloth for buffing to achieve a nice shine. |
Meguiar’s mirror glaze | Fills in fine spaces to enhance the final finish and reduce dullness. |
Use Techniques to Achieve a Smooth, Shiny Surface
To get that smooth, shiny surface, follow these steps:
Sand the Frame: Start by sanding the frame down to bare metal. This helps remove any imperfections.
Polishing Compound: Use a polishing compound with a high-speed buffing wheel. This will give you that mirror finish you’re aiming for.
Clear Anodizing: Consider applying a clear anodizing layer. This helps prevent oxidation and keeps your shine intact.
Polishing can take some time, but it’s worth it! Expect to spend a few hours on this step, especially if you want to achieve the best results.
Tip: Always work in a well-ventilated area and wear protective gear. Safety first!
By following these polishing techniques, you’ll be well on your way to achieving a stunning finish on your bike frame. Remember, a little patience goes a long way in this process!
Rechrome Bike Frame
Now that you’ve polished your bike frame, it’s time to rechrome it! This step shows off your hard work and gives your bike a great new look. Let’s look at how to apply chrome and some tips for a high-quality finish.
Understand Chrome Application Methods
You have different ways to rechrome your bike frame. Here’s a quick list of the most common methods:
Surface Preparation: Start by taking off any paint and rust. You can use sandblasting or other cleaning methods to prepare the surface.
Application of Nickel Coating: Put on a thin layer of nickel. This helps the chrome stick better.
Electroplating: Dip your frame in a solution with chrome ions. By using electric current, you add chrome to the surface.
Finishing and Polishing: After applying chrome, polish the parts for a nice look and to resist rust.
Painting: For parts that won’t be seen, think about painting to match the chrome plating.
You might also want to think about which areas to rechrome. Some people choose to chrome just one tube, while others chrome all four tubes and junctions for a bolder look.
Tips for Achieving a High-Quality Chrome Finish
To make sure your rechromed bike frame looks great and lasts long, keep these tips in mind:
Use a Primer: A good primer helps the chrome stick and protects against rust.
Choose a Durable Base Coat: The base coat gives your bike its main color. Make sure it’s strong and lasts.
Apply a Clear Coat: This layer protects your paint from sunlight and scratches, making it last longer.
Regular Maintenance: Clean your chrome often to get rid of dirt and grime. Using a good wax can also help protect the finish.
By following these methods and tips, you’ll get a beautiful and strong chrome finish on your bike frame. Enjoy the process, and soon you’ll be riding a bike that looks brand new!
Finishing Touches
Now that you’ve rechromed your bike frame, it’s time for the finishing touches! This step is crucial for ensuring your hard work pays off. You want to inspect the chrome finish and reassemble the bike components carefully. Let’s dive into these important tasks.
Inspect the Chrome Finish for Quality
Before you put everything back together, take a moment to inspect the chrome finish. A quality chrome job not only looks great but also protects your bike from rust and wear. Here are some key points to check:
Look for imperfections in the finish. Check welds for integrity and inspect high-stress areas like the head tube and seat tube for cracks or damage.
Identify any scratches or signs of rust, especially in areas exposed to water. These can compromise the frame’s durability.
Ensure there are no dents or bends that could affect performance. A smooth, shiny surface is what you’re aiming for!
Tip: Remember, chrome spray paint won’t give you the same look as real chrome. It may resemble bright aluminum instead. So, make sure your finish is genuine chrome for the best results!
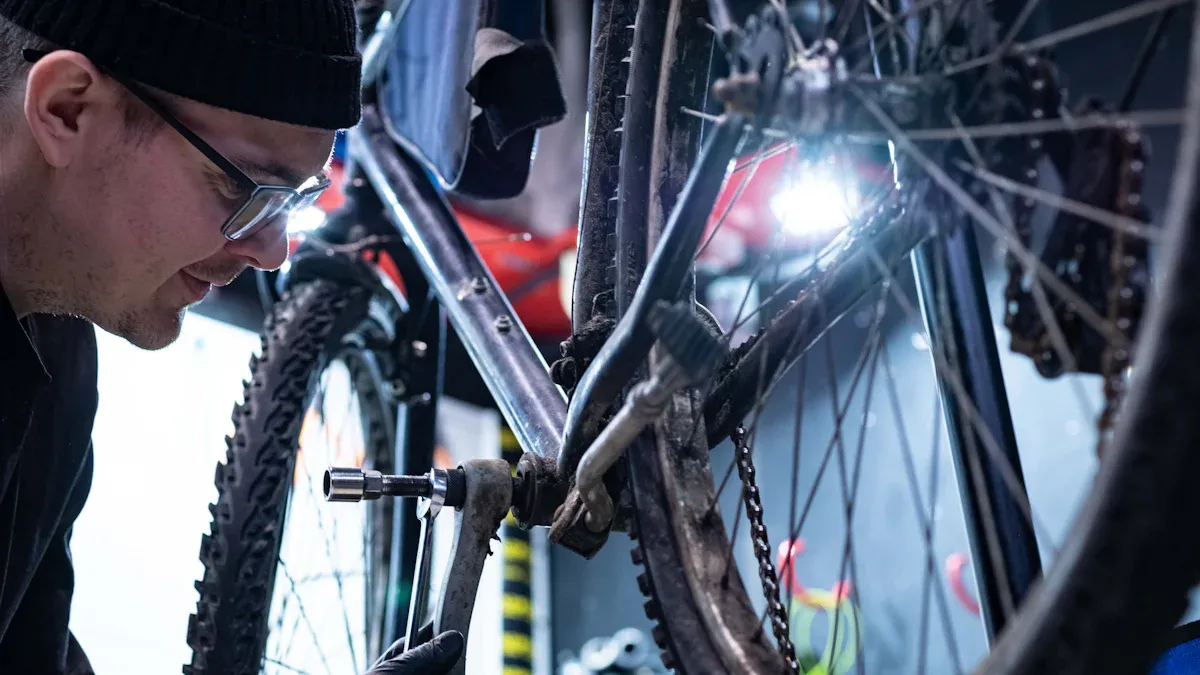
Reassemble Bike Components Carefully
Once you’re satisfied with the chrome finish, it’s time to reassemble your bike. Follow these steps to ensure everything goes smoothly:
Unbox the bike: Carefully open the box and remove the bike, avoiding damage to the frame.
Inspect the bike: Check for any shipping damage before assembly.
Install the front wheel: Securely attach the front wheel using the quick release.
Install the stem and/or handlebars: Ensure proper alignment and tightness.
Install the seat and post: Adjust to the correct height and secure.
Reattach the front brake or cable: Ensure the brake is functioning properly.
Install the pedals: Use the correct threading for each pedal and ensure they are tight.
Hit the road: Perform final checks before riding.
Taking your time during reassembly will help ensure your bike is safe and ready for the road. Enjoy the satisfaction of riding your newly rechromed bike, knowing you’ve put in the effort to make it shine!
You’ve made it through the rechroming process! Here’s a quick recap of the key steps:
Prepare your bike frame by cleaning it thoroughly.
Strip the old chrome using safe methods.
Polish the frame to a brilliant shine.
Rechrome the frame with care.
Add the finishing touches and reassemble your bike.
Take pride in your hard work! Riding a freshly rechromed bike not only looks fantastic but also protects your investment. Remember, avoid inexperienced shops to prevent issues like flaking. Many bike owners find that you get what you pay for, so choose wisely.
Don’t forget to share your results with the community! Your experience can inspire others and help them navigate their own rechroming projects. Happy riding! 🚴♂️
FAQ
What tools do I need to rechrome my bike frame?
You will need tools like a sandblaster, polishing compounds, and safety gear. A good primer and clear coat are also very important for a strong finish. Look at the earlier sections for a full list!
How long does the rechroming process take?
The whole process can take from a few days to a week. It depends on how experienced you are and the condition of your bike frame. Being patient is important for getting a great finish! ⏳
Can I rechrome a carbon fiber bike frame?
Rechroming carbon fiber frames is hard. The process can make the material weaker. If you have a carbon frame, think about other finishes like powder coating instead.
Is it worth rechroming my bike frame?
Yes! A new chrome finish makes your bike look better and protects it from rust. Plus, you will feel proud of finishing a DIY project. 🚴♂️
How do I maintain my newly rechromed bike frame?
Cleaning it regularly with mild soap and water keeps your chrome looking nice. Use a good wax to protect the finish from dirt and grime. Stay away from harsh chemicals that can harm the chrome.
See Also
Achieve Bike Frame Perfection in Three Simple Steps
Revitalize Your Bike Frame for a Fresh Appearance
Proven Methods to Eliminate Rust From Your Bike Frame