
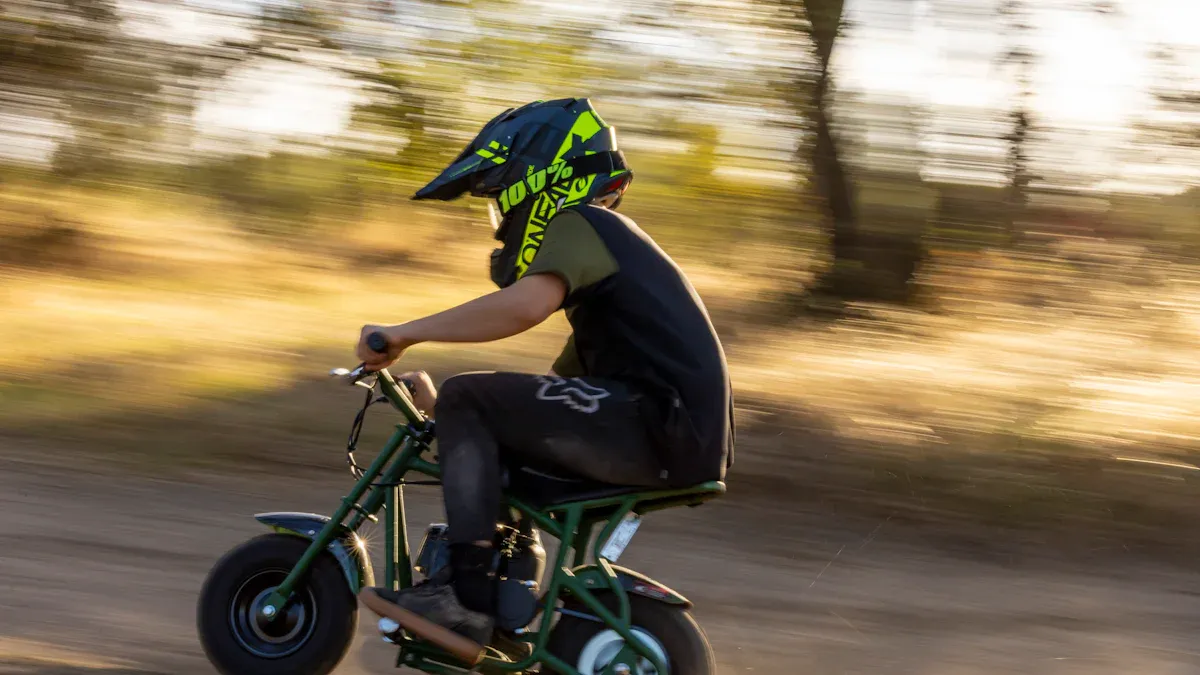
Building mini bikes is a fun adventure! You get to make something special and feel the excitement of riding it. But, good welding skills are very important, especially when it comes to welding mini bike frames. These skills help keep your mini bike frame safe and strong. With the right tips and practice, you can learn to weld mini bike frames and have fun doing it.
Here’s a quick look at how different welding methods affect strength:
Welding Method | Strength Achieved | Suitability |
|---|---|---|
MIG | Varies | Thicker steel frames |
TIG | Up to 95% of base material’s strength | Chromoly or aluminum frames |
Key Takeaways
Welding mini bike frames needs good skills and the right tools. Use MIG for thicker steel and TIG for thin materials.
Safety is very important when welding. Always wear protective gear like gloves, helmets, and flame-resistant clothes to avoid injuries.
Cleaning and preparing welds makes your mini bike frame stronger and looks better. Spend time to clean and finish your welds for the best results.
Tools for Welding Mini Bike Frames
When you start welding mini bike frames, having the right tools is very important. Let’s look at the basic equipment, safety gear, and materials you need to begin.
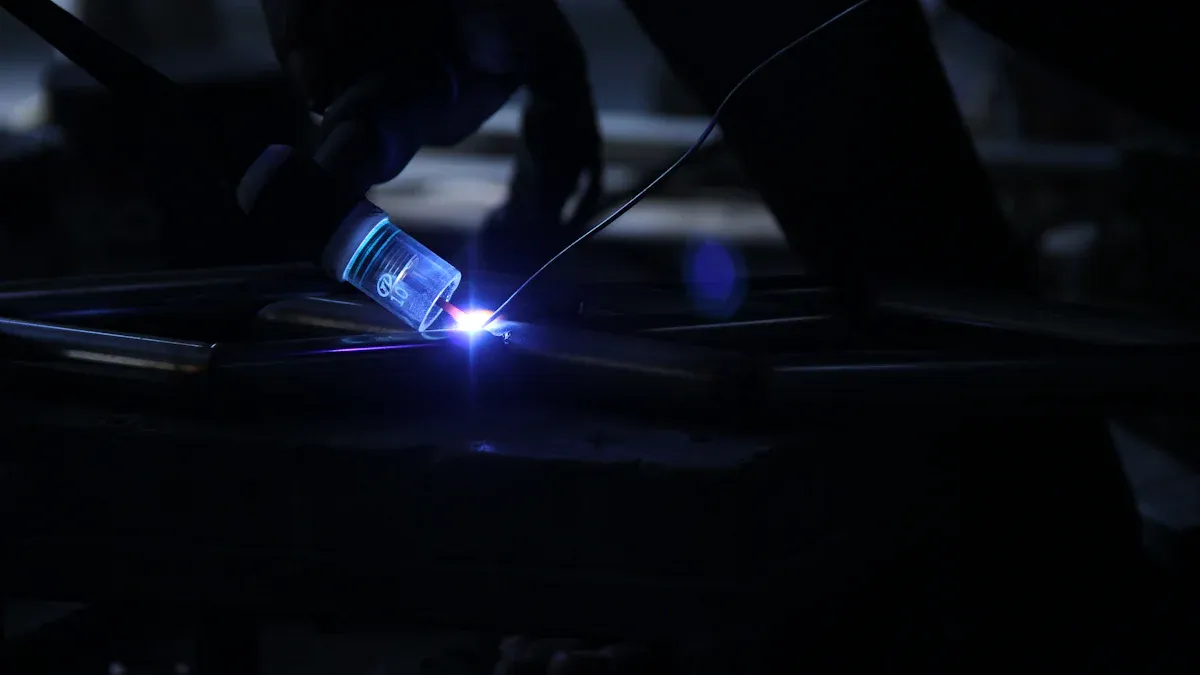
Welding Equipment
First, you need a good welding machine. Here are the most common types for mini bike frames:
TIG (Tungsten Inert Gas) welding: This method gives you control and precision. It works well for thin materials.
MIG (Metal Inert Gas) welding: This is popular because it is fast and easy to use. It is great for thicker steel frames.
Oxy-Acetylene welding: This method is less common for mini bikes. However, it is helpful for brazing and cutting.
Each machine has its own benefits. Pick one that matches your project needs and skill level.
Protective Gear
Safety is very important when welding. Here’s a table of protective gear to keep you safe while you work:
Protective Gear | Purpose |
|---|---|
Welding Gauntlets | Protects hands from heat and sparks during welding. |
Welding Apron (Leather) | Shields body from sparks and heat. |
Eye Protection | Stops eye injuries from UV rays and flying metal pieces. |
Fire Extinguisher | Keeps you safe in case of fire during welding. |
Fire Blanket | Adds extra fire safety measures. |
Adequate Ventilation | Lowers exposure to harmful fumes and keeps a safe working area. |
Make sure to buy high-quality gear. It is worth it for your safety!
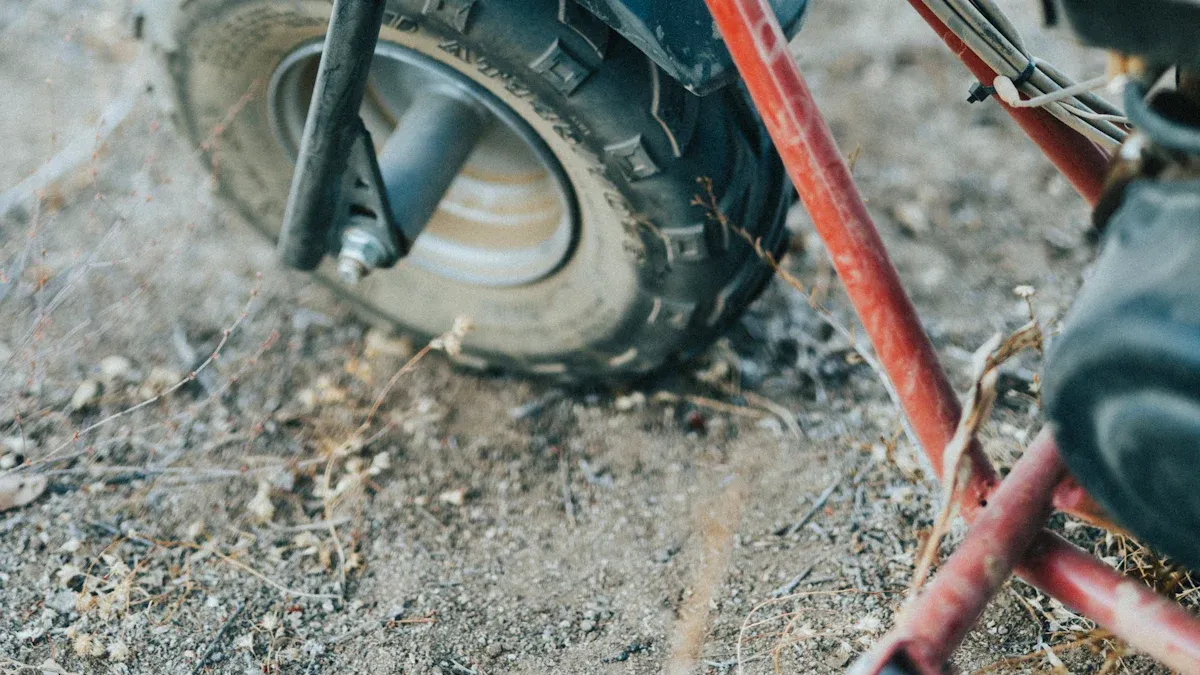
Frame Materials
Choosing the right material for your mini bike frame is very important. Here’s a quick look at some popular choices:
Material | Pros | Cons |
|---|---|---|
Steel | Very strong, durable, rides well, resists metal fatigue, easy to fix, recyclable, usually cheap | Heavy, can rust and corrode |
Titanium | Strongest for its weight, light, very rust-proof, lasts a long time | Very costly, hard to make, hard to fix |
Carbon Fiber | Light, very strong, stiffer and stronger than steel | Can be pricey, hard to repair |
Each material has its own good and bad points. Think about what you want from your mini bike and choose wisely.
With the right tools and materials, you are ready to weld your mini bike frame. Remember, practice makes perfect, so don’t be afraid to try new things and learn!
Welding Techniques for Mini Bikes
Welding mini bike frames can be fun and rewarding. But, it needs careful planning and skill. Let’s look at the important steps to make your welding project successful.
Preparing the Frame
Before you start welding, you need to prepare your frame well. Here’s a simple guide to help you:
Prepare the Workspace: Clear a space for your project. It should have good air flow and light. A strong table and a fire extinguisher are very important.
Cut the Tubing to Size: Measure and mark your tubing carefully. Use a tube cutter for clean edges. This helps with a good fit.
Fit the Frame Together: Line up all pieces based on your design. Use a jig to keep angles right and hold everything with tacks or clamps.
Weld the Joints: Make bead welds at each joint using a MIG or TIG welder. Make sure your welds are even. Take breaks to avoid overheating.
Finish and Paint the Frame: Smooth any rough edges, clean the frame with acetone, and put on rust-resistant paint in at least two coats.
Following these steps will help you build a strong mini bike frame.
MIG vs. TIG Welding
When welding mini bike frames, you can choose between MIG and TIG welding. Each method has its pros and cons. Here’s a quick look:
Aspect | MIG Welding | TIG Welding |
|---|---|---|
Usually lower strength; can improve with prep | Generally stronger due to better penetration | |
Weld Aesthetics | Not as nice looking; more spatter | Looks better; less spatter |
MIG welding is popular for its speed and ease, especially for thicker steel frames. TIG welding gives you more control and is best for thinner materials like chromoly or aluminum. Pick the method that fits your project and skills.
Tack Welding Tips
Tack welding is an important step in welding. It helps hold your frame together before final welds. Here are some mistakes to avoid during tack welding:
Cold Starts: This happens when the arc starts off the filler metal. It leads to weak welds. Always start your arc correctly.
Distortion from Heat: Bad tack placement can cause distortion. This affects the frame’s strength. Place your tacks wisely to reduce heat buildup.
Improper Tack Placement and Welding Sequence: Use several tacks in a good order. This helps control heat and avoid mistakes.
By focusing on these details, you can make better tack welds and prepare for the final welding.
With these techniques, you’re on your way to mastering welding mini bike frames. Remember, practice makes perfect, so try new things and learn as you go!
Safety Precautions
Welding mini bike frames is fun, but safety is very important. Here are some key safety tips to keep you safe while you work.
Personal Safety Measures
You must protect yourself from dangers. Here’s a list of personal protective equipment (PPE) you should wear:
Welding Helmet: Wear a helmet with the right shade lens. It protects your eyes from UV light and sparks.
Welding Gloves: Use heavy-duty, heat-resistant gloves to protect your hands.
Flame-Resistant Clothing: Wear long sleeves and pants made of cotton, denim, or leather to avoid burns.
Safety Glasses: Put these on under your welding helmet and when cutting or grinding.
Ear Protection: Protect your ears from loud sounds during grinding and cutting.
These steps help lower the chance of injuries while you work.
Workspace Safety
Your workspace is very important for safety. Follow these tips to make a safe area:
Make sure there is good airflow to reduce harmful welding fumes.
Use the right personal protective equipment (PPE) like helmets, gloves, and protective clothing.
Keep your workspace clean and organized to avoid accidents.
Have emergency tools like fire extinguishers and first aid kits close by.
By keeping your workspace safe, you can focus on building your mini bike without worrying about accidents.
Emergency Procedures
Even with safety steps, accidents can still happen. Be ready by knowing what to do in an emergency. Here are some steps to take:
Know Your Emergency Contacts: Keep a list of emergency numbers nearby, including local hospitals and poison control.
Have a First Aid Kit: Make sure your kit has important items like bandages, antiseptics, and burn cream.
Practice Fire Safety: If a fire starts, use a fire extinguisher to put it out. If it’s too big, leave right away and call for help.
By being ready, you can handle emergencies well and keep yourself safe while welding.
Troubleshooting Welding Issues
Welding mini bike frames can sometimes cause problems that affect your work. Don’t worry! You can fix these issues with some knowledge. Let’s look at common welding problems and how to solve them.
Identifying Defects
Here are some common welding problems you might see:
Cracks: These can show up during or after welding. They make the weld weak and can cause failure.
Undercuts: Look for thin notches at the weld edge. They make the base metal thinner.
Overlaps: This happens when the weld pool spills over without sticking to the base metal.
Porosity: Gas bubbles trapped in the weld can make it weak. This often happens because of dirt.
Spatter: Metal bits may stick to the area near the weld, making a messy finish.
To find these problems, you can use Magnetic Particle Inspection (MPI). This method uses a magnetic field on the weld area. It makes defects show up by attracting magnetic particles.
Fixing Misalignments
Misalignments can happen while welding, but you can fix them. Here’s how:
First, measure the width of the hub over the locknuts.
Measure the inside dropout width of the frame and compare it to the hub width.
Check the left and right dropouts for evenness and note any thickness differences.
Use the FAI-2 tool to check the alignment of both sides of the frame.
If you find misalignment, gently push to cold set the frame and check progress with a caliper.
For more help, use the FFS-2 Frame and Fork Straightener, bending one stay at a time.
By following these steps, you can make sure your mini bike frame is aligned correctly.
Addressing Material Issues
Sometimes, the materials you use can cause problems. If you see issues like warping or bad weld quality, check these things:
Make sure your materials are clean and free from rust or oil.
Use the right filler material for your base metal to make a strong bond.
If you’re working with different metals, make sure they can be welded together.
By fixing these material issues, you can improve the overall quality of your welding mini bike frame.
Finishing Touches on Mini Bike Frames
After you weld your mini bike frame, it’s time to add the finishing touches. These steps will help your frame look nice and last longer.
Cleaning the Welds
Cleaning your welds is very important for a good finish. Here are some tips to help you:
Grind or sand down small bumps in the weld, but don’t make them too smooth.
Don’t grind or sand concave beads, especially those from TIG welds.
You can lightly grind or sand the top of a weld, but be careful not to take off too much.
Never grind below a 45-degree angle line that goes between the edges of the bead.
For flat steel parts, sand sharp edges to a small curve to avoid paint problems.
Taking time to clean your welds well will improve how your mini bike frame looks.
Painting and Coating
Once your welds are clean, it’s time to protect your frame with paint or coatings. Here are some good options:
Protective coatings like car-grade paste wax
Rust-blocking sprays such as WD-40 and XCP Professional Rust Blocker
Anodizing
Epoxy paint
Preparing the surface well is key for durability. Make sure to clean the frame thoroughly before putting on any paint or coating. This helps the finish stick better and last longer.
Reinforcing with Gussets
Don’t forget to reinforce your mini bike frame with gussets. Adding gussets gives extra support and strength. This makes your frame stronger and helps it last longer. Gussets help spread loads evenly, reducing the chance of bending and damage, especially in tough off-road conditions.
By following these finishing touches, your custom minibike project will look great and stand the test of time.
Welding mini bike frames is a fun adventure! You have learned about important tools, methods, and safety tips. Keep in mind that practice and patience help you get better. While you build, think about joining groups like OldMiniBikes.com to share what you’ve done and learn from others. Enjoy welding! 🚴♂️
FAQ
What type of welding is best for mini bike frames?
MIG welding is good for beginners and thicker steel. TIG welding gives you control for thinner materials like chromoly or aluminum.
How do I prevent warping while welding?
To stop warping, use the right heat settings. Tack weld in smart places and let the frame cool between welds.
Can I use different metals for my mini bike frame?
Yes, but make sure they can be welded together. Use the right filler material to make a strong bond between different metals.
See Also
Complete Guide to Welding a Drift Trike Frame
Simple Techniques for Mastering Bike Frame Drawings
Key Tips for Building Gas Bike Frames Effectively