
Refurbishing your bike frame can make it feel new again. Over time, bike frame refurbishment can address many pits, chips, and even damage that affects safety. You might see that scrapes and sun damage make the finish look dull. This can make your bike look old. By fixing up your bike frame, you improve how it looks. You also make sure it’s safe for fast rides and sharp turns. So, if you want to give your bike a fresh look, let’s get started!
Key Takeaways
Get your bike frame ready by taking off all parts. This lets you find hidden problems and makes the refurbishment easier.
Look at your bike frame for any issues like cracks or bends. Finding these problems early keeps your rides safe and fun.
Wash your bike frame well before you paint it. A clean surface helps the paint stick better and makes it look nicer.
Pick between powder coating and spray painting based on what you need. Powder coating lasts longer, but spray painting is easier and cheaper.
Make smart changes during the refurbishment. Upgrades can improve performance and give your bike a cool style.
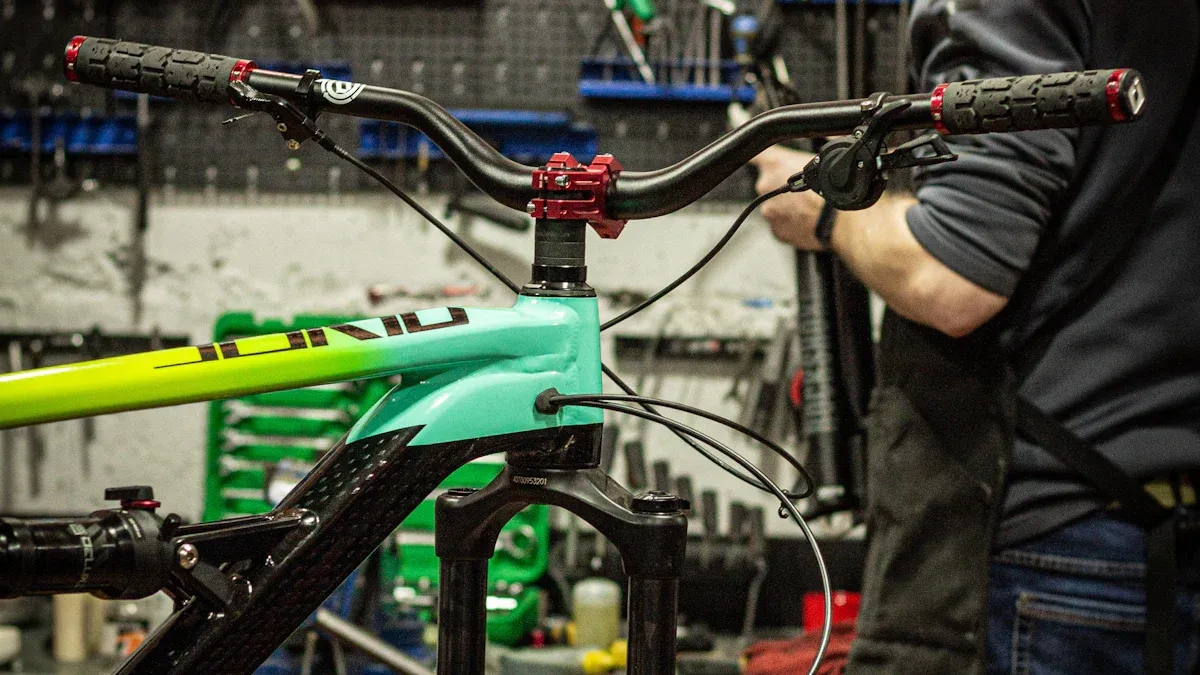
Preparation
Before you start fixing your bike frame, get it ready. This step is very important for a good refurbishment.
Stripping Components
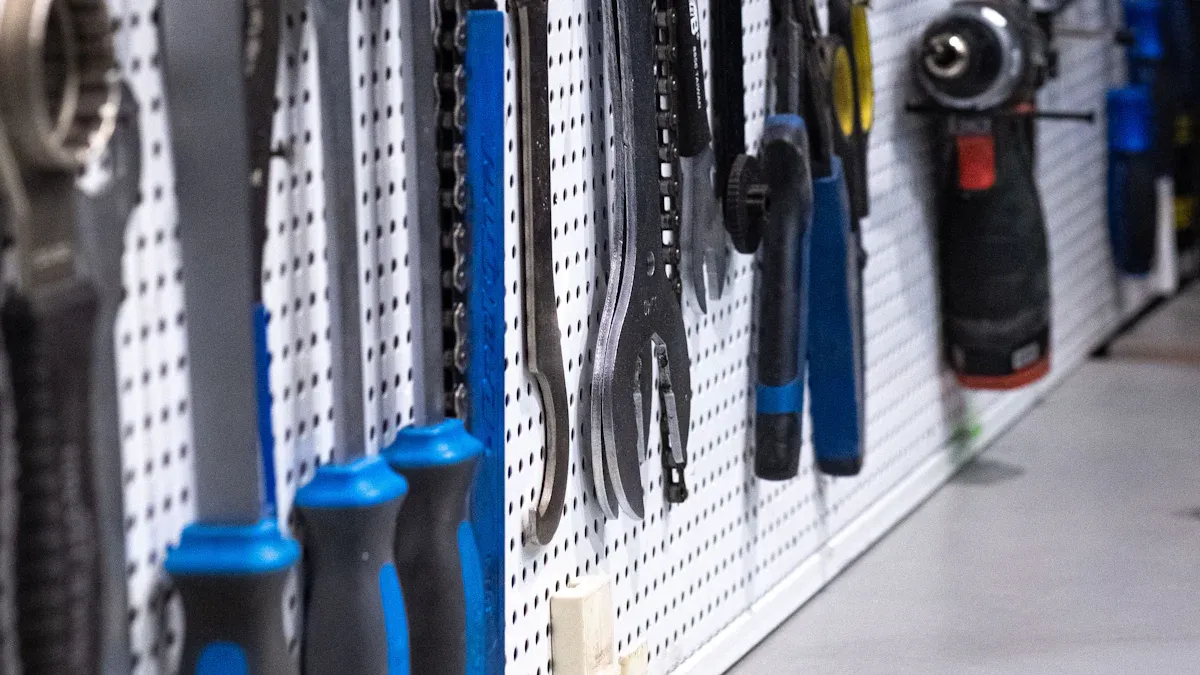
First, take off the parts from your bike frame. This helps you check the frame closely for any hidden problems. Here are some tools you will need:
Pedal Wrench: This tool helps you remove pedals.
Crank Puller: You need this to take off cotterless cranks.
Bottom-Bracket Removal Tool: Use this to unscrew the cups of cartridge bottom brackets.
Adjustable Wrench: This is useful for different bolts and nuts.
Box Wrenches: These are better than pliers to avoid stripping bolts.
Tip: Always wear safety gear during this step. A good respirator can keep you safe from harmful fumes. Safety glasses will protect your eyes from sprays.
Addressing Stuck Parts
Sometimes, parts might get stuck and won’t move. Don’t worry; there are ways to fix this without hurting your frame. Here are some methods you can try:
Rotational Force: Use rotational force instead of pushing down. Once the seatpost can turn, add some oil to help it come out.
Penetrating Oil: For rusty steel seatposts, penetrating oil is very helpful. If you don’t have any, light lubricating oil can work too.
Temperature Differential: Using dry ice or liquid nitrogen can help shrink the seatpost, making it easier to pull out. Just be careful not to touch it with your skin.
Heat Application: Gently heating the seat tube with a hair dryer or propane torch can make it easier to remove the seatpost.
Hacksaw Blade Method: As a last option, you can cut a slit in the seatpost with a hacksaw blade. But be careful, as this can damage the frame, so only do it if you have to.
By following these steps, you will be ready for a successful bike frame refurbishment. With good preparation, you can handle any problems that come up!
Assessment of the Frame
When you refurbish your bike frame, checking its condition is very important. You want to make sure it’s safe and strong for your rides. Here’s how to find any problems and check for cable guides and bottle bosses.
Structural Issues
Start by looking at your frame closely. Check for any damage, like cracks or bends. These problems can make your bike unsafe. Here are some common issues to look for:
Frame failure: This can happen in metal and carbon fiber frames. Look for cracks or bends that could cause serious problems.
Fork failure: This part is important for steering. Any separation here can be dangerous.
Pedal/crank arm failure: If the pedal fails, you might lose control while riding.
Handlebar/stem failure: Problems in this area can affect how you steer.
Seat/seatpost failure: If it’s not put together right, you could lose control.
Brake failure: You need to check this often to stay in control.
To find these problems, you can use different methods. For example, Eddy Current Technology can find surface cracks in aluminum frames without taking off paint. For carbon frames, Fluorescent Penetrant Inspection helps find damage close to the surface. This method is quick and cheap but needs to be done right for good results.
If you think there are deeper problems, you might want to use thermal imaging or ultrasonic testing. These methods can show hidden issues that you can’t see easily.
Cable Guides and Bottle Bosses
Next, check the cable guides and bottle bosses on your frame. These parts are important for how your bike works. If they’re damaged, it can change your ride. Here’s how to check them:
Inspect for damage: Look for cracks or loose parts. If you see any, fix them quickly.
Repair methods: Different frame materials need different repair methods:
Frame Material
Repair Method
Notes
Steel
Threaded coil repair (Helicoil)
Good for welded fittings
Steel/Aluminum
Pem-nut tightening
Can be tightened if loose
Carbon
Internal screw placement
Hard if threads fail; ask the maker
If you see any problems, don’t wait to fix or replace these parts. Keeping your bike in good shape makes your ride safer and more fun.
By carefully checking your bike frame for structural problems and looking at the cable guides and bottle bosses, you prepare for a successful frame renovation. Remember, safety is the most important thing!
Bike Frame Refurbishment Process
Refurbishing your bike frame has several important steps. Each step helps you get a nice and strong finish. Let’s look at the process, starting with cleaning.
Cleaning the Frame
Cleaning your bike frame is very important before you start fixing it. A clean surface helps paint stick better. Here are some good cleaning agents you can use:
Cleaning Agent | Effectiveness | Caution/Notes |
|---|---|---|
Simple Green HD | General purpose degreasing | Not safe for alloy surfaces; use with caution. |
PB Blaster | Dissolves hard grease | Use carefully around non-clearcoated paints. |
Evap-o-rust | Non-abrasive rust removal | Not decal-safe; effective for soaking small parts. |
0000 Bronze Wool | Ultra-light abrasive rust removal | Use with caution on painted surfaces; follow up with polish and wax. |
To clean your frame, start by getting rid of dirt and grease. Use a soft cloth and one of the cleaning agents above. After cleaning, rinse the frame with water and dry it well. This step gets the surface ready for the next parts of refurbishment.
Repair Chipped Bicycle Paint
Next, focus on fixing any chipped or scratched spots on your bike frame. Here’s a simple way to do touch-up paint work:
Check the damage and see if you need help.
Match the paint color using a color chart, preferably RAL.
Get the right paint, like enamel or specific bicycle touch-up paint.
Clean the area with detergent and isopropyl alcohol.
Apply paint in layers, letting each layer dry well.
Sand the repaired area with fine emery paper (1500 grit or above).
Optionally, apply wax polish or clear lacquer to finish.
By following these steps, you can fix chipped bicycle paint and make your bike look good again. Remember, taking your time will give you the best results.
Applying Finishes
Finally, let’s talk about applying finishes. You have two main choices: powder coating and spray painting. Each has its good and bad sides.
Powder coating is known for being strong. It resists chipping and scratching, making it last longer. While it may cost more at first, it saves time and effort compared to repainting many times. On the other hand, spray painting is easier and cheaper but can fade and chip more easily.
When applying finishes, think about these steps:
Prepare the Surface: Remove old paint and make sure the frame is clean.
Apply Primer: Use 1-2 coats of primer and let it dry for 24 hours.
Base Coat: Apply 2-3 coats of base paint, allowing drying time between each.
Clear Coats: Finish with several clear coats for added protection.
Tip: Always work in a well-ventilated area and wear a mask to avoid inhaling fumes.
Also, think about the environment when choosing your finish. Powder coating is eco-friendly, producing zero VOC emissions and reducing waste compared to traditional painting methods.
By following these steps, you can get a professional-looking finish on your bike frame. This will improve both how it looks and how long it lasts.
Finishing Touches
After you clean and fix your bike frame, it’s time for the finishing touches. This is when you can add your personal style and make sure everything fits well.
Modifications
Modifications can improve your bike’s performance and match your riding style. Here are some popular upgrades you might think about:
Adding disc brake tabs
Fixing cable routing problems
Fixing rust damage
General refurbishment to boost bike performance
You can also add braze-ons for more features. For example, rack mounts or water bottle bosses usually cost about $30 per pair, while smaller braze-ons can be around $40 per pair. These changes not only make your bike more useful but also give it a special look.
Final Assembly
Once you make your modifications, it’s time for the final assembly. This step is very important for making sure your bike is safe and rides well. Here’s a simple checklist to follow:
Make sure all bolts on the frame are tightened to the right torque to avoid damage.
Put grease on the contact surfaces of the pivot bolts and use medium-strength thread locker on the threads.
Follow the torque settings for all installed parts, as shown in user manuals.
Use the right tools: an Allen key set, torque wrench, and others for proper assembly.
Follow the recommended assembly order to ensure correct alignment and function.
Be careful during assembly. Common mistakes include ignoring damage, poorly installed pedals, or even a backwards fork. These mistakes can cause safety problems later. If you feel unsure about any part of the assembly, don’t hesitate to ask for professional help. It’s better to spend a little on expert help than to risk your safety.
By taking the time to make smart modifications and carefully putting your bike together, you’ll enjoy a ride that feels just right for you. Happy cycling!
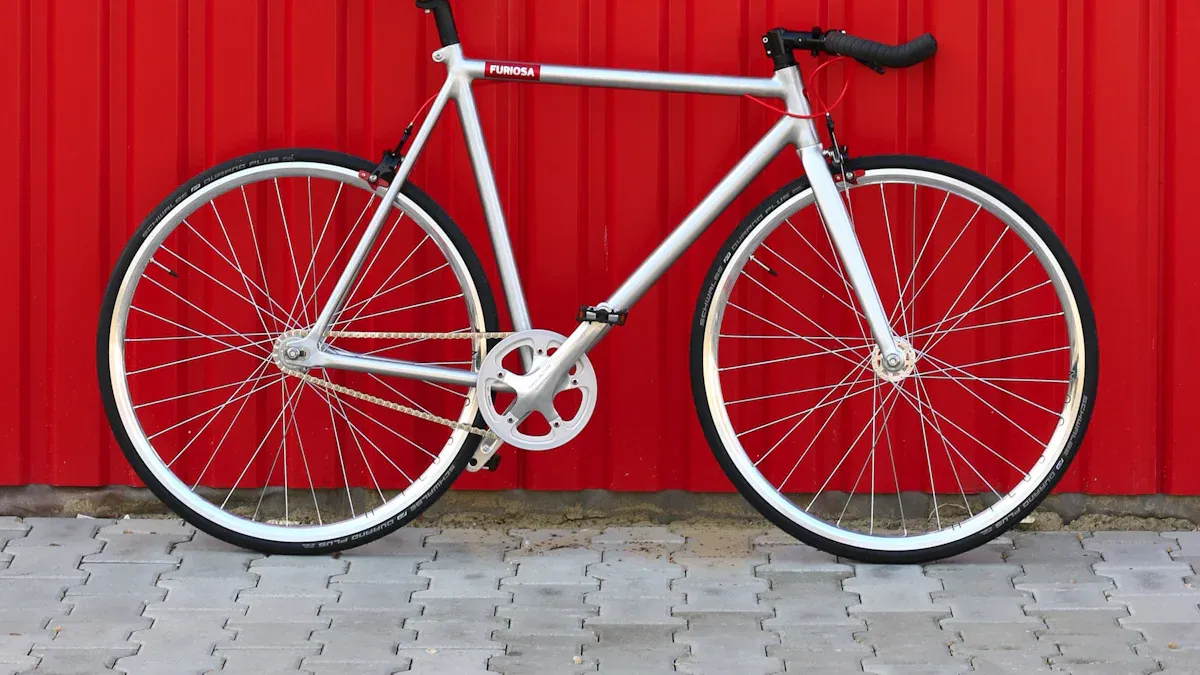
Fixing up your bike frame has many benefits compared to buying a new one. Here are some important reasons to think about:
You can pick strong replacement parts, which makes your bike better.
Customizing lets you choose parts that match your style.
Refurbishing usually costs less, helping you save money over time.
Also, it’s good for the planet! Repairing bikes helps reduce waste and lowers the carbon footprint from making new bikes. Remember, taking care of your refurbished bike frame is important for it to last long. Regular checks and light cleaning can keep it looking good. So, get ready and enjoy your ride! 🚴♂️
FAQ
What tools do I need for bike frame refurbishment?
You will need some basic tools. These include a pedal wrench, crank puller, bottom-bracket removal tool, adjustable wrench, and box wrenches. These tools help you take off parts and fix stuck pieces easily.
How can I tell if my bike frame is damaged?
Look closely at your frame for cracks, bends, or rust. Pay special attention to the fork, seatpost, and handlebars. If you see any problems, think about getting a professional check to stay safe.
Is it better to powder coat or spray paint my bike frame?
Powder coating gives a strong finish that does not chip or fade easily. Spray painting is cheaper and simpler but might need more touch-ups. Pick what works best for your budget and how long you want it to last.
Can I refurbish my bike frame myself?
Yes! With the right tools and some patience, you can refurbish your bike frame at home. Just follow the steps carefully, and ask for help if you need it.
How often should I check my bike frame for issues?
Check your bike frame regularly, especially before long rides. Try to do a thorough check every few months or after any big impact. Keeping an eye on your frame helps make sure your ride is safe.
See Also
Proven Methods to Eliminate Rust From Your Bicycle Frame
Restored Bicycle Frame Gleams Like It’s Brand New
Best Practices for Safely Painting Carbon Bicycle Frames