
You can get a smooth look with bike frame decals if you follow each step carefully. Getting ready and using the right tools helps a lot. You might want to make your bike unique, make it look better, or have fun changing a new bike or fixing up an old one. You can stop bubbles, crooked stickers, and peeling. Take your time if you want your bike to look great and your decals to stay on.
Key Takeaways
Make sure your bike frame is very clean and dry before you put on decals. This helps the decals stick well and stops bubbles from forming.
Use masking tape to mark where you want the decals. Practice putting them on first. This helps you get them straight and makes your bike look nice.
Put the decals on slowly. Start in the middle and smooth them out to the edges. This pushes out air and stops wrinkles or bubbles.
If you see bubbles, poke them gently with a pin. You can also use low heat to make the decal soft and press it down.
Put a clear coat over your decals to seal them. Clean your bike often to keep the decals looking new and help them last longer.
Tools for Bike Frame Decals

Getting the right tools makes applying bike frame decals much easier. You do not need fancy equipment, but a few simple items help you get a smooth, professional look. Let’s break down what you need and what can make the job even better.
Essential Tools
You want to start with a clean surface. Use a degreaser or isopropyl alcohol to wipe down your bike frame. A cotton cloth works best for this step. Many bike shops suggest using a weak soapy water solution to remove dirt and grease. This helps high-quality decals stick better and last longer.
Here’s a list of must-have tools:
Degreaser or isopropyl alcohol
Cotton cloth or soft towel
Masking tape (for marking and aligning)
Squeegee or soft cloth (for smoothing decals)
Blow dryer (to help decals bend around curves)
Scissors (for trimming)
Spray bottle with soapy water (especially for large decals)
Clear coat spray (for extra protection)
You can also use a sharp pin to pop any air bubbles that get trapped under the decal. Some people use rulers or frame blocks to help with straight lines. Flexible pressure tools help press the decal down without tearing it.
Tip: Always check the type of decal you have. Some need water, while others stick dry. Knowing this helps you choose the right method.
Optional Supplies
If you want a truly professional finish, a few extra items can help:
Transfer tape (for moving complex designs)
Extra masking tape (for making guidelines)
Ruler or measuring tape (for perfect placement)
Frame blocks (to steady your bike)
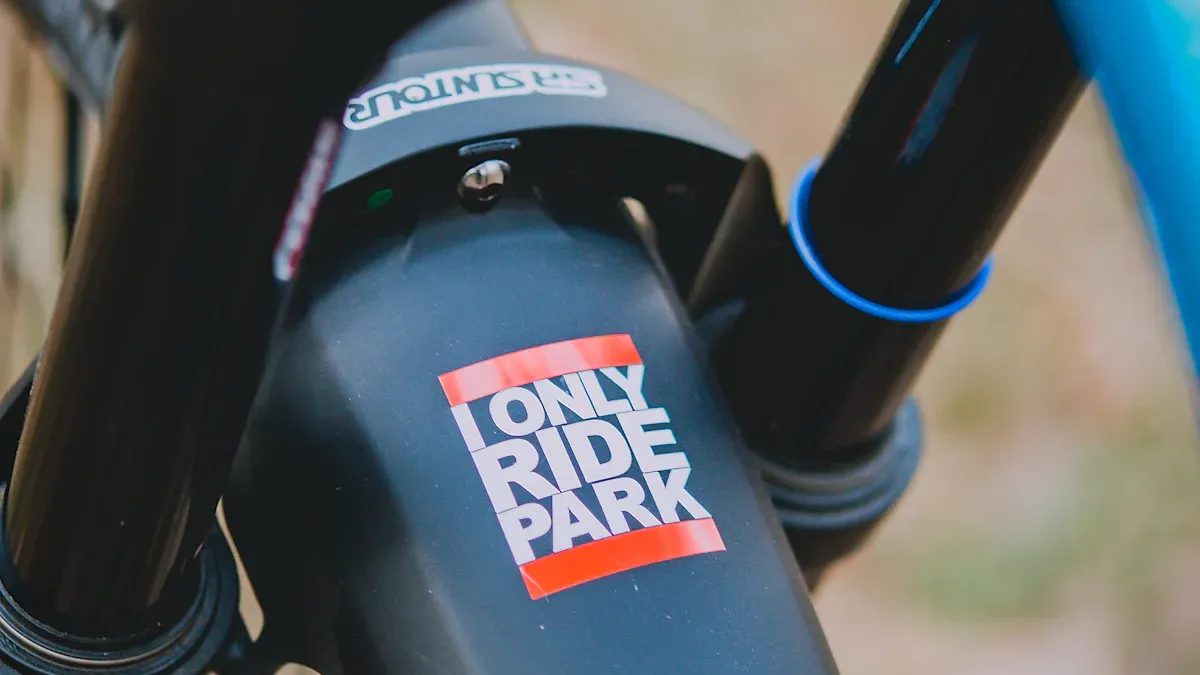
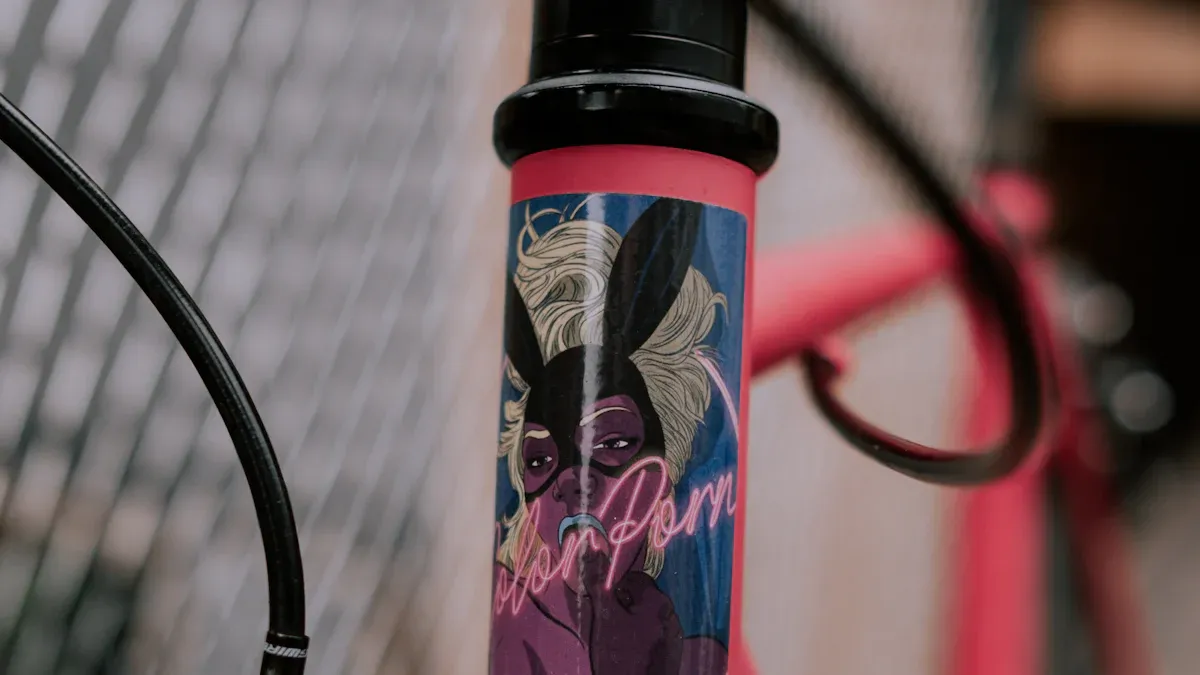
Choosing the right decals matters, too. Look for stickers for your bike that match your style and fit your frame. Taking time to pick the best ones makes your bike stand out.
Prep the Bike Frame
Clean the Surface
Before you stick any decals, you need to clean the frame thoroughly. Dirt, grease, and old wax can stop decals from sticking well. You want your bike to look sharp, so start with the right cleaning agent. Here’s a quick guide to help you pick the best product for your bike:
Cleaning Agent / Product | Effectiveness / Use Case | Notes / Cautions |
|---|---|---|
Simple Green HD | General degreasing and cleaning | Use purple-labeled HD version on alloy parts to avoid damage; green version not safe for alloys. |
PB Blaster | Removes hard grease and stubborn stains | Safe on metals; caution on single-stage (non-clearcoated) paints. |
Dawn Dish Soap | Cleaning, especially effective when soaking or ultrasonic cleaning | Good for general cleaning; used with brushes for thread areas. |
Lemon Pledge (Furniture Polish) | Light oil or grease removal | Avoid contact with rim or disc braking surfaces. |
Turtle Wax Car Wash | General cleaning and restoring luster | Used after degreasing for shine. |
Pedro’s Orange Peelz | Cleaning and restoring luster | More expensive; used selectively. |
Old Toothbrushes / Detail Brushes | Enhance cleaning effectiveness | Useful for scrubbing hard-to-reach or detailed areas. |
WD-40 | Degreasing | Applied on rag for degreasing. |
Avoid Nail Polish Remover | Prevent paint damage | Harsh solvents can damage paint. |
You can use a soft towel or cotton cloth with your chosen cleaner. Scrub gently, especially around welds and tight spots. Old toothbrushes work great for these areas. If you want to clean bike surface like a pro, use a degreaser for tough grime and finish with dish soap for a fresh look.
Tip: Always rinse off any cleaner and dry the frame before moving to the next step. Leftover soap or chemicals can mess up decal adhesion.
Dry and Inspect
After cleaning, grab a dry towel and wipe down every part of the frame. Water and leftover cleaner can hide in small spaces, so check carefully. Let the bike air dry for a few minutes if you see any moisture. You want the frame completely dry and free of wax or soap before you start with decals.
Look over the frame for any missed spots or sticky residue. Run your fingers along the surface. If it feels smooth and clean, you’re ready. If you spot anything, clean it again. Taking time here helps your decals last longer and look better.
🚲 Note: A clean frame means fewer bubbles and better sticking power for your decals. Don’t rush this step!
Apply Bike Frame Decals
Align and Position
Getting your bike frame decals lined up just right makes all the difference. You want your custom decal to look sharp and professional, not crooked or off-center. Here’s how you can nail the alignment every time:
Mark Your Spot: Use masking tape to create a straight guideline on your bike frame. This tape acts like a ruler, helping you keep everything level.
Practice First: Before you peel off any backing, hold the decal up to the frame and practice placing it. Try this a few times until you feel confident about the position.
Wet the Surface: For large decals, spray a light soapy water solution on the frame. This slippery layer lets the decal float, so you can slide it into place and fix any mistakes before it sticks for good.
Cut for Control: If your decal is big or has a tricky shape, cut it into smaller pieces. This makes it easier to handle and align each part.
Keep It Clean: Always make sure your hands are clean and dry. Avoid touching the sticky side of the decal. Fingerprints or dirt can mess up the glue and make your custom name decal peel off later.
Tip: Take your time with this step. Rushing can lead to crooked decals or bubbles that are hard to fix later.
Apply Decals
Now you’re ready to apply decals to your bike. Start by peeling the backing off slowly. Try not to touch the adhesive side. Hold the decal by the edges and line it up with your masking tape guide.
For Wet Application: If you used soapy water, gently lay the decal onto the wet frame. You can slide it around until it’s in the perfect spot. When you’re happy with the placement, use a squeegee or a soft cloth to press the decal down. Start from the center and work outward. This pushes out water and air, helping you get a smooth application.
For Dry Application: If your decal doesn’t need water, stick one end to the frame and slowly press it down, moving from one side to the other. Use a squeegee or even a credit card to smooth it out as you go.
If your bike frame has curves, grab a blow dryer and set it to low heat. Warm the decal gently. The heat makes the vinyl soft and stretchy, so it hugs the curves and sticks better. Just be careful not to overheat the frame, especially if it’s carbon fiber.
🚲 Note: Always apply even pressure, especially on the edges and corners. This helps the decal stick well and last longer.
Remove Bubbles
Bubbles can ruin the look of your bike frame decals, but you can fix them with a few simple tricks. Here’s how you master removing air bubbles for a flawless finish:
Smooth as You Go: As you apply bike decals, use your squeegee or credit card to press from the center outward. This pushes out any trapped air.
Check for Bubbles: After you finish, look closely for any small bubbles. If you spot one, use a sharp pin to poke a tiny hole, then press the air out gently.
Use Heat: For stubborn bubbles or edges that won’t stick, use a hair dryer on low. Warm the area and press it down again. The heat softens the vinyl and helps it mold to the frame.
Final Check: Run your fingers over the decal. If it feels smooth, you’ve done it right. If not, repeat the steps until you get a perfect finish.
Tip: Don’t rush this part. Taking a few extra minutes now means your decals will look great and stay put for a long time.
Mastering decal application takes a little practice, but you’ll get better each time. Whether you’re adding a custom decal or a full set of bike frame decals, these steps help you get a professional, bubble-free look that lasts.
Finishing and Aftercare
Trim and Seal
Once you have your decals in place, check for any extra material hanging over the edges. Use sharp scissors or a craft knife to trim away the excess. This step gives your bike a neat, clean look. If you want your custom decal to last, sealing is the next move.
A clear coat spray adds a layer of protection. Here’s what you need to know before you spray:
Always test the clear coat on a sample decal first. Some sprays have acetone that can damage the ink.
Light mist coats work best. Spray a thin layer, let it dry, then add another if needed.
Clear coats protect decals from lifting, wrinkling, and scratches. They also make the finish look smooth and shiny.
Matte finishes can change how transparent decals look, so check if you like the effect.
If you see any damage after spraying, you can apply the decal over the clear coat instead.
Tip: Products like Rustoleum clear enamel or spray varnish work well for most vinyl decals. Always read the label and follow the directions.
After sealing, wait before you ride. Give your decals 24 to 48 hours to set. Keep your bike indoors during this time. The adhesive needs time to bond, and moisture can slow things down. After a day or two, check the edges. Press them down and use a little heat if needed. This helps stop peeling and keeps your personalized bike decals looking sharp.
Protect and Maintain
You want your custom bike decals to look great for a long time. Regular care makes a big difference.
Clean your bike after every ride, especially if you hit mud or dirt. Wipe the frame gently to keep grime from building up.
Once a month, do a deep clean. Get into the tight spots and check for any peeling or fading.
Look over your decals for scratches or edges that lift. If you spot damage, replace the decal to keep your bike looking fresh.
Refresh your decals after big repairs or at the start of a new season.
🚲 Note: Taking care of your decals means your bike always stands out. With a little effort, your custom bike decals will stay bright and bold, ride after ride.
Common Mistakes to Avoid
Bubbles and Wrinkles
Bubbles and wrinkles can make your bike decals look messy. You might see them if you rush or skip steps. Dirt, dust, or grease left on the frame can trap air under the decal. If you do not use enough pressure or forget to smooth from the center out, bubbles will form. Wrinkles often show up when you stretch the decal or try to fix it after it sticks.
Tip: Always clean your frame with isopropyl alcohol before you start. Test-fit the decal with the backing on and use low-tack tape to hold it in place. For big or curved decals, spray a little soapy water on the frame. This lets you slide the decal and push out bubbles. Use a squeegee or a credit card wrapped in a soft cloth. Work from the center out in small sections. If you spot a bubble, lift the edge and smooth it out, or use a pin to pop it.
Misalignment
Crooked decals can ruin the look of your bike. Misalignment happens when you rush or skip the test fit. Sometimes, you peel the backing too fast or do not use guides. If you touch the sticky side, you might stretch the decal and make it hard to line up.
Here are some quick tips to keep your decals straight:
Place the decal on the frame with the backing still on. Use masking tape to mark the perfect spot.
Peel the backing slowly and press the decal down bit by bit.
Work in small sections for better control.
Always check your work before pressing down hard.
Note: The wet method works best for beginners. It gives you time to move the decal and fix mistakes before it sticks.
Peeling and Lifting
Peeling and lifting can happen if you skip important steps. If you do not clean the frame well, the decal will not stick. Skipping heat after application can also cause problems. Heat helps the adhesive set and keeps the decal stuck for longer. If you do not seal the edges or use a clear coat, dirt can get under the decal and lift it.
Professional installers always clean the frame, use a soapy water solution, and apply heat. They press the decal down with a squeegee and seal the edges. Some even use extra tape in high-wear spots. After you finish, let your bike sit in the sun or a warm place for at least 12 hours. This step helps the decal last through rough rides and bad weather.
🚲 Tip: Take your time. Clean, align, press, heat, and seal. These steps keep your decals looking sharp and stuck for the long haul.
You can get a flawless finish on your bike frame decals if you follow these steps:
Clean and dry the surface so your decals stick well and stay bubble-free.
Use masking tape and practice positioning for perfect alignment.
Apply the decal slowly, smoothing from the center outward.
Remove bubbles with a pin or gentle heat.
Seal and maintain your decals for long-lasting results.
Take your time and use the right tools. With a little patience and practice, you’ll create custom decals that look sharp and last for miles.
FAQ
How long do bike frame decals last?
Most decals last several years if you apply them correctly. Keep your bike clean and store it indoors when possible. Sun and rain can fade decals over time, but a clear coat helps protect them.
Can I remove decals without damaging my bike?
Yes, you can. Warm the decal with a hair dryer. Peel it off slowly. If sticky residue remains, use isopropyl alcohol and a soft cloth. Your paint should stay safe if you work gently.
What if I mess up while applying a decal?
Don’t worry! If you use the wet method, you can slide the decal into place before it sticks. For dry decals, peel it up gently and try again. Take your time and use masking tape for guides.
Do I need special decals for carbon frames?
You don’t need special decals, but make sure the adhesive is safe for carbon. Avoid harsh chemicals. Always test a small spot first. Most vinyl decals work well on carbon frames.
See Also
Top Bike Frame Care Tips Every Rider Must Follow
Guide To Accurately Measuring Bike Frames With Size Charts
Simple Bike Frame Fitting Chart Advice For Maximum Comfort
Key Tips For Choosing The Best Lowrider Bike Frames
Important Factors To Consider When Comparing Bike Frame Sizes