
Building a custom dirt bike frame is an exciting adventure! You get to design and make something just for you. Using dirt bike frame blueprints helps you avoid mistakes. These blueprints help you be accurate and work faster, making your project easier. You may face problems like technical issues or spending too much money, but the fun of making your special bike makes it all worth it. There’s nothing like the happiness that comes from creating your idea with your own hands.
Key Takeaways
Using clear blueprints is very important for making a custom dirt bike frame. They help you be accurate and avoid errors.
Picking the right materials changes how strong and well your frame works. Think about using chromoly steel for strength or aluminum for a lighter frame.
A clean workspace makes it safer and easier to work. Keep your area tidy, check your tools, and wear safety gear.
Follow a step-by-step process to put it together. Start with tack welding, check if everything lines up, and look over your work to make sure the frame is strong.
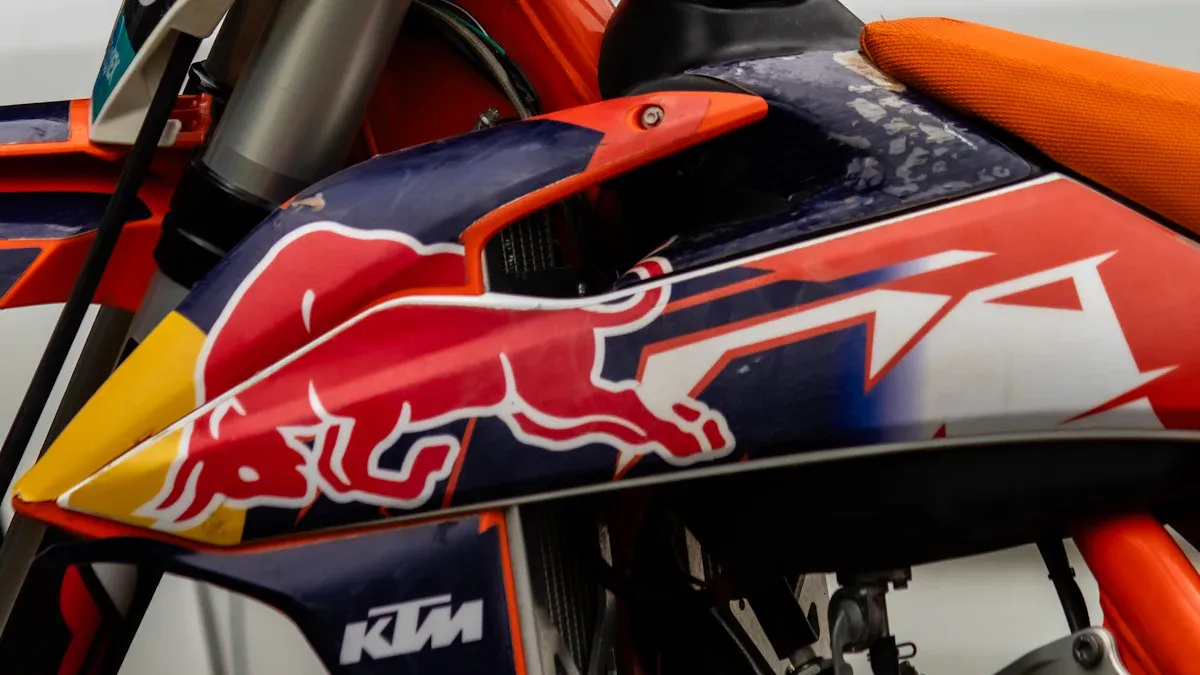
Customizing can make your bike look better and work better. Consider colors, designs, and parts that you can adjust to make it your own.
Materials and Tools
When you start building your custom dirt bike frame, picking the right materials and tools is very important. Let’s look at what you need to begin.
Essential Materials
The materials you choose will affect your frame’s strength, weight, and performance. Here are some common materials for dirt bike frame building:
Material | Properties |
|---|---|
Carbon Steel | Strong and durable, but heavier than chromoly. |
Chromoly Steel | Light, strong, flexible, and tough with good bending. |
Aluminum | Light, strong, stiff, and affordable, giving great handling. |
Titanium | Lighter than steel, strong, and bendable, often used in high-end bikes. |
Carbon Fiber | Very light and strong, but can break; needs a stronger design for lasting use. |
Each material has good and bad points. For example, if you want a light frame, aluminum or carbon fiber might be best. But if you want strength and durability, chromoly steel could be better.
Tip: Think about how your material choices affect the environment. For example, making carbon fiber uses a lot of energy, but recycling is getting better. Aluminum can be recycled almost completely, making it a greener choice.
Necessary Tools
Now that you know what materials to use, let’s discuss the tools you’ll need. Having the right tools can help your frame building go smoothly. Here’s a list of important tools for making your dirt bike frame:
Welding Machine: This is needed for joining metal pieces. A MIG welder is good for beginners because it is easy to use.
Metal Bender: This tool helps you shape the metal into the right angles and curves for your frame.
Frame Jig: A frame jig holds your frame steady while you work. It keeps everything straight and aligned during welding.
Cutting Tools: You’ll need a plasma cutter or bandsaw to cut your metal to the right sizes.
Measuring Tools: Accurate measurements are very important. Use a tape measure, square, and calipers for precision.
Safety Gear: Don’t forget your safety glasses, gloves, and welding helmet to keep yourself safe while working.
By collecting these materials and tools, you prepare yourself for success in your dirt bike frame project. Remember, good preparation can save you time and trouble later on.
Step-by-Step Guide to Frame Construction
Building your dirt bike frame is a fun project! To make it work well, you need to follow some important steps. Let’s look at how to set up your workspace, use the blueprints, and put your frame together.
Preparing the Workspace
Before you start building, create a safe and tidy workspace. A clean area helps you concentrate and lowers the chance of accidents. Here are some safety tips to remember:
Stay away from synthetic fabrics because they can melt.
Use thick, flame-resistant gloves when welding.
Leather boots protect your feet from hot pieces.
Always wear safety glasses or a welding helmet with a tinted shade to protect your eyes.
Keep your welding area clear of flammable items.
Check that your equipment works well and look for damaged cables.
Have a dry-powder fire extinguisher close by.
Work in a place with good airflow to avoid breathing in fumes.
Treat all electrical parts as live and keep your hands dry.
Taking these steps helps keep you safe while working on your project. A well-prepared workspace is key to a successful build.
Following the Blueprints
Once your workspace is ready, focus on the blueprints. These detailed plans guide you in building the frame. Following them closely is very important for a few reasons:
Precision: Blueprints give exact measurements and angles. This accuracy makes sure all parts fit together well.
Durability: A strong frame can handle tough off-road riding. Frames made for durability often use materials like chromoly steel, which adds strength and lasts longer.
Reliability: Even if misused, a well-built frame stays reliable. This is crucial for your safety while riding.
Remember, judging welds by how they look is not enough. The strength of the structure is what really matters. Many companies, like Yamaha, have strict quality checks to avoid weak frames. They often use robotic MIG welding and X-ray tests to check weld quality and safety.
Assembling the Frame
Now comes the exciting part—putting your frame together! Start by gathering all your materials and tools. Follow these steps for a smooth assembly:
Lay Out the Parts: Organize all the frame pieces according to your blueprints. This helps you see what you have and what you need.
Tack Weld: Start by tack welding the pieces together. This means making small welds at key spots to hold everything in place without fully welding yet. This lets you make changes if needed.
Check Alignment: Use your measuring tools to make sure everything is lined up correctly. This step is very important for how the frame performs.
Complete the Welds: Once you’re happy with the alignment, finish the welds. Make sure to follow the industry standards for weld quality. Strong, clean welds will make your frame durable and safe.
Inspect Your Work: After welding, check the frame for any problems. Look for gaps or weak spots that might need extra support.
By following these steps and sticking to your blueprints, you’ll build a strong and reliable dirt bike frame. Enjoy the process, and remember that each step gets you closer to riding your custom creation!
Customization Tips
Making your dirt bike frame special can be fun. Customizing it not only makes it look cool but can also help it perform better. Here are some tips to get you started.
Personalizing Your Frame
When you think about changing your frame, think about how it looks and how it works. Here are some ideas:
Color and Finish: Pick colors that show your style. You can use powder coating or custom paint to make your bike unique.
Graphics and Decals: Adding stickers or designs can give your bike a special touch. You can create your own or find ones that match your theme.
Adjustable Components: Think about adding parts like footpegs or handlebars that you can change. This helps you fit the bike to how you like to ride.
Remember, while making your bike personal can be exciting, it might change how much you can sell it for later. Good changes can make your bike more appealing, but bad ones might scare off buyers. Always think about how others will see your changes.
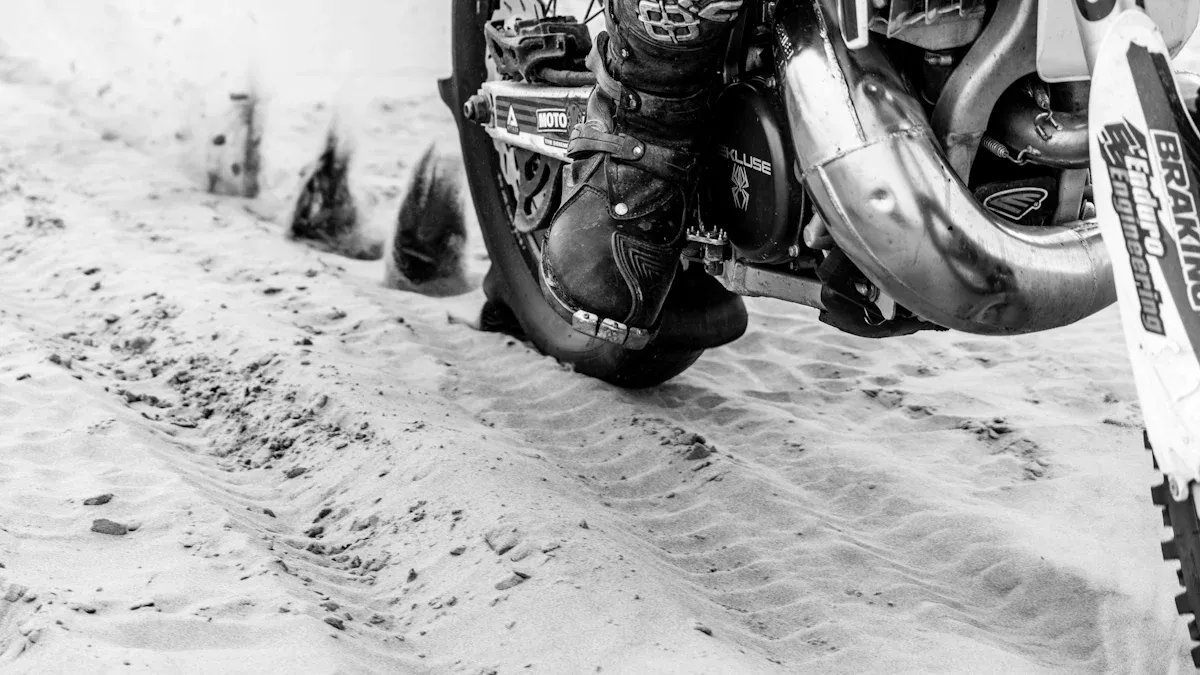
Enhancing Performance
To make your bike perform better, focus on how the frame is shaped and how weight is spread out. Here are some important things to think about:
Rake and Trail: Changing the rake and trail can really change how your bike handles. More trail makes it stable but less quick.
Head Tube Angle: A steeper head tube angle can help your bike turn better, while a flatter angle can make it more stable at high speeds.
Weight Distribution: How weight is spread out affects how your bike turns and goes fast.
Improving performance takes time and money. For example, making a dirt bike street legal can cost between $500 and $1,500. If you do it yourself, you might save about 40% but will need to spend around 12-18 hours working on it. On average, building a custom dirt bike frame can take about two months.
By personalizing your frame and improving its performance, you create a bike that looks awesome and rides well. Enjoy the process, and remember that each change gets you closer to your dream ride!
Finding Dirt Bike Frame Blueprints
Finding the right dirt bike frame blueprints is very important for your project. Luckily, there are many resources you can use. Here are some good places to start looking:
Online Forums and Communities: Websites like Reddit and dirt bike forums have users sharing their blueprints and plans. You can ask questions and get tips from experienced builders.
Manufacturer Websites: Many dirt bike makers offer blueprints or details for their models. Check their resources for accurate designs.
Blueprint Libraries: Websites like GrabCAD or Thingiverse have many user-uploaded designs. You can find free blueprints and even custom designs shared by other fans.
If you want to improve your designs, think about using CAD software. Programs like IRONCAD let you create exact 3D models of your dirt bike frame. Here’s how CAD can help you:
You can quickly make custom parts, improving design accuracy.
Sharing designs with manufacturers is easier, making the move from design to production smoother.
Making 3D models for machine shops cuts down on construction and programming time, saving money and improving customization.
Before you start building, remember to check local rules. You might need to follow EPA and ARB regulations. If you’re building for personal use, you may get exemptions that let you create a custom motorcycle. Choosing an EPA-certified engine can also help you meet emissions standards.
With the right blueprints and tools, you’re ready to create a custom dirt bike frame that fits your style and needs. Happy building!
It’s time to jump in and start your dirt bike frame project! You will learn important skills, like:
Electrical Wiring
Design and Creativity
Metalworking
Making your own bike is a lot of fun. Just think about riding something you built! Plus, sharing what you do with the dirt bike community feels great. You will get support and encouragement because everyone begins at the start.
So, collect your tools, use those blueprints, and have fun on your journey! 🏍️
FAQ
What materials should I use for my dirt bike frame?
You can use materials like chromoly steel for strength. Aluminum is good for being light, and carbon fiber is great for performance. Pick what fits your riding style and budget.
How long does it take to build a custom frame?
Building a custom dirt bike frame usually takes about two months. This time includes planning, getting materials, and building.
Can I customize my frame after building it?
Yes, you can! You can change your frame with colors, graphics, and adjustable parts. Just keep in mind that some changes might lower its resale value.
Where can I find dirt bike frame blueprints?
You can find blueprints on online forums, manufacturer websites, and blueprint libraries like GrabCAD. These places have many designs to choose from.
Do I need special skills to build a dirt bike frame?
Some skills like welding and metalworking help, but you can learn as you go. Many resources and communities are here to support you on your journey!
See Also
Helpful Tips For Constructing A Dirt Bike Frame
Learn Simple Techniques To Draw Bike Frames Effectively
Key Tools And Supplies Needed To Build A Bike Frame